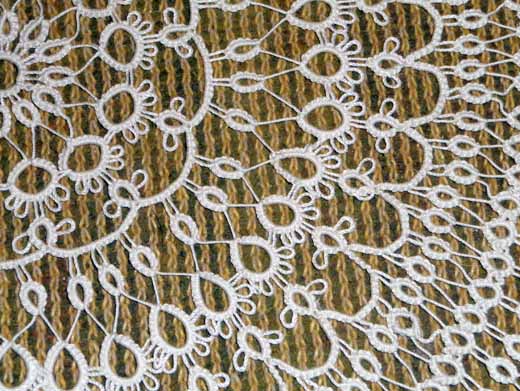
The perfect start to two-tone lace, or how to hide the threads at the beginning of work.
Hello, everyone! In today’s post, I want to tell you how I hide the threads at the beginning of working with two colors.
I’m sure you all know that in the beginning we may have several options. It all depends on the pattern, of course! With a product of one color, everything is simple. This is either a shuttle – a ball, or two shuttles. Although there may actually be three, four shuttles or more, I’ve tried it! But let’s not delve into the impenetrable forest, ha ha!

If we start working with threads of two colors, we usually tie two threads.

Perhaps, if the threads are very thin, this initial knot is almost invisible. But I know about him! Ah, my perfectionism does not let me get bored! At the end of the work, I tried to untie this connecting knot in order to tie, hide and cut two pairs of threads. So instead of three nodes, I got only two. But I didn’t like that either. In addition, hiding FOUR ends of a thread at once is not for me, I sooooooo really don’t like hiding threads. But of course you will not find “tails” of threads sticking out in all directions anywhere in my products, lol! Because I love the option when the threads are hidden during the weaving process. By the way, you can watch my video on this topic.
I made this video for three tatting methods: shuttle, needle and cro-tatting. I hope you come back here after watching this video and read the post to the end: https://www.youtube.com/watch?v=K_fWxN3THBc&list=UU3dn4_9pp7tIKA2k564wLBQ&index=26

Ah, Mozart’s music is perfect for creating creative projects, isn’t it? Please write in the comments if you are hiding threads during work or only after the completion of the project.
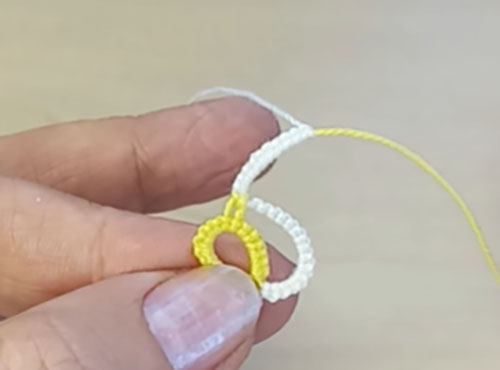
But I’m a little distracted. Our theme is how to make the perfect start to two-tone lace. So, I don’t do the connecting knot at the start. I also hide both tails of the threads at once. At the end of the work, I connect the last element to the beginning with a crochet hook or needle. And in the end, I only have two tails of threads at the end of the work, which I hide with a sewing needle. Voila!

I showed the beginning of the process of weaving a tatting in two colors in my new video, welcome!
I will be glad to new subscribers, your questions and comments. https://www.youtube.com/watch?v=oZkXevylGAc&list=UU3dn4_9pp7tIKA2k564wLBQ&index=1
Also don’t forget to visit my store:
https://fairylace.kozinenko.com/product-category/patterns-tutorials/patterns-and-tutorials/