Posted on 8 Comments

Vintage buttons

Vintage buttons. Tips for beginner tatters. Part 4 , or how to add a beautiful button to a tatting pattern. Part 3 of my articles for beginning tatters can be read here: https://fairylace.kozinenko.com/tips-for-needle-tatters/

Hello everyone! I’ve recently been organizing my craft supplies. Ah, I have to do this from time to time! To you too? And among the three kilograms of buttons, I found several pieces that interested me.

vintage button

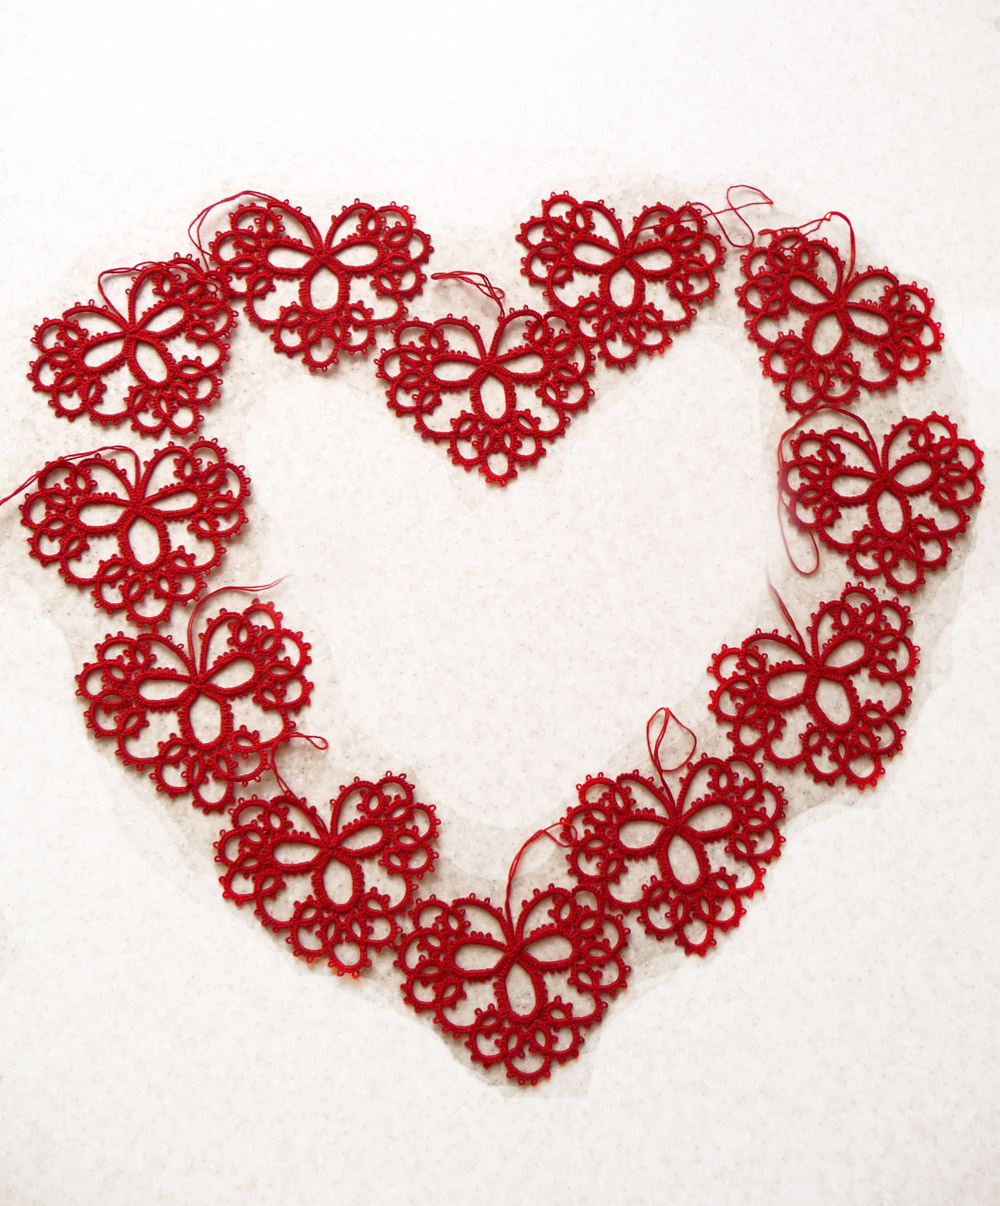
Often I have seen round buttons added to tatting patterns. I made such a heart (this was 12 years ago).

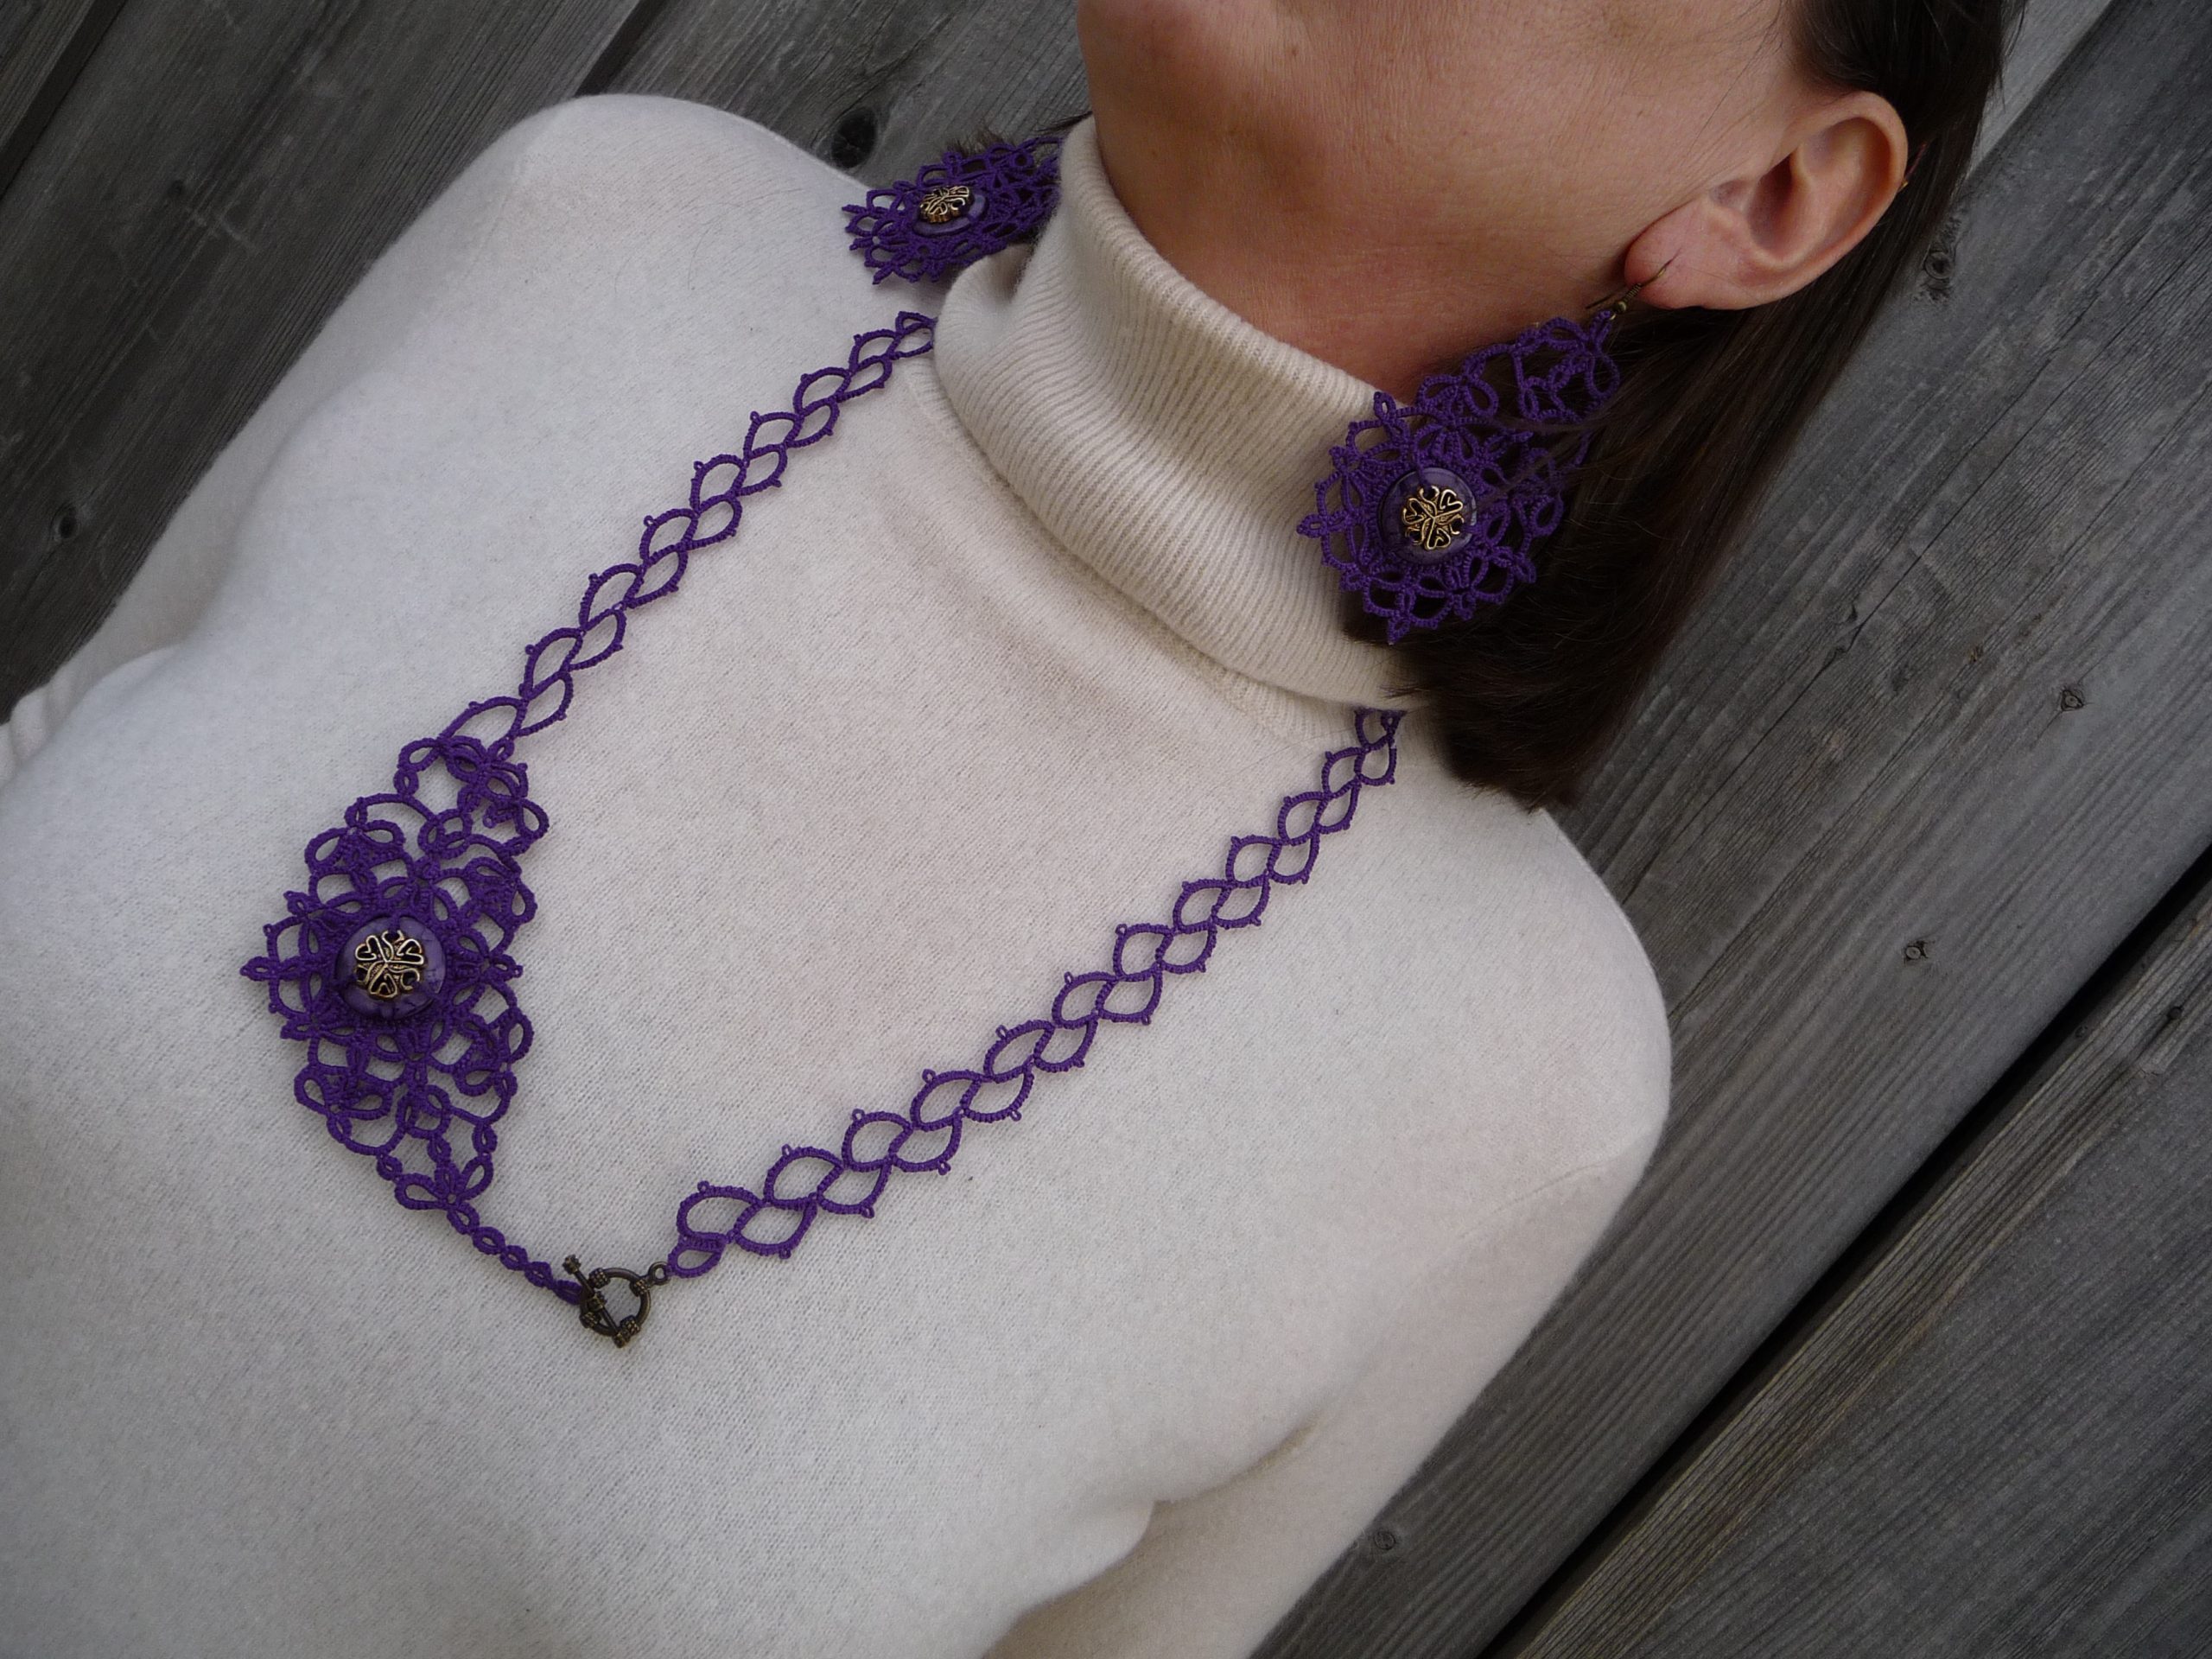
But these are rectangular buttons. Can they be used? Why not?

As usual, I didn’t stop at shuttles only. After all, for those who tat with a needle, it is also interesting to make a small brooches with a vintage buttons. Do you agree?
The pattern is very simple. Because the main thing in this pattern is the rectangular button!

Use a crochet hook when making connections. Choose a hook that will fit easily into the button hole.

I decided it wasn’t worth doing graphic design. Therefore, I simply put numbers indicating the number of double stitches directly on the photo. You can take a screenshot or download a PDF file from the link: https://drive.google.com/file/d/13Oct1mUyQuwGVzr2P08M3uobKR098UNH/view?usp=sharing

Tatting with button
Tatting with button

Educational video on my YouTube channel. Please take a look and come back! https://www.youtube.com/watch?v=ldSiIp_3CeA&list=UULF3dn4_9pp7tIKA2k564wLBQ

Some useful tips for tat with vintage buttons

Of course, if the buttons are dirty, they need to be washed and dried.

As you work, try to tighten the loops inside the button tightly. Otherwise, the button will not be firmly secured in the middle of the pattern. But we don’t want the buttons to “dangle or float” in space!

Another important point. Try to ensure that the threads on the button lie parallel and do not twist with each other. This will make your work look neater.

When watching a video please note that I respect the front and back sides when weaving. It seems to me that in this case the picots look more beautiful.

The two motifs are made with the same threads and the same pattern. But with the shuttle and needle ready, the motif turns out to be of different sizes.

Please don’t forget to subscribe to my blog, comment and share on social media. Your help and support is very important to me.
I will also be grateful for any charitable contribution to my Paypal: fish20085@gmail.com

Posted on 2 Comments

More and more hearts

More and more hearts, or how to make a cute gift for Valentine’s Day.

Hello everyone! Valentine’s Day is literally around the corner! I want to congratulate everyone on this lovely holiday. Of course, not all countries celebrate this day. But it seems to me that this is a great opportunity to say words of love and gratitude to everyone who is dear to us!

If you allow, I will share my tricks on how to make a heart neat and symmetrical.

Of course, I made a short video illustrating my tips.
https://youtu.be/37JNFwIOTiE

Firstly, don’t make the double stitches very tight, this will make your task easier when tightening the ring.
Secondly, you can use the braiding method with a large loop in the middle of the Heart. This is especially useful if you are using thin threads.
Third, if you tat with a needle, make the heart in two parts. By the way, for connecting picot in this case it is better to use a hook rather than a needle.

More and more hearts

When I made three versions of hearts, I got the idea to connect them together. I made a “braid” from the tails of the threads and got a “Three Leaf Clover” from the hearts. I hope you like this idea!

Of course, I couldn’t resist making new hearts pattern for Valentine’s Day. And this time I made More and More hearts – a whole fireworks of hearts! The pattern is available in my store. Check, please: https://fairylace.kozinenko.com/product/pattern-edging-fireworks-of-hearts/

Subscribe to my YouTube channel, follow me on social networks. Support my blog by commenting, liking and sharing!
Happy Valentine’s Day!

Posted on 14 Comments

Tips for needle tatters. Part 3.

Tips for needle tatters, or how to make the three rings “without a hole”.

Hello everyone! This is the third part of my advice for beginner tatters. You can read previous parts here: https://fairylace.kozinenko.com/blog/

Today I want to answer one simple question. How to make three rings “without a hole” between them? I write “three rings” because I don’t know how this element is designated in different languages. In Ukrainian, for example, it is called a trefoil.

Tips for needle tatters

By the way, if your language is not in the list of built-in translators on my website, write to me in the comments. I will try to add the language you need. And I would also be very interested to know what country you live in when reading my blog. Can you write this in the comments please?

So, excuse the “lyrical digression”, I continue talking about the three rings. Although you can call this element Clover. On the ABC Tatting Patterns website there is a definition of Clover. I copied the paragraph, but you can follow the link and read it yourself. By the way, this is a wonderful resource not only for beginners, but also for experienced tatters. https://abctattingpatterns.com/terms/

Three rings, or Clover

Clover consists of three successive rings grouped together. The central ring may be larger than the side rings. It looks like a shamrock. However, the rings in a shamrock are the same size.

When working with shuttle tatting, this problem does not arise. Of course, if your knots are not “loose” , but neat. And when tatting with a needle, we can get such a picture. Do you see the hole?

Of course, I never tire of repeating that tatting is an art. Therefore, ABSOLUTELY ALL methods and techniques are acceptable. What the end result looks like is the master’s right to self-expression. Perhaps you have come up with a pattern that requires just such a Clover!

However, we are improving all the time, aren’t we? To do this, we must master new skills and techniques. The more “tools” we have in our arsenal, the more opportunities we get to implement our wildest projects! Oh, I just want to say: like it if you agree with me!

With and without rewerce of work

If you read my post about how many simple knots to make in work, you remember that there is a rule for ease of remembering. One knot means rewerce work, two knots means do not rewerce work. When we make three rings in a row, we make two knots after the first ring (do not rewerce work), then two knots after the second ring (do not rewerce work again). And after the third ring we have two pattern options. So, it depends on the design.

If we don’t rewerce work, we make two knots. But after the first knot, you need to pull the needle and thread into the base of the first ring and then make the second knot. If we need to rewerce work after Clover, then we make one knot. But (attention!) Before the knot, you need to pull the needle and thread into the base of the first ring.

Ta-daaa!!! Everything is simple and clear, I hope. But just in case, I made for clarity a short video Tips for needle tatters. Part 3. https://www.youtube.com/watch?v=xn__9qv7zrU&list=UULF3dn4_9pp7tIKA2k564wLBQ

I hope you found it useful and interesting to read and watch! Subscribe to my blog. Write in the comments what questions about tatting you would like answered. I will be happy to help with tips!

Posted on 42 Comments

Tips for beginner tatters. Part 2.

Tips for beginner tatters, or how to distinguish the front and back sides of tatting and is it worth paying attention to this.

Hello everyone! This is the second part of my advice for beginner tatters. You can read the first part here: https://fairylace.kozinenko.com/tips-for-beginner-needle-tatters/

I admit, I’m a little discouraged. The previous article was read by 156 visitors (according to site statistics). And only ONE left a comment. Perhaps my article was not useful and interesting? Therefore, I doubt whether it is worth continuing this topic.

Or you don’t know how to leave a comment? It’s very simple! Scroll UP the screen. Click on the word “Comments” above the article title.

When you go down, you will see a window for your comment.

Believe me, your feedback is very important to me. Because it helps me make the site more interesting and useful. And also your comments will raise my site in the search rankings. This means that more beginner tatters will be able to find these articles. Sorry for going off topic and thanks in advance for your support!

Front and back sides of tatting

Have you noticed the placement of the “caps” above the double stitches? On the front and back sides their location does NOT match. Although from both sides it looks absolutely identical. I’m sure there are special terms in English for these “things”. But I don’t know them, sorry. I hope you understand what I mean.

Therefore, you can determine the side by picots. It’s very simple. Take a close look at how the two picots are located relative to the chain. The difference is very noticeable, isn’t it? On the left is the picot that is obtained on the front side. On the right is the picot, which is obtained on back side.

Tips for beginner tatters

If you turn your work over and continue to do double stitches in the usual way, you will end up with a “picot mix.” In this case, it will be completely indifferent which side is which. This is probably not critical! But only as long as you weave with single-color threads.

Tips for beginner tatters

Look what we get when working with threads of two colors. When two rows are joined on one side, small stitches of a different color are obtained. Imagine what your work will look like if small multi-colored stitches peek out from all sides. Again, this is not dogma, but creativity. And any of us can say: I am an artist, I see so! In any case, the choice is yours!

Tips for beginner tatters

I’ll tell you how easy it is to switch to the front and back method. It’s sooooo simple. When you turn the work to the opposite side (we already know how to distinguish both sides!), you weave double stitches in the reverse order. That is, first you need to do the second half of the stitch, and then the first. As always, I made a short video demonstrating this technique. This video demonstrates the method for needle tatting. But for the shuttle the reception is absolutely identical. https://www.youtube.com/watch?v=QGF8pzR3tJk&list=UULF3dn4_9pp7tIKA2k564wLBQ
Please don’t forget to come back after watching and leave a comment!