FairyLace Joins Top 15 Tatting Blogs — a recognition that came as a wonderful surprise and made my day.
Hello everyone! I would never have reached this milestone without the support of my readers, students, and fellow tatters. Today I am truly happy to share this wonderful news with you.
🌷 A wonderful surprise: Top 15 Tatting Blogs recognition
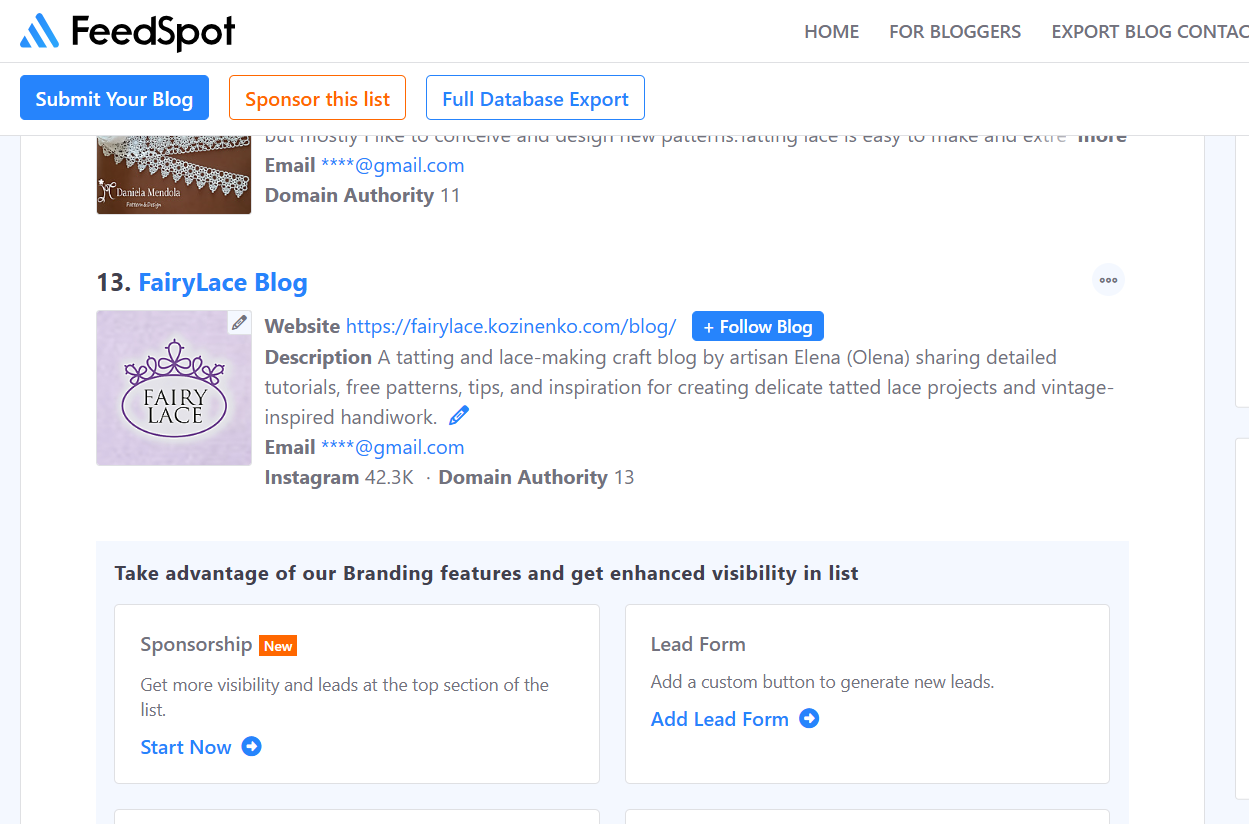
Today I received an email from the Feedspot team informing me that FairyLace Blog has been selected among the Top 15 Tatting Blogs on the web. You can see the list here: https://bloggers.feedspot.com/tatting_blogs/?feed_id=9005484&_src=f1_featured_email#h9005484

This recognition means a lot to me, especially because this blog started as a small personal space where I could share my tatting projects, experiments, and tutorials.
Over time, it has grown into a place where I can connect with people who share the same love for handmade lace. As a result, it has become much more than just a blog.
🧵 A few words from my journey with Top 15 Tatting Blogs
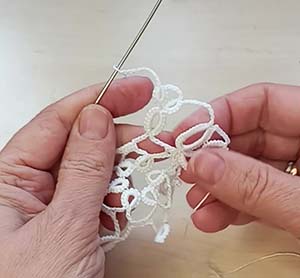
FairyLace Blog has developed step by step, one project at a time. In addition, every pattern has been a learning experience. Some patterns came together quickly. Others required patience, testing, and many hours of work. However, every piece taught me something new.
I always try to explore different ideas in tatting, from delicate lace motifs to more complex structures and experimental designs. At the same time, I continue refining traditional techniques.
And I am very grateful that this journey is not a lonely one.

❤️ Thank you

I would like to sincerely thank everyone who reads my blog, follows my work, and supports my creative path. In fact, your comments, questions, and encouragement are a very important part of my motivation.
This milestone would not have been possible without you. Therefore, I want to say a heartfelt thank you. FairyLace Joins Top 15 Tatting Blogs is a wonderful recognition of this journey.
🌿 A small personal moment
When I told my husband about this recognition, he smiled and said:
“I am not surprised at all. In fact, I think you belong in the top five.”
His words made me smile even more than the email itself.
This recognition is not only about a list or ranking. Instead, it is a reminder that creativity connects people across countries and languages.
And I am truly grateful to be part of this beautiful world of tatting.
You can explore more tatting projects, tutorials, and patterns on my blog: https://fairylace.kozinenko.com/
With love for tatting,
Olena
FairyLace Blog
FairyLacefromElena