Posted on 4 Comments

Free tutorial tatting earrings Nancy

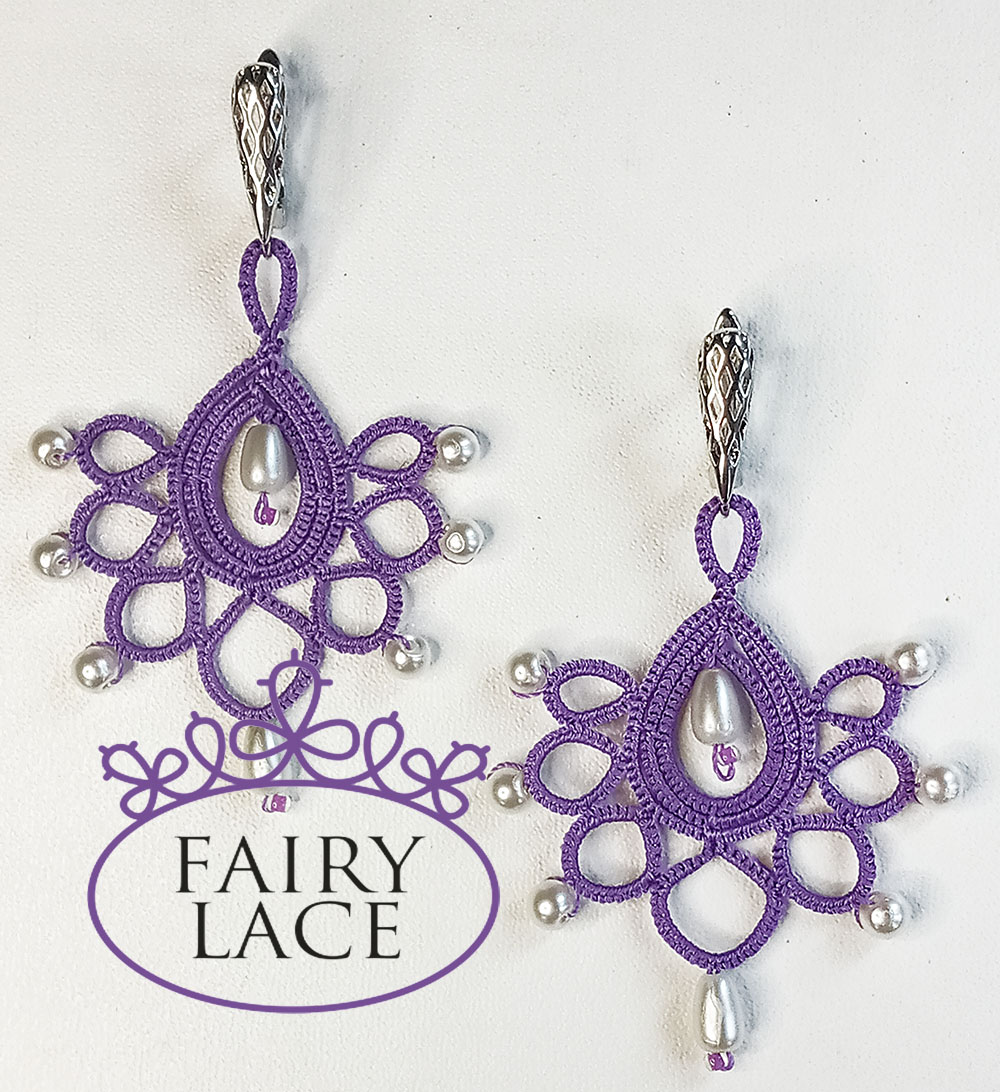
Free tutorial tatting earrings Nancy, or a continuation of my gratitude jewelry collection.

Hello everyone! I named these earrings after my dear friend, amazingly touching lady with a big heart. She lives in a nature reserve and cares deeply about animals and pets. I greatly appreciate our friendship and correspondence. Thank you for your support, sympathy, help and prayers, my dear Nancy!

You can follow my written instructions along with watching the video. The PDF file can be downloaded for free by following the link: https://drive.google.com/file/d/1nm9DK5De9Yo66s9WUlfHvYY_OhullmKf/view?usp=sharing

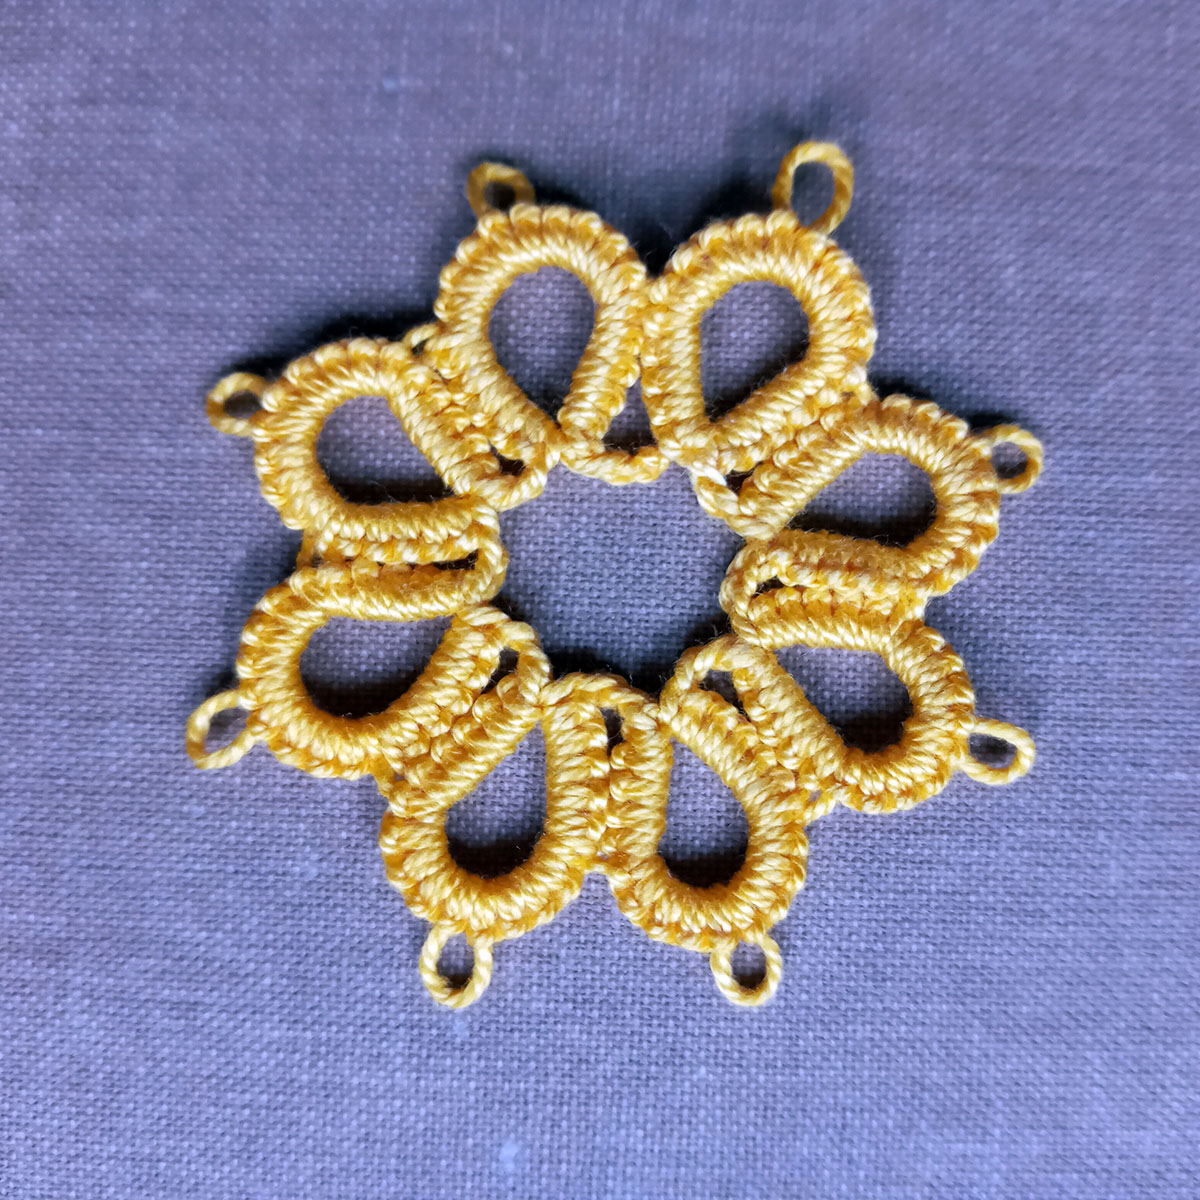
I wrote a detailed list of the necessary materials and tools at the beginning of the video lesson. I used my favorite light purple color, of course! But you can take threads and beads of any color you like!

To perfectly connect the rows, I used an embroidery needle. You can watch a short video of how it works: https://www.youtube.com/shorts/PzSGJ5vIBEY But you can make the Catherine Wheel Join, or another connection convenient for you. I just chose the fastest and easiest!

I also used a pearl knot to create a sharp angle at the top of the earrings. Video available, please: https://www.youtube.com/watch?v=3Z4e9CiW4uY&list=UULF3dn4_9pp7tIKA2k564wLBQ&index=54

So, watch the detailed video on my channel. I hope you enjoy making these earrings with me, welcome: https://youtu.be/unUGan77IaU

You can support my channel with likes, reposts and comments!
Thanks in advance to everyone who donates to my PayPal: fish20085@gmail.com
Thank you!

Posted on 2 Comments

Cro-tatting lesson 2

Cro-tatting. Lesson 2

Cro-tatting lesson 2, or how easy and simple it is to make a closed motive.

Hello everyone! This article is a continuation of Lesson 1. Please check the link: https://fairylace.kozinenko.com/cro-tatting-lesson-1/

Today I want to show you how to make a simple closed motif. After all, tatters are constantly faced with such elements! Of course, you use flowers, medallions, rosettes, small squares or triangles in your work. I know it’s not always easy to connect the last element to the first one in such fragments. Especially often this question worries novice needleworkers. By the way, I advise you to start mastering the closed motif with a piece that contains at least 5-6 Rings. You ask why? Becouse in this case It is more convenient to rotate the finished part of the work for joining.

Of course, I made a short video. Although I made this video using a tatting hook, the principle of connecting the rings into a closed motif will be interesting and useful for lovers of the shuttle and the needle also. I’m sure words can’t explain everything. It’s good that there is an opportunity to find a video on YouTube that you will like and be useful to you! The Internet has brought into our lives the opportunity to learn whatever your heart desires. But be careful! I urge everyone not to get completely dependent on the World Wide Web! Haha! Sorry, I digress.

So, today I suggest you make a small motif of eight rings and eight chains. For beginners, I advise choosing high-quality #10 threads. And it is better if you take threads of light shades. Oh, believe me, dark threads (especially black ones) are very tiring for the eyes.

This is a graphic diagram and instructions. You can easily copy this picture (this is JPG file).

And I will be glad for your comments, wishes and subscriptions here and on my YouTube channel. You can watch the video Cro-tatting lesson 2 here, welcome: https://www.youtube.com/watch?v=mmClyW-P0gM&list=UULF3dn4_9pp7tIKA2k564wLBQ