New free pattern, the results of the outgoing year and my gift for you!
Hello everyone! And so another year comes to an end. It was a very difficult and terrible year for me, my family and my Ukraine. But even in such conditions, Ukrainian masters continue to live, work and create beauty, supporting their army and their country. So, my results.
First of all
This is the most important and most valuable thing – my family and I are alive, our house is intact, my Ukraine continues to fight the enemy for independence and freedom!
Secondly
I made 153 sales on Etsy and 304 sales on my WordPress store. This is a small part of the packages that I sent to my dear customers.
Thirdly
I transferred UAH 23,750 to the Ukrainian Army Fund. And this became possible only thanks to you, who made purchases in my stores or transferred funds to my personal PayPal.
Fourth
I have 1006 subscribers on my YouTube chan nel. Visit and subscribe to my channel, I plan many new and useful videos, welcome: https://www.youtube.com/@ElenaKozinenko
Fifth
I created 25 new patterns. Alas, it is very little. But I didn’t have the opportunity or the inspiration to do more. Often you have to make lace without electric lighting. But I have a battery operated headlamp. I look fantastic, don’t I?!
I am deeply grateful to everyone who has been with me during this difficult year. Your prayers, kind words of support and sympathy, your help and support are infinitely valuable to me. I have cried many times from overflowing feelings of gratitude to you, my dears! What a pity that I cannot write ALL your names here. Oh, that would be a very long post! But I keep in my heart the memory of each of you, believe me!
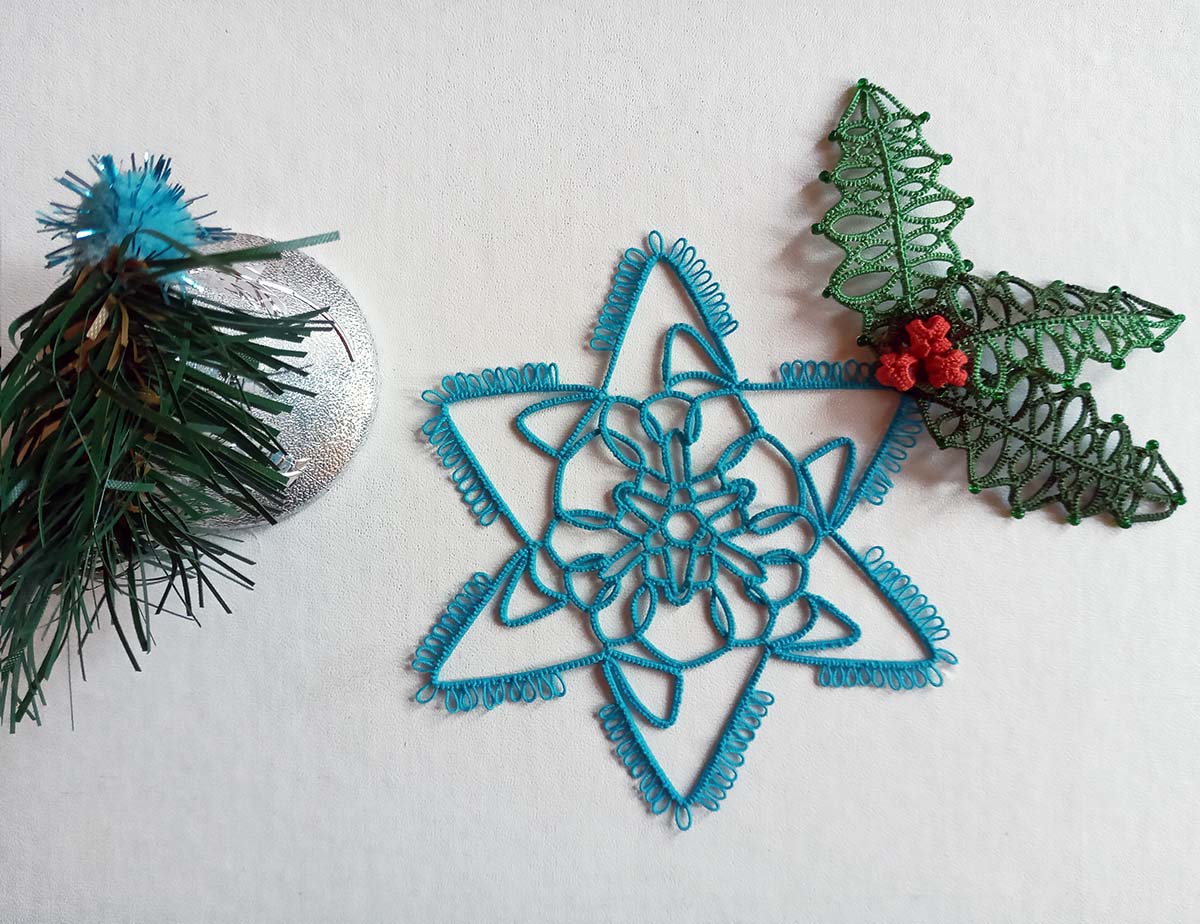
And I decided today to give you a new pattern. You can see in the previous photo how I make this snowflake, haha. Therefore, perhaps the photos in the master class are not of very high quality.
How to read tatting patterns, or how I write my tatting tutorials
Hello everyone! I recently received an email asking me to help my FB friend learn to read tatting patterns. Oh, this is a very broad topic! Of course, I’ll try not to tire you too much! But I have prepared several versions of instructions that are in the books on tatting by different authors. So, the diagram we are going to look at today is very simple. I created this snowflake specifically for this post.
How to read tatting patterns
Before we start weaving, let’s take a look at a few example instructions. Of course, before starting work, you must carefully learn the Abbreviation. Some terms may differ from another author, but the basic elements are always the same. These are Ring, Chain and Picot. I am not covering more complex elements in this pattern. I will not name the authors who I took as templates for writing instructions for ethical reasons. You will need: two shuttles or a tatting needle, white thread # 10, a crochet hook, scissors and a good mood!
Example 1.
Abbreviation: Number = number of double stitches between the picots, R = ring, C = chain, + = joining, 1 X 4 = 1 – 1 – 1 – 1, 2 X 6 = 2 – 2 – 2 – 2 – 2 – 2, – = picot Number of shuttles: One, and second thread Row 1 Shuttle 1: R: 5 – 2 – 2 – 2 – 5. Repeat 3 times.
I really like these instructions for their brevity. But I think you will agree with me that it is too difficult for beginner tatters. You may ask: where does the work start, when to turn the work? This is where the difficulty lies.
✼ R: 2 – 1 – 1 – 1 – 1 – 2 + ( to Ring of Row 1) 6 – 2 cl DNR R: 2 + ( to previous Ring) 6 + ( to next Ring of Row 1 ) 2 – 1 – 1 – 1 – 1 – 2 cl rv Ch: 3 – 2 – 2 – 2 DNR R: 2 + ( to previous Chain ) 2 – 2 – 2 – 2 – 2 – 2 – 2 cl DNR Ch: 2 + ( to previous Ring ) 2 – 2 – 3 rv R: 5 + ( to Ring of Row 1 )5 cl rv Ch: 3 – 2 – 2 – 2 DNR R: 2 + ( to previous Chain ) 2 – 2 – 2 – 2 – 2 – 2 – 2 cl DNR Ch: 2 + ( to previous Ring ) 2 – 2 – 3 rv Repeat from ✼ 3 times.
In my opinion, there is no need to write “close” at the end of each Ring. After all, we see at the beginning of the combination that we need to make a ring. Thus, this Ring will be closed anyway. Perhaps you know of any cases where the ring is not closed? But will this element then be called a ring? However, these instructions indicate at the end of each element whether or not to reverse the work. This is a plus, no doubt.
✼ R: 2 ds, p, [1ds, p] 4 times, 2ds, jp to Ring of Row 1, 6 ds, p, 2ds, cl R: 2ds, jp to previous Ring, 6ds, jp to next Ring of Row 1, 2 ds, p, [1ds, p] 4 times, 2ds, cl C: 3ds, p, [2 ds, p] 2 times, 2ds R: 2ds, jp to previous Chain, [2ds, p] 6 times, 2ds, cl C: 2ds, jp to previous Ring , 2ds, p, 2ds, p, 3ds, rv R: 5ds, jp to Ring of Row 1, 5ds, cl C: 3ds, p, [2 ds, p] 2 times, 2ds R: 2ds, jp to previous Chain, [2ds, p] 6 times, 2ds, cl C: 2ds, jp to previous Ring , 2ds, p, 2ds, p, 3ds, rv Repeat from ✼ 3 times.
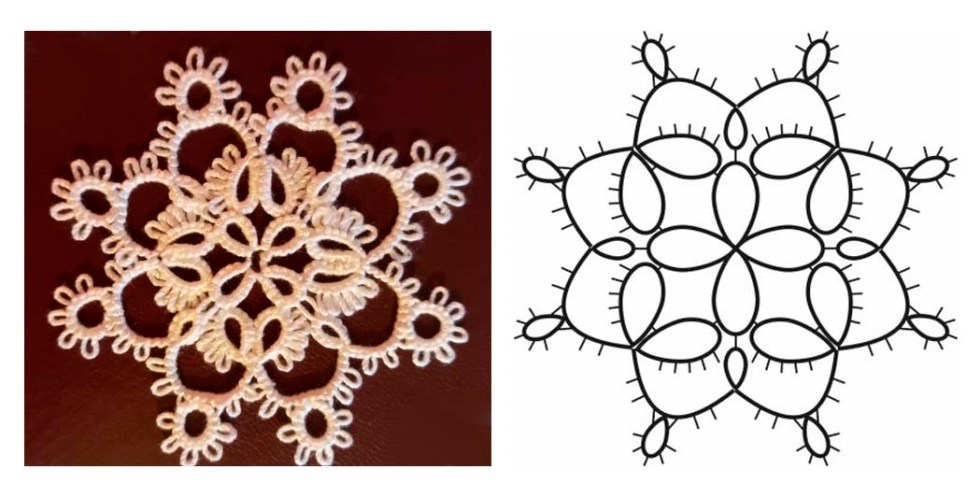
This tutorial is good too, no doubt! Have you noticed that the instructions we reviewed were NOT accompanied by graphical diagrams? Of course, you can look at the photo of the finished snowflake and follow the instructions. But I prefer to combine instruction and graphical diagram in my tutorials.
Aren’t you tired yet? Be patient, because now the fun begins (because this will be my instruction, haha!)
Abbreviation: R – Ring; PVR – previous Ring; C – Chain; PVC – previous Chain; p – picot about 4 mm; sp – picot about 1 mm; jp – join picot; 1S – first shuttle; 2S – second shuttle; TS – two shuttles; tw – turn work.
Row 1
⚫ – beginning row
1S 1, 2, 3. R: 5, sp, 2, p, 2, sp, 5;
4. R: 5, sp, 2, p, 2, sp, 5, tie and cut.
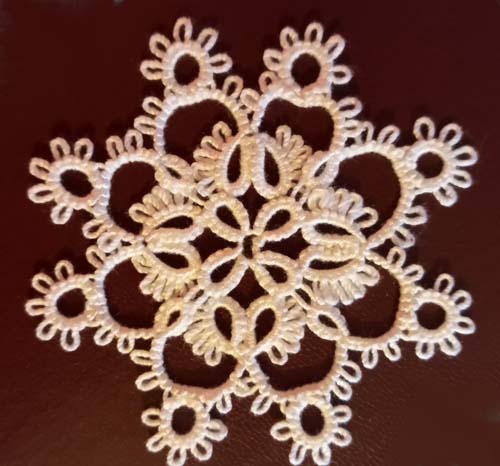
This row consists of four identical rings. Pay attention to the different lengths of the picots. As a result, you should have a flower like in the photo.
Row 2 ⚫ – beginning row 1S
R: 2, p, 1, p, 1, p, 1, p, 1, p, 2, jp to second sp of R2 (Row1), 6, sp, 2;
R: 2. jp to sp of PVR, 6, jp to first sp of R1 (Row1), 2, p, 1, p, 1, p, 1, p, 1, p, 2, tw; TS
Repeat from 1 to 5 3 times, connecting the elements according to the graphic diagram.
Attention! Attach last Chain to beginning Row, tie and cut.
Congratulations! Your Snowflake is ready!
You can take screenshots and save this pattern to your collection. Or you can also download the PDF file from the link. In this file on page 3 there is a graphic chart showing the number of double stitches for more advanced tatters or for those who don’t like to type a lot! 🙂 https://drive.google.com/file/d/1OihtIvhBgnU7ecCThETRcDmefzX_HMa6/view?usp=sharing
So, we looked at several options for How to read tatting patterns. Write to me in the comments which option you like more. Perhaps you would suggest making changes or additions to my instructions. I would be grateful for any comments. Thank you for your support! Please subscribe to my blog and my YouTube channel: https://www.youtube.com/watch?v=5nOMsstL15w&list=UU3dn4_9pp7tIKA2k564wLBQ
FAQ
Q: How do you read numbers in tatting instructions? A: Numbers usually show the number of double stitches between picots or joins. For example, “R 5–5–5–5 cl” means three picots separated by 5 double stitches each.
Q: What do lines mean in tatting diagrams? A: Lines usually represent chains, while circles show rings. The direction of the line helps you follow the working order of the lace.
Forty snowflakes, forty new master classes for tatting needles.
Hello, everyone!
The winter is not over yet. Therefore, my new project does not lose its relevance (I hope).
The fun with the snow is especially pleasing to my eight-year granddaughter.
But my angel and I were not only playing . I teach Maria to tat with a needle. Because this is the simplest tatting method. Since my granddaughter lives far away, our classes are not very frequent.
And this is the third work of my golden girl!
It’s easy for me to teach my granddaughter because tatting is my favorite pastime. And I am constantly creating new patterns, new lace products. I am also very happy when subscribers contact me with questions about tatting. You know, I’m always ready to help! I think many people know the wonderful tatting shuttle designs from Blomquist and Persson. But for novice tatters, these descriptions are rather complicated.
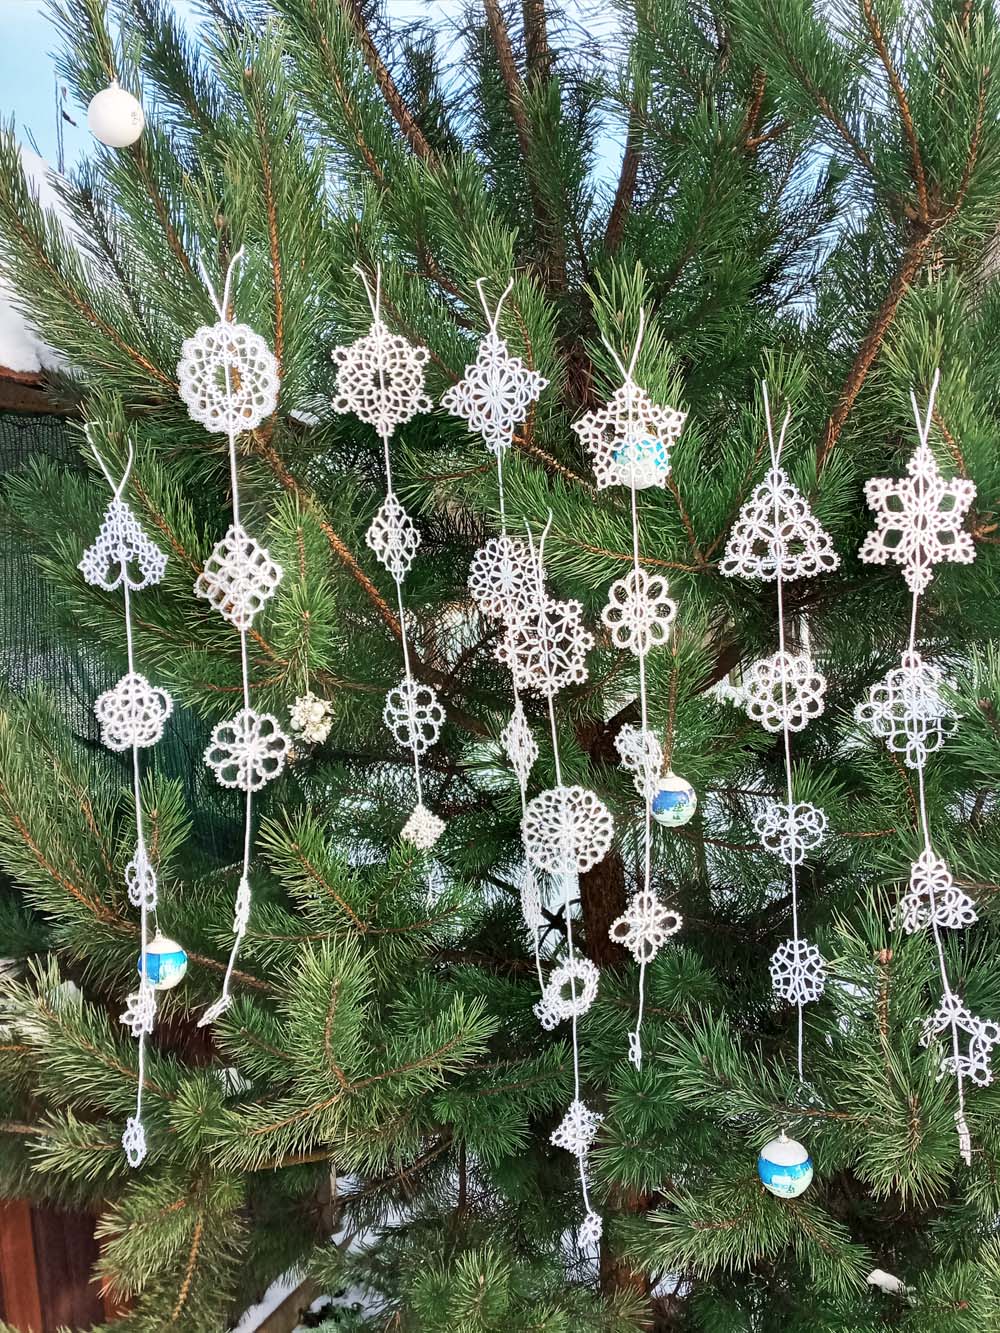
So I decided to adapt these designs for a needle. I must say that this is not easy. I have collected 40 designs in one collection ( 8 garlands with 5 snowflakes in each garland ) . For each snowflake, a graphical diagram is drawn, photos are taken and detailed instructions are written in English. In addition, I made an additional video to help you master some tricks. You can buy pattern for each garland separately in my store. Or buy the complete collection at a very attractive price.
In addition, you can combine snowflakes into garlands in different combinations. Lots of options! So each tutorial costs less $ 1! Imagine your delight when you finish the fortieth snowflake! I’m sure you will be proud of yourself, go ahead! Welcome! https://fairylace.kozinenko.com/product/tatting-tutorial-eight-garlands/
Comments on the video.
At the end of the article, a few comments on my video. Of course, you know how to make a pattern out of just rings. For shuttle is absolutely simple. Of course, use one shuttle. But be sure to make sure that all the distances between the rings are the same. For this, you can use plastic strips. By the way, do you make a tie knot after each ring? I do it because it makes the pattern look neater.
But how to make such a pattern with a needle? It’s very simple too. However, be patient and arm yourself with a needle threader (if necessary). Because you will have to carry out ALL rings on the back of the needle. And, of course, an attachment knot at the end of each ring is needed. This fixes the ring and makes the pattern strong and neat.
In the third part of my video, I tat with tatting hook. Yes, I really like cro-tatting method. Notice how easy it is to make a fastening knot. In addition, this knot helps to make the transition from one ring to another with a single thread.