Posted on 8 Comments

Instant Christmas Gift for tatters

Instant Christmas gift for tatters, or one question and one piece of advice.

 Hello everyone! In this post I want to ask you one question and also give you one good advice (so it seems to me)!

First a question. Perhaps you will find it strange to hear this question: cheaper or more detailed?

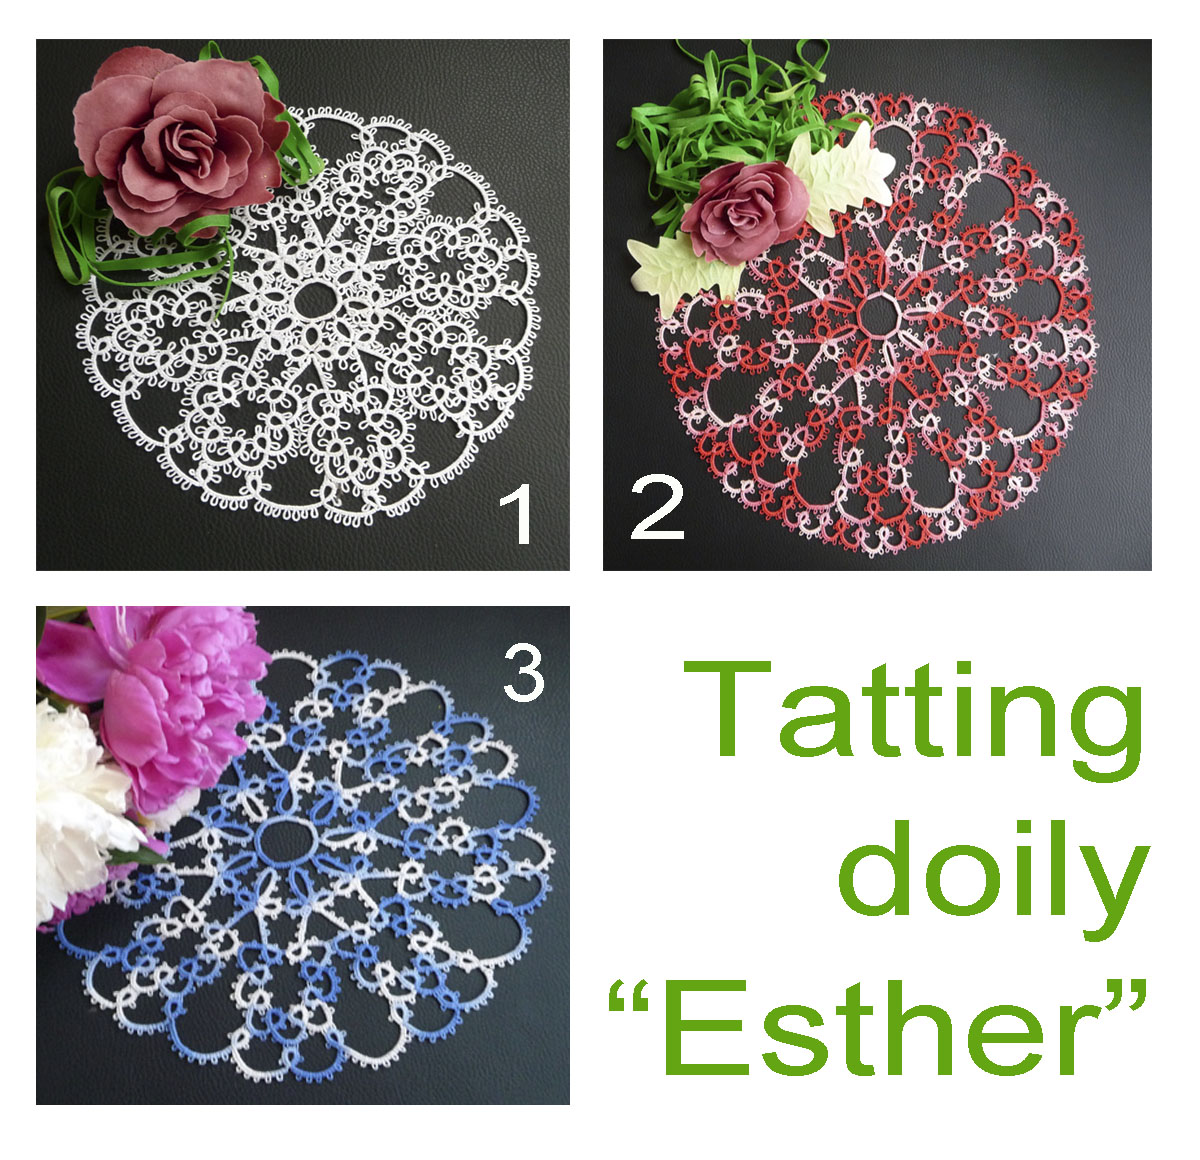
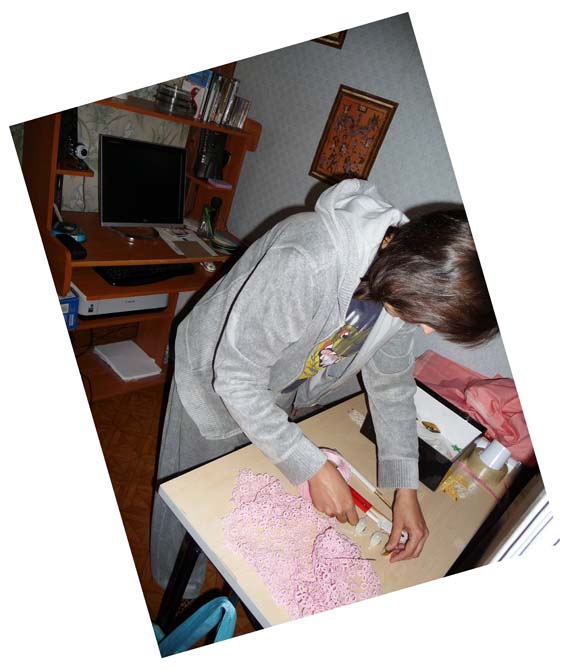
But I will try to explain. You may remember my lace jewelry box. I finally took the time to create a tutorial about this box. Trust me, it takes time and effort. Moreover, I personally do the entire process of creating a pattern. I invent it myself, draw a graphical diagram myself and test the created product myself. Yes, I don’t invite testers! This is a very delicate topic for me. Because I want to be 100% sure of the correctness of my plan. And also I am personally responsible for the quality of each of my tutorials. Perhaps someday … 🙂

Instant Christmas Gift for tatters

Ah, I’m distracted. If I only do the pattern for the lid and sides of the box, I won’t spend a lot of time and materials on it. Accordingly, this pattern will not be expensive. But if I do a FULL detailed tutorial on how to make a box from the beginning to the last knot (this is a lid, sides, bottom, fasteners), then, of course, I will spend a lot of time and materials on it. Here’s my question. Which option do you prefer, cheap or detailed? It is very important for me to find out. Write in the comments, please.

Now my one piece of advice. I hope you enjoy my thought. Although (I’m sure) this idea is not new.

Christmas is near! And the issue with the delivery of parcels is especially acute. Have you made your Christmas orders online? Awful workload of postal warehouses in different countries. If you haven’t taken care of this beforehand, then your package might be here (I’m sorry):

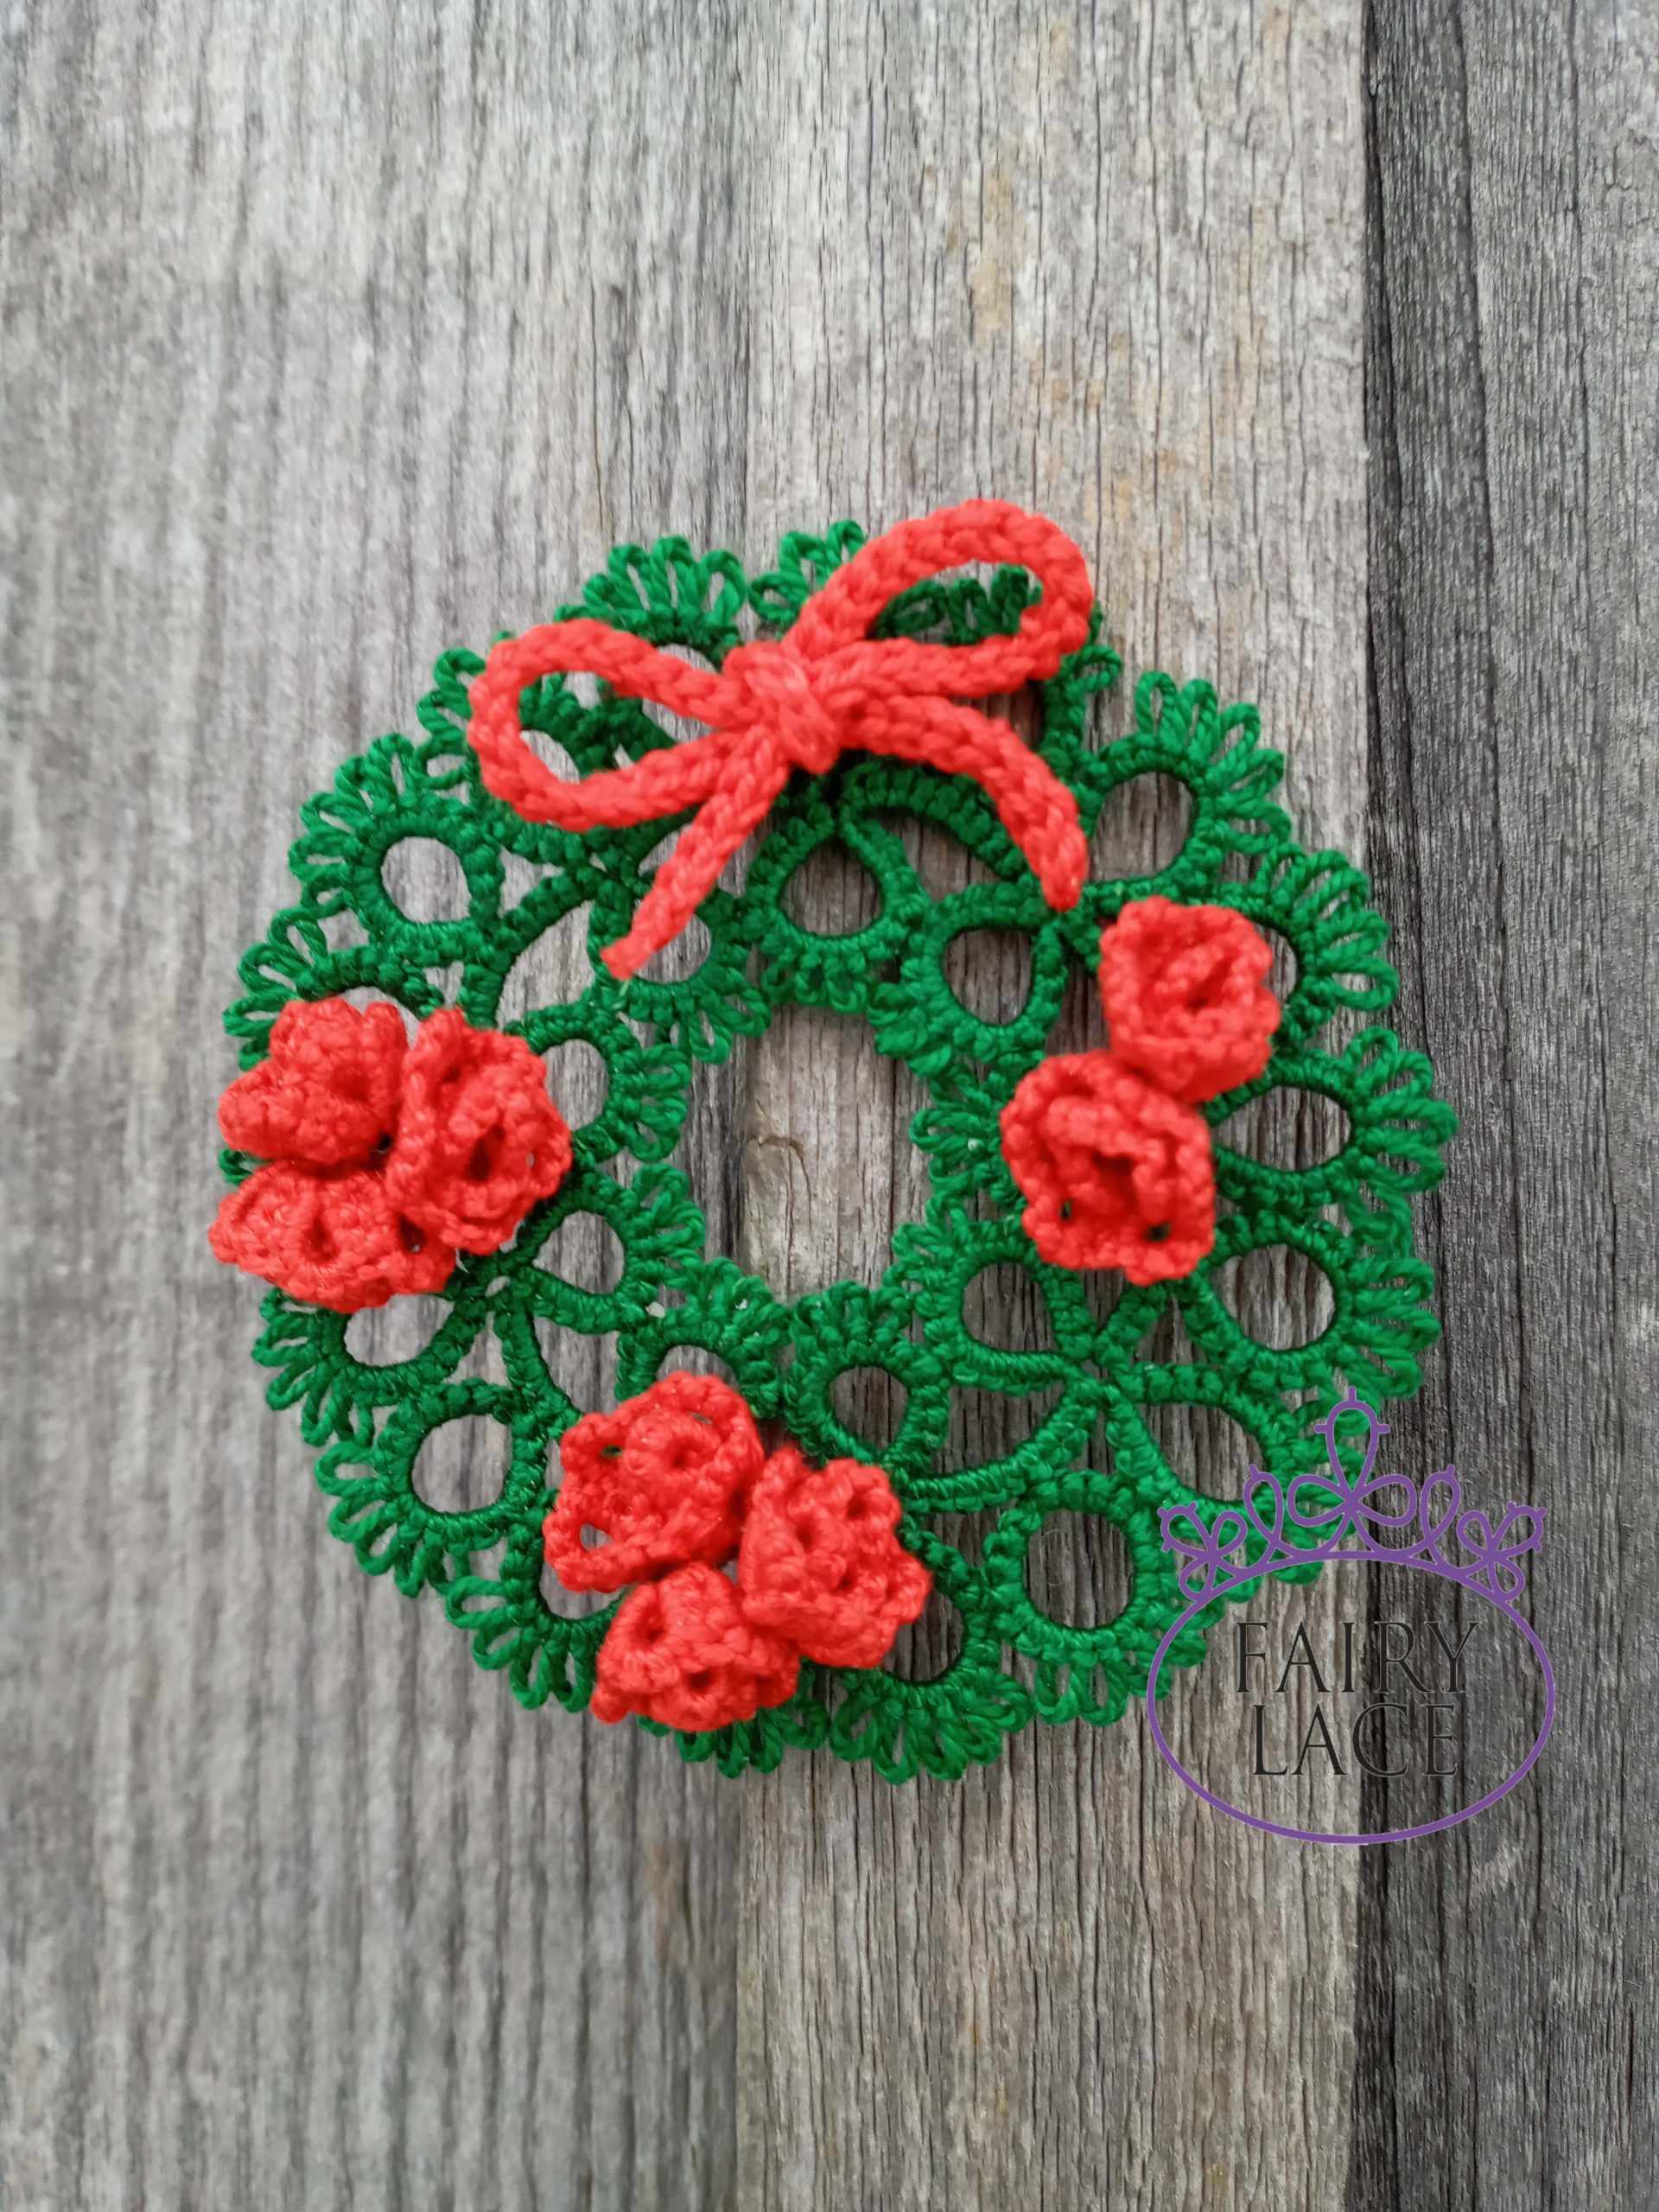
But there is a good way out. I think the best gift for a tatter is threads, tools and patterns! Do you agree? Unfortunately, the threads and tools will not arrive before Christmas. Therefore, remains INSTANTLY LOADED pattern ! Show the next paragraph to your friends and family (ha ha!).

I suggest you buy any pattern, or a whole set. Of course you can do it at any store, but check mine first, please! Moreover, the 10% discount on all patterns continues until December 31st! Coupon code OFF10HAPPYPATTERN https://fairylace.kozinenko.com/product-category/patterns-tutorials/patterns-and-tutorials/

And print the purchased pattern. Moreover, all my patterns are created in PDF format and you can easily print them on your home printer. For this purpose, in addition to the pattern, I created a cute picture. See how cute your gift will look! https://fairylace.kozinenko.com/product/additional-file-for-tatting-pattern/

Do not forget to wear a protective mask before giving your gift! Believe me, this is a nice and very useful gift. But if you are very strict in quarantine, I can send your purchase to any email address you specify. To do this, just contact me before buying by email fish20085@gmail.com or FB: https://www.facebook.com/kozinenkoelena

I look forward to your comments and questions! Happy Holidays!

Posted on 12 Comments

How to stiffen tatting lace

How to stiffen tatting lace

How to stiffen tatting lace, everything I found on the internet and my personal experience. But I would sooooo much like to see your comments on my posts. Trust me, feedback is very important. After all, this is the only way I can understand how interesting my articles are. I am very interested to know if my experience was helpful to someone. So subscribe to my blog. Comment and ask questions. I will be happy to help with tips!

 Hello everyone! Thank you, dear friends, for new subscriptions. Your support helps me improve my blog and store!

Please be patient. Because the article will be too long. But I added pictures for fun! So, let’s begin! As beautiful as the pattern is, the finished tatting product almost always needs to be fixed. I mean giving stiffness and stability to the lace. All tatters know if the lace is not fixed, it looks sloppy. But we should always strive for excellence. Do you agree?

Apart from my own experience, I have found many articles on the Internet on this topic. There are many solutions. Among which are absolutely unexpected, ha ha! It turns out that you can make the lace stiffer: sugar syrup, starch, hairspray, nail polish, PVA glue, varnish for resin, embroidery fixing agent, and even candle wax. I’ve seen a few more experiments. But they did not interest me. So let’s talk a little more about each method.

Sugar syrup for to stiffen tatting lace

I don’t like using sugar syrup. It’s hot and uncomfortable. In addition, sugar lures pests who will eat delicious lace with pleasure!

Starch for to stiffen tatting lace

You can use the powdered kind that is dissolved in water. You will have to get the object totally wet with the starch and then pressed with a hot iron.

Or you can use the pressurized starch sprays that are available in the laundry section. There is a drawback to this method though. It isn’t recommended to use starch for white objects as it will yellow over time.

Hairspray for to stiffen tatting lace

It is interesting to experiment with hairspray. I have tried spraying a strong hold polish on the earrings. But after a few days the varnish peeled off. Therefore, the earrings lost their rigidity and shine, alas. But this method works well with pieces for greeting cards or framed pieces. Moreover, you can use glitter polish. This is what you need for Christmas!

Nail polish for to stiffen tatting lace

I have not tried using clear nail polish. But maybe you tried it? Then share your experience with us in the comments, please.

PVA glue for to stiffen tatting lace

is great for doilies and center pieces. Mix the glue with water. The proportions may vary. If you use a lot of glue, the solution will be too thick. You may be disappointed with the thin film on the back of the product. So the glue is absolutely not suitable for colored threads, only for light ones (white, ivory, etc.). And I think you should not use glue for the products to wear. These are collars, chokers, jewelry, clothing. So I don’t really like this method. And don’t forget! Do not iron! It will darken if you stroke it.

Varnish for resin


I did an experiment with varnish for resin. But the result did not make me very happy. Because I got insufficient rigidity of the earrings. you can also notice traces of dried varnish on the leaf on the right. I think that in this case it is better to use the tatting in resin method. I wrote about this in detail in my previous posts.

Spray for securing embroidery


I don’t use this for tatting. In my opinion, these funds are too expensive. And sooooo expensive for big projects. And also scares me DANGER: Extremely flammable. Fumes are harmful. Content under pressure. Keep out of reach of children.

Embroidery stabilizer solution


This is my favorite way. Read more about this in my article here: https://fairylace.kozinenko.com/cute-tatting-ring-final/

This is how I dispose of the remains of the embroidery stabilizers. I also like that these materials are harmless and environmentally friendly.

Candle wax for to stiffen tatting lace


This is a completely unexpected way for me! I was very surprised. Read more about this on the JEDDAH MOM blog. But come back to me at once! My story is not over. We continue! https://www.jeddahmom.com/how-to-stiffen-a-doily-with-candle-wax-2/

How to soak the finished product for to stiffen tatting lace

I have seen many videos showing the complete immersion of a small piece of tatting into a container of solution. Perhaps this works for small items. Provided that there are no long picots in the lace. Ha! Have you tried this trick on a large item? I tried it once. Now you can cry with me. For I have hopelessly ruined my long work on the bag. The lace should NOT be deformed during the application of the solution.

Therefore, I do not put tatting into the solution. On the contrary, I put the tatting on a flat surface and saturate with the solution. Of course, it is convenient to use a brush for small items.

It is very convenient to work with a spray. But in this case, some of the solution will not get on the product. And be sure to blot the wet product with a towel to remove excess solution.

I use a simple and “reliable” product – a cotton ball. With this ball, I can spread the picot out during the soaking process. I often don’t even need to use needles.

Where to place tatting lace for stiffen

It all depends on the size of the finished product. For example, earrings, snowflakes, bells can be placed on a table or windowsill. In any case, find a place where they will not interfere with you while drying. There are two important points. Try to keep out the sun and dust! To do this, cover the damp item with a plastic container and a towel. I do this for tatting in resin too.

But I have to place very large projects on the floor. When I was finishing the borders for the table linen set, my family was uncomfortable for a while. By the way, do not forget to lay polyethylene or oilcloth under your product BEFORE applying the solution.

And one more important question. Do you use needles for fixation? I don’t have a definite answer here. Because it all depends on the pattern. Of course, you cannot do without needles if there are long picots in the pattern. Or in cases where you need to achieve the perfect shape. For example, for a box.

Thanks for reading my opus! Perhaps I didn’t remember everything. You probably know other methods like to stiffen tatting lace. Then write about it in the comments, please. Your experience is very valuable!

Reminder! 10% discount for you is still valid in my store! Coupon code  OFF10HAPPYPATTERN  is valid until December 31st. How to use the coupon, read in my previous post, please. https://fairylace.kozinenko.com/2020/12/11/christmas-is-coming/

Posted on Leave a comment

Christmas is coming!

Christmas is coming! Hello everyone!  Are you ready for the holidays?

Oh, I have sooooo much more to do! But I hope everything goes according to plan. Of course, I will write a post on how I decorated my house for holiday.

But for now, I create another cute Christmas pattern. Of course, you will have time to make this original tatting wreath with voluminous flowers. Because the instructions are very simple. You can decorate with this cute wreath greeting card for your family and friends. Also, these wreaths can be used as a garland or Christmas tree decoration. I am sure you will enjoy looking at the windows decorated with little lace wreaths.

Pretty wreath, isn’t it? Look here please: https://fairylace.kozinenko.com/product/christmas-wreath-pattern/

 Especially, off 10% for you! Coupon code OFF10HAPPYPATTERN is valid until December 31st.

I have written detailed instructions on how to use the discount. So:

1. Follow this link: https://fairylace.kozinenko.com/ and select the “Patterns and tools” section.

2. Add the item to your cart.

3.Then you can continue to select a product (arrow 1). Or enter the Coupon Code OFF10HAPPYPATTERN (arrow 2).

4. Click Apply Coupon (arrow 1) and scroll down the screen (arrow 2).

5. You will be directed to the checkout page. Attention! You can pay the bill by credit card or your PayPal.

Enjoy the shopping!

I am always ready to answer your questions. For this you can write to me on the comment, email fish20085@gmail.com or FB:https://www.facebook.com/kozinenkoelena

I also hope my video will be interesting and useful to you. https://www.youtube.com/watch?v=Of-fmKKNp4A&list=UU3dn4_9pp7tIKA2k564wLBQ

Subscribe to my blog, comment, ask questions. I will be happy to help.

Posted on 4 Comments

Measuring sticks or picot gauge

Measuring sticks or picot gauge. How to make neat long picots. What tool is better to use for this.

Hello everyone! In early autumn, I finished creating my Summer Mood collection. After the blog post, many readers asked me which measuring sticks for long picots I used. Therefore, I decided to talk in detail on this topic. So, measuring sticks or picot gauge. I will share my experience and my opinion. Your opinion may be different, of course. Therefore, I ask you to share your opinion in the comments, please.

First, by tradition, I must start with history. But I don’t want to waste your time on long historical sentences. It is absolutely clear to me that tatting measuring sticks have been used for a long time. The next photo confirms this.

Photo signed: Antique bone tatting spatulas.

Very interesting, measuring sticks were called spatulas ?!

There are a wide variety of picot tools out there these days.

There is a variant of combining gauge for tatting needles and picots . I don’t like this kind of tool. In my opinion, it is too uncomfortable and cumbersome for weaving picot. Possibly just for measurement.

In my opinion, such sets are much more convenient. But these sticks are handy for tatting shuttles. For tatting with a needle, the wide ends get in the way. Anyway, for me.

The ideal option is straight plastic sticks of different widths. I found this picture on the Internet.

My measuring sticks for long picot

When I bought a set of mesh needles, I was very happy. Because this set includes three plastic sticks. They are long enough, smooth, comfortable. But only three sizes. And the package went sooooo long. And I need a lot of picot gauge of different sizes and urgently! To you too?

For example, to create this collar, I used 10 strips of different widths.

I took thick cardboard and cut out 10 strips of the desired width. The length of the stripes is whatever is convenient for you. I have signed a number on each strip. This number indicates the width of the strip in millimeters. Then I covered each strip with scotch tape for better glide. This method is perfect! You can make as many measuring sticks as you like, quickly and easily. Is not it?

Another option is to make spatulas (haha) from used plastic cards. But you have to try, because cutting such a card neatly and neatly is not very easy. But you get a graceful, smooth and durable strip.

Also, I don’t throw away ANY plastic sticks. For example, ice cream sticks. It’s a shame they only have one size.

Helpful advice for use measuring sticks

Pay attention to how the measuring stick is positioned during weaving. The strip can be parallel or perpendicular to the work. This will determine how long the picot will turn out in the finished form.

For example, in this photo, the cardboard strip is located perpendicular to the work. The shuttle and ball threads are located on both sides of the strip. Therefore, in the finished form, the picot will turn out to be two times shorter (in this version, 7, 5 millimeters). By the way, this method is suitable for weaving only one picot at a time.

But if you want to make several picots in a row, you need to position the stick perpendicularly. And in this case, the finished picots will be the same length as the measuring stick is wide.

The same applies to tatting with a needle.

I invite you to check out my pattern patterns using long picots. I hope you will enjoy. Especially, off 10% for you! Coupon code OFF10HAPPYPATTERN is valid until December 31st. Welcome! https://fairylace.kozinenko.com/product-category/patterns-tutorials/patterns-and-tutorials/

I also hope my video will be interesting and useful to you. https://www.youtube.com/watch?v=Of-fmKKNp4A&list=UU3dn4_9pp7tIKA2k564wLBQ

Subscribe to my blog, comment, ask questions. I will be happy to help.

Posted on Leave a comment

Carry the can

Carry the can

Carry the can, how I became guilty without guilt.

Hello everyone! Oh, how long have I not posted on my blog! I hope you didn’t have time to forget me. So be patient and read my post to the end, please. I so need your attention!

You know, I really like to get new knowledge and new experience. My native language is Ukrainian. I am also fluent in Russian. Also I am trying to master English and Italian. But in this I am helped by Google translator and articles on the Internet about the features of different languages. In the Russian language there is an expression “guilty without guilt”. You will be surprised for sure. It turns out that there is an idiomatic analogue of this phrase in English! Of course, I learned about it from the Internet. This phrase goes like this: “Carry the can”. Ha, I am amused!

So why did I start my post by saying that I am guilty and not guilty? It’s Complicated. I have announced a black friday weeksale in my store. Many visitors showed interest in my store. I am very grateful to you and happy. But, as technical progress is imperfect, alas. My hosting server is down. This is a catastrophe. Because for 6 whole days my store site did not work. How to be now? I invited you, but the door was closed. I am responsible for what happened, but I cannot influence the operation of the rented hosting. Thus, it turns out that I am guilty, but not guilty. Carry the can 🙂

Attention!

I hope, you understood me. I apologize to everyone who wanted but could not make a discount purchase from my store. AND I CONTINUE SALE for you! Coupon code OFF10HAPPYPATTERN is valid until December 31st. By the way, this coupon is valid not only for patterns, but also for shuttles. You can check out my amazing tatting shuttles here: https://fairylace.kozinenko.com/product-category/patterns-tutorials/tatting-tools/

But I haven’t been messing around this week, of course. First, I finished the pattern for the second Christmas bell. https://fairylace.kozinenko.com/product/pattern-christmas-bell-2/

Secondly, I started working on the tatting pattern for the jewelry box. But I’ll tell you more about this in the next post. In the meantime, only a photo.

Thirdly, I had an idea to create a new collection of earrings. With patterns, of course. Now I am drawing various options and also choosing threads and beads. Perhaps I need metal chains. I’m thinking …

Join me on FB also: https://www.facebook.com/kozinenkoelena

Don’t forget to subscribe to my YouTube channel, please. I hope you enjoy my videos. Welcome: https://www.youtube.com/watch?v=7PTRzbOJEfc&list=UU3dn4_9pp7tIKA2k564wLBQ&index=2

Also subscribe to my blog. Comment and ask questions. I will be happy to help with tips!

Posted on 4 Comments

Long picots.

How to make straight long picots.

Long picots
Long picots

Hello everyone! First, I want to thank everyone for your prayers and support. My husband is doing better. The new cardiogram showed only one systole. My dear hubby will have another checkup next week. And I hope everything will be fine.

And now about something even more pleasant. 🙂 I have already written in previous posts about my hobby for long picots. Yes, I created a new collection based on this method. This is Summer mood. https://fairylace.kozinenko.com/product/summer-mood-collection/

So, you asked what picot gauge I use. You can take a “tatting needle and picot gauge”. But I do not like bulky tools. I use plastic strips of different widths or homemade cardboard templates. Because you can make them as many as you like, any width and length! https://fairylace.kozinenko.com/2019/10/22/additional-tools-for-tatting/

Also, I needed 10 strips of different widths to make the collar necklace “Sea Glass”! https://fairylace.kozinenko.com/product/sea-glass-tatting-pattern/

Detachable blue collar necklace for Dress Sia Glass

I’m putting together a collection of platinum stripes! Because I like long gauge. After all, this is very convenient for weaving several picots in a row. But this is in my opinion, of course. I made a video for you how to make even long picots. And of course I show 4 ways.

First

Tatting with a shuttle.

Second

Tatting with a needle.

The third

Cro-tatting.

The fourth

This my favorite tatting tool – the netting needle. Don’t forget to come back to me after watching the video, please! https://www.youtube.com/watch?v=Of-fmKKNp4A&t=20s

I hope you enjoy tat the long picots. It’s so exciting, isn’t it? In addition, I always call for the expansion of knowledge and skills. My great-grandfather used to say: to know and be able to – not to carry, but in life it will come in handy. Oh, sorry, I don’t know the English equivalent of this proverb!
Here is another pattern with long picots. This cute Christmas bell is easy to make just by following the instructions! Welcome! https://fairylace.kozinenko.com/product/christmas-bell-pattern/

Subscribe to my blog. Comment and ask questions. I will be happy to help with tips!

Posted on 14 Comments

Difficult week

Difficult week, or when you need help from friends.

Hello everyone! Oh, really, I went through a rather difficult week. I have not visited social networks. Also I haven’t written anything on the blog. I couldn’t even make a new pattern. I was very busy, excited and upset. My husband had a complicated heart surgery two years ago. He was examined last week. Alas, things are not very good. Of course, we will fulfill all the doctor’s orders. I hope in the Lord and in you, my dear friends! We need your prayers.

In this difficult time tatting is my salvation. This is my meditation and relaxation. Now I calmed down a bit and was able to finish the pattern with my new square doily. Do you remember my collection Summer mood? This is my collection of long picot patterns. You can see samples of Summer Mood here: https://fairylace.kozinenko.com/product-category/patterns-tutorials/patterns-and-tutorials/

I cannot deny myself the pleasure of “extending the summer”!  This doily is called “Just a square”. And the peculiarity of this pattern lies in the use of chains ONLY. So a new doily took its place among them: https://fairylace.kozinenko.com/product/just-a-square-pattern/

But that’s not all! I made another square doily. Because I really like this shape. But, as usual, I can’t think of a name for the new doily. Help, help, help! What does it look like?


Please write your name options in the comments.

Don’t forget to subscribe to my YouTube channel, please. I hope you enjoy my videos: https://www.youtube.com/watch?v=7PTRzbOJEfc&list=UU3dn4_9pp7tIKA2k564wLBQ&index=2

Subscribe to my blog. Comment and ask questions. I will be happy to help with tips! Welcome! https://fairylace.kozinenko.com/blog/

Posted on 2 Comments

How to improve Karma

How to improve karma, or why I am making patterns.

Hello everyone! Recently I read an excellent treatise on the structure of the world, society and the role of man in it. Yes, do not be surprised, because I am fond of philosophy and esotericism. Of course, only after class tatting! I will not tire you with long quotes. Just a few important thoughts, I think. Of course, you know what Karma is. This is a person’s destiny, a task that he must fulfill in his life. How to improve Karma? Of course, a person must do good deeds, be honest, kind. But the most important human task is creativity. This is what this clever book says. And I agree with that.

Creativity surrounds us everywhere. Is not it? The seamstress made a dress. The artist painted a picture. The manicurist made an incredible drawing on your nails. Mom cooked lunch and added a new ingredient to the salad – very tasty and new! Now tell me, are you tatting – is it a craft or creativity? This is creativity and art – I am sure you will agree with me – I believe that any activity can become a real art if you treat the work creatively.

And I really like to fantasize. Therefore, I create tatting patterns. Oh, how many ideas are running in my head! I also love it infinitely when my ideas take on a new look. By the way, this is how my customers improve their karma! After all, they do not just make a tatting from a drawing. They show their creativity! I love getting photos of your work. This makes me happy and inspires me for further creativity, of course.

Products according to my patterns

See how Elena added large beads to the pattern. Of course, the collar is great. Right?

And this slave bracelet ring Shakti was made by Marianne. She took white thread and got the perfect wedding accessory! Do you agree?

And these absolutely cute 3D bows were made by Christie for her daughter. Incredible creativity! I’m sure you will appreciate it too!

Recently Dawn stunned me. Yes, I did not expect such an amazing embodiment of my Mandala. Because it turned out to be a Dreamcatcher!

Thank you, thank you, thank you my creative buyers! And I really hope that new buyers will also show their creativity! After all, it improves our common karma 🙂

And you can find an object for your creativity in my store. Discount for all patterns is 10%. Coupon code: off10happypattern

Welcome! https://fairylace.kozinenko.com/product-category/patterns-tutorials/

Also don’t forget to check my YouTube channel: https://www.youtube.com/watch?v=7PTRzbOJEfc&list=UU3dn4_9pp7tIKA2k564wLBQ&index=2

Subscribe to my blog. Comment and ask questions. 

Posted on 6 Comments

How important is the right choice

How important is the right choice

How important is the right choice.

Hello everyone!

Yes Yes! You know, of course, that the right choice is very important in life. Oh, it’s not easy, of course. We are constantly faced with various difficulties and problems. Is not it? What dress to wear? Which movie to watch? And which university to apply to? Or which job should you choose? So many, many, many different questions. Of course, there are significant or simple questions. But we are very afraid to make a mistake. I asked myself a question. Why is the right choice so important? Probably because the final result depends on my choice. I understand that sometimes someone’s life and destiny depend on the right choice. But sometimes the choice doesn’t big really matter. In fact, is there a difference what color of shoes I wear today? Ha ha!

However, imagine that you wanted to order a white tablecloth, and the seller sent you a blue one. However, imagine that you wanted to order a white tablecloth, and the seller sent you a blue one. Will you be delighted in this case? I’m sure you will be upset. Of course, when a master makes a product to order, he discusses all the details with the buyer. And here everything is clear, although sometimes it is not easy! But it often happens that I just embody my idea. I need to materialize my inspiration. And in this case, my choice is very important, I think.

After all, my creation should be liked by “viewers”. Ideally, I would like to cause complete delight, of course! (this is immodest, ha ha!) . But you can’t guess all the tastes. Therefore, I sometimes make several versions of the product. For example, look at Esther’s napkin. Which option do you like best? Write in the comments, this is very welcome!

I suggest you make your own version according to my tutorial. Welcome: https://fairylace.kozinenko.com/product/doily-esther-tatting-pattern/

Also don’t forget to check my YouTube channel: https://www.youtube.com/watch?v=7PTRzbOJEfc&list=UU3dn4_9pp7tIKA2k564wLBQ&index=2

Subscribe to my blog. Comment and ask questions. I will be happy to help with tips! Have a nice weekend! I hope you make the right choice and have fun these days!

Posted on 8 Comments

Tatting is my passion!

Tatting is my passion, or why I love tatting.

Hello everyone!

First, tatting is very mobile. I can make lace anywhere. Secondly, this is a rather rare occupation. And it’s intriguing. Third, tatting allows you to constantly improve. Yes, I do not stop in search of new techniques and methods. Fourth, when creating new patterns, I express my creativity and feel like an artist. This is very flattering! Surely there are more – fifths, sixths and so on! But the main thing is the manifestation of one’s own creativity, I think. Therefore, tatting is my passion!

Summer will be over soon. My Summer Mood project should be ready. This collection is based on the use of long picots. You can watch a short video on my channel: https://www.youtube.com/watch?v=qWPPlAbps5I&t=6s

I was thinking about which doily to add to complete this collection. Why not make something square? Round, pentagonal, 12 rays are already there. I think the square is exactly what I need! Of course, I tried variations, drew patterns. And I made a doily finally. But I’m not sure if she’s perfect, alas. Of course, I have another idea. But for now, I ask your advice. Please write in the comments your assessment of this pattern. Would you like to make a square like this? Plus, there is one mistake. This is what happens when I weave at night! Have you noticed?

Tatting is my passion

But during the day I was busy. I had interesting projects. Here is one of them – an embroidered picture. I needed to prepare a present for a wonderful lady.
I first chose a design (I have over 40,000 embroidery designs so choosing is hard work, ha!) Well well! I choose a painting measuring 30 x 17 cm, 29 thread colors and over 83,000 stitches. I like to do paintings on bulky fabrics. It gives the composition solidity, doesn’t it? But this kind of fabric requires a lot of fixation, so I used three different stabilizers. Okay, my embroidery is neat, hurray!

I had to embroider at a slow speed. Because I used glow-in-the-dark threads for some of the fragments. It looks impressive (if the photo did not scare you, you will understand me!)

Three days of work and the embroidery is finished. I took a humble frame. After all, the main focus should be on the picture, I think. I hope my friend will like the gift!

I was completely off topic. Back to tatting! You know many reasons why you can love this type of needlework. (By the way, you can write about this in the comments). But I realized that thanks to my favorite pastime, I learn a lot of new and useful things. I searched the internet for articles about the square, it just came to my mind because of the square doily. And I was surprised when I found out about A Square Poem! Of course, I’ve read Lewis Carroll. But I read it translated into Russian. Because I don’t speak English well enough, unfortunately. See how symmetrically-squarely -logically all words are arranged! Reading this poem vertically (the first word of each line, then the second word of each line and so on) yields the same poem as reading it in the normal way. Wow!

I often wondered when I cursed,
Often feared where I would be—
Wondered where she’d yield her love,
When I yield, so will she.
I would her will be pitied!
Cursed be love! She pitied me …

So, I learned something new and extremely interesting!

Thanks for reading! As a reward, I declare a 15% discount on any patterns in my store. The discount is valid until September 1. Coupon Code: 1TAT4YOU
Welcome:
https://fairylace.kozinenko.com/product-category/patterns-tutorials/patterns-and-tutorials/