Posted on Leave a comment

Tatting curl

Red tatting earrings and pendant in heart shape on white background, made with the curl element by FairyLacefromElena

Tatting curl. How to make curl in beginning work.

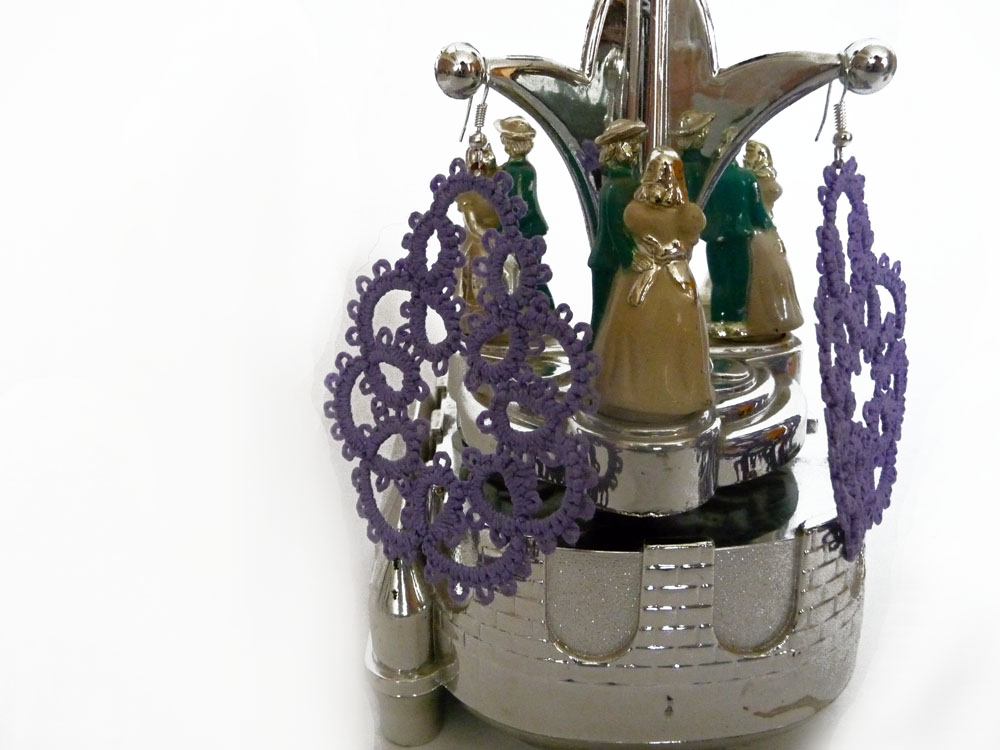
Hello everyone! I recently made a new pattern for tatting earrings ” Valentine “. By the way, now you can buy any pattern at a discount 10%. Use coupon code: OFF10HAPPYPATTERN

https://fairylace.kozinenko.com/product-category/patterns-tutorials/patterns-and-tutorials/

Tatting curl

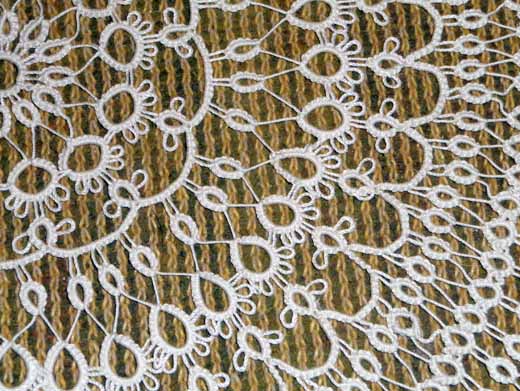
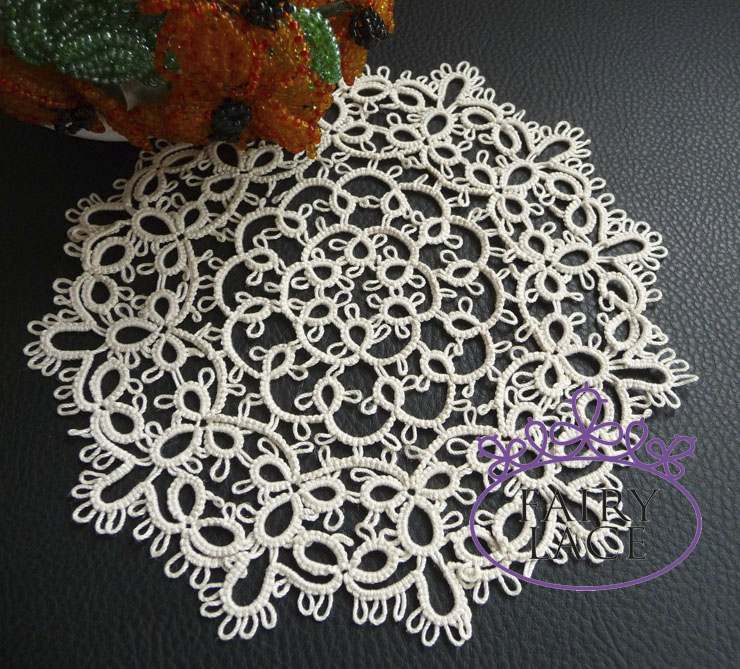
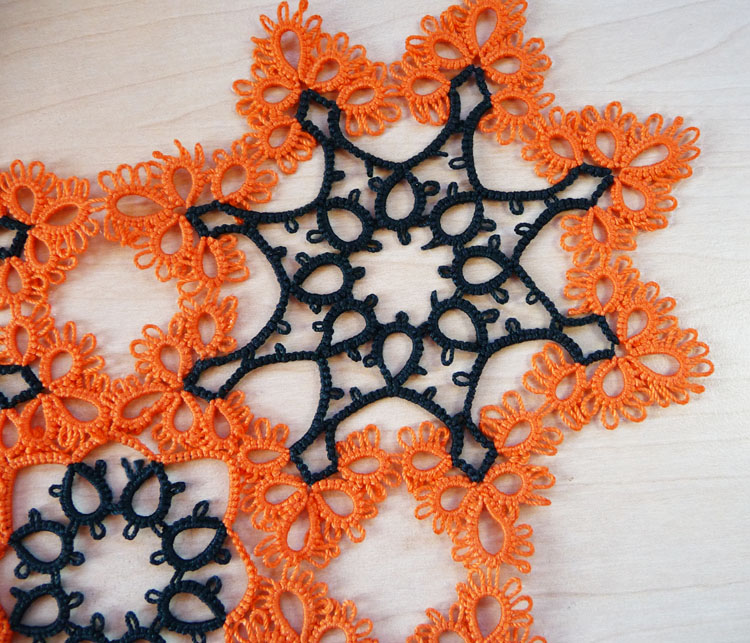
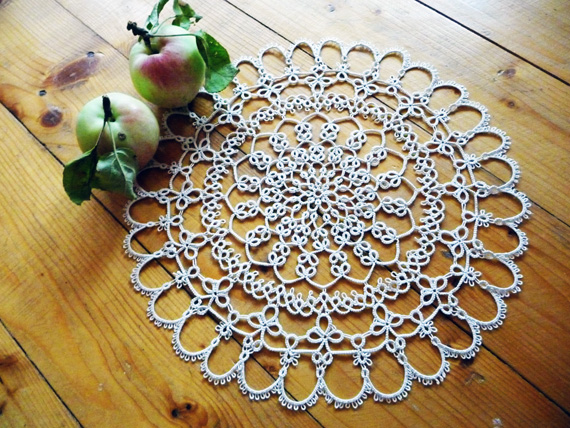
I used curl in these earrings. After posting to the FB, you asked me how to do this.

So I decided to tell you more about how I make curls. There are several subtleties. Take my advice. And then your curls will look perfect!

First trick

You must try to ensure that all nodes are strong enough. Do you know that you can determine the nature of a person by nodes? Yes, psychologists know many tricks to analyze us! If your nodes are very strong, you have a solid and even somewhat tough character. If you make free knots, then most likely your character is soft and calm. Please write in the comments if your nodes match your character! It is very interesting. Because my nodes even depend on my mood, yes! Oh, I’m a little distracted! So, tatting curl. What you need for a perfect curl. Firstly, try to make your nature very solid at this moment 🙂 The stronger the knots you tie, the better it a curl will hold the form.

Second trick

We start tat with a chain sometimes. Of course, it depends on the pattern. In this case, it is convenient to use a paper clip. But for curl, this does not work absolutely. Because you get a weak knot at the beginning of the curl after disconnecting the paper clip. What to do? I take a small piece of thread. How it works, check out my video. This my video shows three methods of tatting, as usual: tatting with a shuttle, tatting with a needle and cro-tatting. You can easily and simply make a curl at the beginning of weaving. https://www.youtube.com/watch?v=P0zrZP-a6dQ


Subscribe to my blog. Comment and ask questions. I will be happy to help with tips! Welcome!  https://fairylace.kozinenko.com/blog/

Posted on Leave a comment

Hiding end threads in tatting

Fragment of lace tatting round doily

Hiding end threads in tatting.

Oh, I already wrote before that I don’t like to hide the ends of threads. Does any of you love this? How terrible it is: to remove a lot of cut ends, worrying so that they do not come apart. Many tatters come up with how to make this process easier. Beginner tatters master the classical methods. In any case, it was so with me. Here you can watch my video, which shows in detail how I did it before. https://www.youtube.com/watch?v=HKBg6xUGZL8&t=939s

I have studied many textbooks and videos on the Internet over ten years of my practice of tatting. Of course, there are many interesting and useful master classes for hiding end threads in tatting. But I did not find any material that combines the three methods of tatting: shuttle, needle and hook. My goal is to promote all kinds of tatting. Therefore I hope you will be interested in my experience!

So, a short review of today’s video. I like make large laced items, such as doily, tablecloths, collars, etc. In this case, I will have to “lengthen” the thread several times. And should try to make the snapping of the thread invisible and durable. After all, it is very important from an aesthetic and practical point of view! If I hide both cut ends in one ring or one chain, I get a thickening. (I don’t even consider the option with four threads at once!) Therefore, it is better to tie a new thread at the junction of two or more elements. Example in the photo.

Hiding end threads in tatting

You can modify and improve my experience, of course. I will be glad if you share in the comments your ways of hiding end threads in tatting. Welcome! https://youtu.be/K_fWxN3THBc

By the way, in conclusion, I want to say sorry-sorry-sorry-sorry! I forgot to activate the payment button for all countries. now this mistake is fixed. So I am extending the term of the action with a 10% discount on all my patterns. Now the PATTERNXMASDECOR coupon is valid until December 15th! Take advantage! https://fairylace.kozinenko.com/product-category/patterns-tutorials/

Subscribe to my blog. Comment and ask questions. I will be happy to help with tips!

Posted on Leave a comment

Tatting split chain

Round nude tatting doily with split chain pattern, styled with red rose by FairyLacefromElena

Tatting, split chain, new video tutorial.
I already wrote that I really don’t like to hide threads in tat (and nobody likes, right? 🙂 Therefore, I try to do tatting without cutting the thread between the rows. In one of my past posts, I showed you how to go from row to row using an split ring. https://fairylace.kozinenko.com/2019/10/15/video-lesson-for-three-types-of-tatting/
Today’s post is very short. I don’t want to take your time to read, because you can better watch a video with wonderful music like Mozart! So today, my new video. This a tatting lesson on how to make a split chain. As usual, I show all three types of tatting: shuttle tatting , needle tatting and cro-tatting. Perhaps for needle tatters this video will be especially interesting. Because for a tatting needle, there are two methods to make a split chain. So, welcome to my YouTube channel: https://youtu.be/qkj3_N7LBaE

Tatting. Split chain_Moment

Subscribe to my blog , who is interested in tatting in resin! Because several articles on this topic are waiting for readers of my blog very soon. I will share ALL the secrets that I know myself 🙂 And of course, I’m sure these articles will help you make transparent tatting in resin absolutely perfect!

Welcome to my store:

https://fairylace.kozinenko.com/product-category/patterns-tutorials/
 I like reading your comments, thanks! Comment and ask questions. I will be happy to help with tips!

Posted on 10 Comments

Front and back side tatting

Bicolored square tatting doily with orange star and green center on white background by FairyLacefromElena

Does front and back side tatting? Oh yes of course! Are you surprised? Often novice tatters do not pay attention to this nuance. However, following this rule will help you make your lace more neat and presentable. Want to test yourself? Look carefully at these photos. Which of these earrings do you think is right? You can write your option in the comments, please!

The correct earrings in photo 1 and 4. Let’s see what is wrong with earrings 2 and 3? All rings in earrings 2 and 3 are made wrong, unfortunately. Therefore, picots at the rings in these cases look messy. Compare lilac earrings with red earrings. The difference is obvious! Do you agree?

I do not get tired of repeating this rule to my students, and I always write this reminder in the instructions for my patterns:

When making the double stitches on the back side, make the second half of the second stitch fixture and the first half of the double stitch next

So, if you are not yet using this rule in your tatting, try it! I am sure you will like the new look of your lace. Such work requires more focus and attention, of course. But it’s worth it. Because the front and back side of your tatting will turn out perfect! But again, each tatter chooses a method that he likes best.

I want to draw your attention to the following fact. I did not come up with this method, of course. This method has existed for a long time. Not everyone pays attention to the differences as a result of the first and second method.
This is an excerpt from Book 6 “Tatting Talk: A Self-Improvement Guide for Tatters” Needle Tatting Basics Part 2 by Georgia Seitz revised 6-21-98:
Remember, if you prefer the all right side up look, just do the half stitches in reverse order.
And, of course, I suggest visiting the blog from Frivole: http://leblogdefrivole.blogspot.com/2016/02/reverse-stitches.html The article is very interesting and reveals deeper terminology (I did not try to make my post so professional).

Subscribe to my blog. Comment and ask questions. I will be happy to help with tips! And of course, do not forget to visit my store, welcome! https://fairylace.kozinenko.com/

And welcome to my YouTube channel: https://www.youtube.com/watch?v=wETpH0sP56o&list=UU3dn4_9pp7tIKA2k564wLBQ&index=1

Posted on Leave a comment

Tatting little tricks

Beige tatting lace doily made with split rings and chains, lying on a wooden background next to a red apple. #FairyLacefromElena

You already know that I like to use different little tricks for tatting. And today is another tatting little trick for you, my dear readers!

Nobody likes to hide threads after weaving. Is not it? I also do not like! Therefore, I try to leave as few trimmed threads as possible. For example, I made this doily WITHOUT CUTTING THREADS completely. In this case, I used split rings and split chains.

Do you think this is difficult? Not at all! Start by connecting the first and second rows of any doily. Often, patterns begin with one ring. For example, like here:

This is a fragment of the tatting pattern of the Japanese master Yusai Shokoin.

First, try not to cut the thread after the first row, use a split ring. And you can watch this process on my YouTube channel. By tradition, I am doing a video lesson for three types of tatting: tatting shuttle, tatting needle and cro-tatting. https://youtu.be/wETpH0sP56o
Maybe, you may not using split ring very well. In this case, a detailed video tutorial on this topic will come in handy, I think! https://www.youtube.com/watch?v=-asLG1i2pTQ&t=483s

Subscribe to my blog. Comment and ask questions. I will be happy to help with tips!

A variety tatting patterns you can buy in my store. Welcome! https://fairylace.kozinenko.com/product-category/patterns-tutorials/

Posted on 2 Comments

Special for needle tatters!

Lavender needle-tatted earrings on a musical carousel jewelry box, made by adapting a free tatting pattern for needle tatters. #FairyLacefromElena

Special for needle tatters today I write continue of the previous post. https://fairylace.kozinenko.com/2019/10/08/free-tatting-pattern-earrings/

Last time I drew for you a pattern of simple, but graceful tatting earrings. And then you read the detailed instructions on how to do this (did you really read? I hop! ). But the last time we were carried away by the shuttle tatting only. So today I’m trying to fix this shortcoming.
So, special for the tatter needle!

I will not repeat the graphic pattern and the first version of weaving. Because the needle and shuttle methods in this case are nearly identical. But note that you need beginning tat from the back side. When making the double stitches on the back side, make the second half of the second stitch fixture and the first half of the double stitch next.

So let’s look at the second option right away.

Abbreviation:

R – ring; SR – split Ring; C – chain; p – picot; jp – join picot; tw – turn the work; numbers indicate the number of double stitches.

Beginning work – green circle. (We beginning tat from the back side, do you remember?) 1. R: 2, p , 2 , p , 2 , p , 2 , p , 2 , p , 2 , p , 2 , p , 2, tw; 2, 4, 6, 8, 10, 12, 14. C: 2 , p , 2 , p , 2 , p , 2 , p , 2 , p , 2, tw; 3, 5, 7, 9, 11, 13. R: 2 , p , 2 , p , 2, jp to previous Ring (according to the diagram), 2 , p , 2 , p , 2 , p , 2 , p , 2, tw; 15. R: 2 , p , 2 , p , 2, jp to previous Ring (according to the diagram), 2 , p , 2 , jp to R1 (according to the diagram), 2, p , 2 , p , 2 .  Do NOT CUT thread.

16. SR:  [ Tat of the ball thread: 2, p , 2 , p , 2 , p , 2 ], here we turn the work ( photo 1) and un-thread the needle, [tat next 8 double stitches using the needle thread, that was just un-threaded, passing the double stitches over the eye end of the needle ( photo 2 and 3): 2, p , 2 , p , 2 , p , 2 ], re-thread the needle (photo 4), and close the ring as usual (photo 5);

17. C: 2, p, 2, p, 2, p, 2, small picot for earrings hook, 2, p , 2, p, 2, p, 2; 18. R: 2, p, 2, p, 2, p , 2, ( joining to Element 1 according to the diagram), 2, p, 2, p, 2, p, 2, tie and cut.

Attach the hook for the earring. We make the second earring in the same way. And your earrings special for needle tatters ready!

Subscribe to my blog. Comment and ask questions. I will be happy to help with tips! https://fairylace.kozinenko.com/blog/

You can see three tatting methods on my YouTube channel: https://www.youtube.com/watch?v=3U-z6wuzX08&list=UU3dn4_9pp7tIKA2k564wLB

And of course, welcome to my store : https://fairylace.kozinenko.com/

Posted on 10 Comments

Free tatting pattern earrings

Five tatting lace earrings of different colors on a white background, made following a free tatting pattern with a diagram and step-by-step photos. #FairyLacefromElena

Very easy free tatting pattern earrings for tatters! Want to make these earrings yourself? These lace earrings are very simple but spectacular. So for you master class .

I offer two ways of tatting, choose what you personally like!

Abbreviation:

R – ring; SR – split Ring; C – chain; p – picot; jp – join picot; 1S – shuttle; TS – shuttle and bow ( or two shuttles for way 2); tw – turn the work; numbers indicate the number of double stitches.

The first way:

This is very simple, for beginners tatters. Therefore, you should be able only to Ring and Chain. You will need cotton threads №10, one shuttle, scissors, crochet hook and two earrings hooks.

Take the shuttle, wind the thread on the shuttle ( 2 – 2,5 m ), do not cut the thread.

We do it according to the scheme. The scheme consists of two elements: A ( pink color on the diagram) and B (brown color on the diagram).

Element A:

Beginning element – green circle. 1S – 1. R: 2, p , 2 , p , 2 , p , 2 , p , 2 , p , 2 , p , 2 , p , 2, tw; TS – 2, 4, 6, 8, 10, 12, 14. C: 2 , p , 2 , p , 2 , p , 2 , p , 2 , p , 2, tw; 1S – 3, 5, 7, 9, 11, 13. R: 2 , p , 2 , p , 2, jp to previous Ring (according to the diagram), 2 , p , 2 , p , 2 , p , 2 , p , 2, t 1S – 15. R: 2 , p , 2 , p , 2, jp to previous Ring (according to the diagram), 2 , p , 2 , jp to R1 (according to the diagram), 2, p , 2 , p , 2 . Tie and cut.

Element B:

Beginning element – blue circle.

1S – 1. R: 2, p, 2, p, 2, p , 2 ( joining with hook to Element 1 according to the diagram) , 2, p, 2, p, 2, p, 2, tw; TS – 2. C: 2, p, 2, p, 2, p, 2, attach to earrings hook, 2, p , 2, p, 2, p, 2, tw; 1S – 3. R: 2, p, 2, p, 2, p , 2, ( joining with hook to Element 1 according to the diagram), 2, p, 2, p, 2, p, 2, tie and cut.

Second Earring tatted similarly.

The second way:

The second way is more complicated. Therefore, you should be able to Ring, Chain and Split Ring. You will need cotton threads №10, two shuttles, scissors, crochet hook and two earrings hooks.

Take two shuttles, wind the thread on the shuttle ( about 4 m), do not cut the thread between shuttles.

Rings and Chains 1 – 15 are done similarly to Method 1, but after Ring 15 DO NOT CUT the thread!

TS – 16. SR: [ 2, p , 2 , p , 2 , p , 2 ], [ 2, p , 2 , p , 2 , p , 2 ], tw; TS – 17. C: 2, p, 2, p, 2, p, 2, attach to earrings hook, 2, p , 2, p, 2, p, 2, tw; 1S – 18. R: 2, p, 2, p, 2, p , 2, ( joining with hook to Element 1 according to the diagram), 2, p, 2, p, 2, p, 2, tie and cut.

Congratulations! Your earrings ready!

In the next article I will describe in detail how to make these earrings with a tatting needle using method 2. If you are interested, subscribe to my blog. Comment and ask questions. I will be happy to help with tips! https://fairylace.kozinenko.com/blog/

You can see three tatting methods on my YouTube channel: https://www.youtube.com/watch?v=3U-z6wuzX08&list=UU3dn4_9pp7tIKA2k564wLB

And of course, welcome to my store : https://fairylace.kozinenko.com/

Posted on 16 Comments

How to reduce the pattern tatting.

White tatting lace doily on a black background next to a transparent box with a red artificial rose and green ribbons — used to show three ways to reduce a tatting pattern by FairyLacefromElena

How to reduce the pattern tatting. Very often on the Internet you are see tatting pattern that very much likes you! Whether a doily or earrings, a bracelet or a tablecloth … But for some reason the size of a lace decoration, indicated in the instruction, does not fit for You. How to reduce the size of the finished product? I have three ways. Each ways has its own advantages and disadvantages. Hopefully, my tips will be useful to you!

Way 1 how to reduce the pattern tatting.

Take a little thinner threads, as indicated in the instruction. And weave according to the pattern, not changing anything! Look at the difference between the earrings I made from Threads # 10 and # 20.

The advantage of this way is its ease.
But there are disadvantages: you can not know for sure what size of the finished product you will get 🙂 . And when changing the thread size the pattern works perfectly not always.

Way 1 how to reduce the pattern tatting.


Remove the last Row from the Pattern. For example:
In this Doily there were 4 rows and a size 10,6 inches in diameter.

Remove off the last, fourth row. And in the third row add the picot for a more logical pattern completion.

Way 3 how to reduce the pattern tatting.


Remove some middle rows from the pattern. For example:
This pattern has 8 rows, the finished doily size is about 9 inches. I want to exclude 5 and 6 rows.

Tat 1 – 4 rows.

Divide the finished piece into 4 parts mentally. (If the finished piece is very large, it can be divided into 8 or 12 parts for easy drawing).

Draw the border of the fourth row (one quarter. In order not to use the large size of the paper page).

Draw the fifth row similar to the seventh (graphic diagram). There will be fewer repetitions of elements in this row, of course (we are reducing the pattern. Do you remember ? ☺ ) Now we can weave a “new” fifth row. The size of the tatted elements should match the drawn elements. Record the appropriate number of double stitches in rings and chains. ( R: 5, p, 5, p, 5; C: 8, jp, 8 )

We continue to the end of the row. That’s what will get.

Draw the sixth row (this will be the last row in the pattern). You can copy a pattern from a graphic diagram or be creative and add something new. I changed the design slightly. And again: the size of the tatted elements should match the drawn elements. Record the appropriate number of double stitches in rings and chains.

The finished doily is approximately 6 inches in diameter. This size corresponds to the drawn pattern.

If you liked the third way, you can use this to create your own designs!

Thanks for reading!

Subscribe to my blog. https://fairylace.kozinenko.com/blog/

You can buy tatting patterns in my store: https://fairylace.kozinenko.com/product-category/patterns-tutorials/

Comment and ask questions. I will be happy to help with tips!

Join me on FB: https://www.facebook.com/kozinenkoelena

Posted on 6 Comments

Free tatting pattern. How to make cute tatting ring.

Hand wearing a pink lace ring made with shuttle tatting technique, on a green background. FairyLacefromElena

Dear fans of Tatting art! So, I bring to your attention free tatting pattern. Want to make one of these cute rings? Because these cute rings will delight lovers of light and unusual jewelry.

It is very easy! Just follow the instructions. 🙂 You will need:

Wind 30-40 cm of thread onto the shuttle; do not cut the thread. (You can replace the shuttle with a needle, the pattern works for needle tatting too).

Now attach the knitting marker ( or paper clip )to the thread.

Then tat according to pattern. The pattern consists only of chains.

Abbreviation:

C – chain;
p – picot;
tw – turn the work;

numbers indicate the number of double stitches.

  1. C: 2, p, 1, p , 1, p, 1, p, 1, p, 1, p, 1, p, 2, attach the second marker, tw;

✩ 2. C: 2, p, 1, p, 1, p, 1, p, 1, p, 1, p, 1, p, 2, attach the Chain to third picot of previous Chain, tw;   Repeat from ✩ to 10 Chain ( or to the length you need ); 10. C: 2, p, 1, p, 1, p, 1, p, 1 (remove the second marker and attach Chain through joining picot, as shown in the pattern), 1, p, 1, p, 2;

Remove the first marker, connect the end work with the beginning work and the fifth picot of the Chain#9 (see pattern);

Tie and cut. Congratulations! Your cute tatting ring is ready! I hope this free tatting pattern comes in handy!

Thanks for reading!

Subscribe to my blog. Because in the next article I will tell you how to fix the shape of the ring. I think you will be interested in my experience. https://fairylace.kozinenko.com/blog/

Comment and ask questions. I will be happy to help with tips!

Join me on FB: https://www.facebook.com/kozinenkoelena

Posted on 12 Comments

Three types of tatting

The photo shows three types of tatting tools: shuttles, needles, and hooks. The photo illustrates a blog post by FairyLacefromElena.

I have been tatting for over ten years and mastered well enough (I think 🙂 three types of tatting! A long time, right? I am happy to share my experience with beginning tatters.

Tatting is a technique for handcrafting a particularly durable lace from a series of knots and loops. There are three types of tatting : shuttle tatting, needle tatting and cro-tatting.

The first type:

Tatting with a shuttle is the earliest method of creating tatted lace. Historically, it was a metal or ivory pointed-oval shape less than 3 inches (76 mm) long, but shuttles come in a variety of shapes and materials. Shuttles often have a point or hook on one end to aid in the joining required in the construction of the lace. This method has a lot of possibilities and tricks. For example, shuttle tatting is good for making jewelry.

The second type:

The second type of the three tatting methods is the needle tatting . Use of the tatting needle became widespread in the 20th century. This method is good for creating large products. In my opinion it is easier to learn and faster. The result is similar to shuttle tatting but is slightly thicker and looser.

The third type:

Cro-tatting combines needle tatting with crochet. The cro-tatting tool is a tatting needle with a crochet hook at the end. In modern patterns, beginning in the early 20th century, the rings are tatted and the arches or chains are crocheted. Many people consider cro-tatting more difficult than crochet or needle tatting.
Cro-tatting is popular in Japan.

To show some tricks of these three methods, I made some videos. Welcome! https://www.youtube.com/channel/UC3dn4_9pp7tIKA2k564wLBQ/videos?view_as=subscriber


Subscribe to my blog. Comment and ask questions. I will be happy to help with tips! Welcome! https://fairylace.kozinenko.com/blog/