Posted on 14 Comments

Tips for needle tatters. Part 3.

Jevelry tatting set lavender

Tips for needle tatters, or how to make the three rings “without a hole”.

Hello everyone! This is the third part of my advice for beginner tatters. You can read previous parts here: https://fairylace.kozinenko.com/blog/

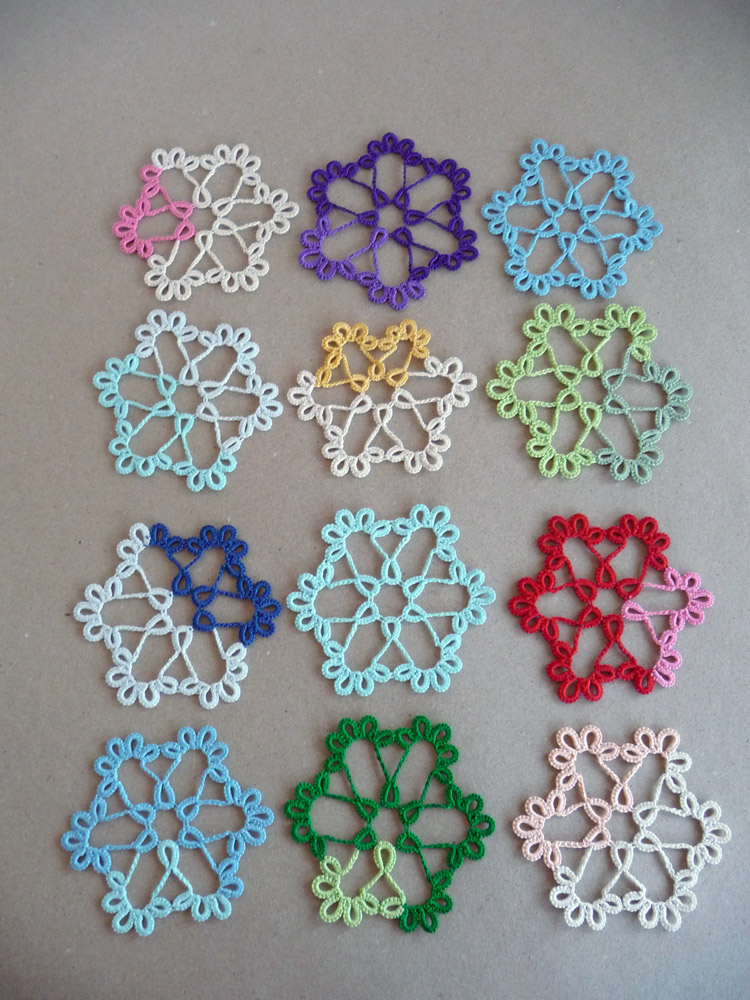
Today I want to answer one simple question. How to make three rings “without a hole” between them? I write “three rings” because I don’t know how this element is designated in different languages. In Ukrainian, for example, it is called a trefoil.

Tips for needle tatters

By the way, if your language is not in the list of built-in translators on my website, write to me in the comments. I will try to add the language you need. And I would also be very interested to know what country you live in when reading my blog. Can you write this in the comments please?

So, excuse the “lyrical digression”, I continue talking about the three rings. Although you can call this element Clover. On the ABC Tatting Patterns website there is a definition of Clover. I copied the paragraph, but you can follow the link and read it yourself. By the way, this is a wonderful resource not only for beginners, but also for experienced tatters. https://abctattingpatterns.com/terms/

Three rings, or Clover

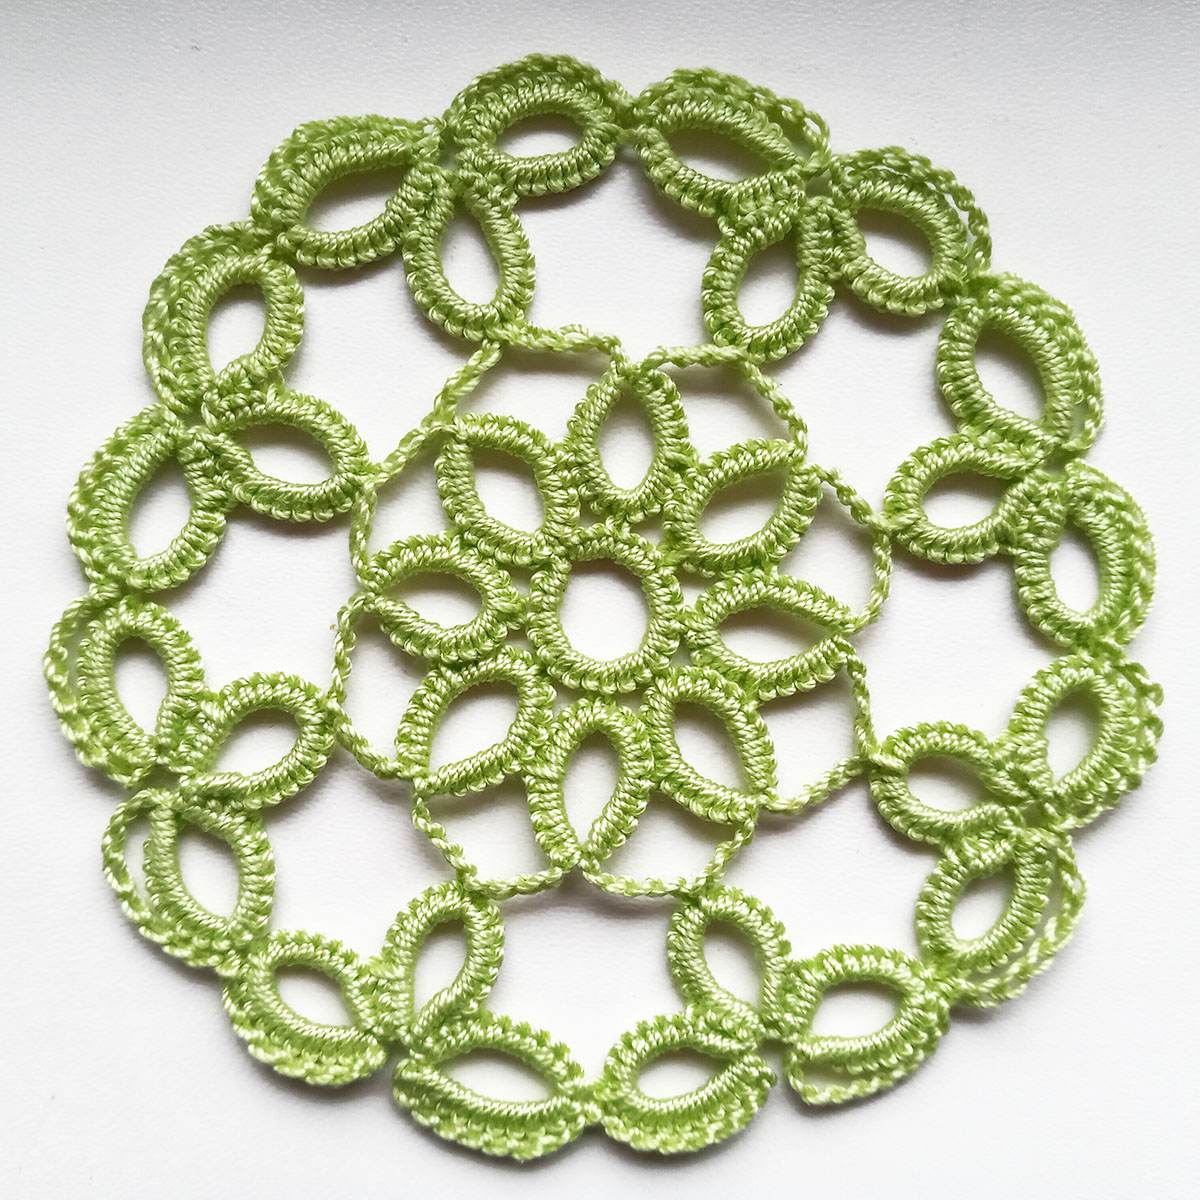
Clover consists of three successive rings grouped together. The central ring may be larger than the side rings. It looks like a shamrock. However, the rings in a shamrock are the same size.

When working with shuttle tatting, this problem does not arise. Of course, if your knots are not “loose” , but neat. And when tatting with a needle, we can get such a picture. Do you see the hole?

Of course, I never tire of repeating that tatting is an art. Therefore, ABSOLUTELY ALL methods and techniques are acceptable. What the end result looks like is the master’s right to self-expression. Perhaps you have come up with a pattern that requires just such a Clover!

However, we are improving all the time, aren’t we? To do this, we must master new skills and techniques. The more “tools” we have in our arsenal, the more opportunities we get to implement our wildest projects! Oh, I just want to say: like it if you agree with me!

With and without rewerce of work

If you read my post about how many simple knots to make in work, you remember that there is a rule for ease of remembering. One knot means rewerce work, two knots means do not rewerce work. When we make three rings in a row, we make two knots after the first ring (do not rewerce work), then two knots after the second ring (do not rewerce work again). And after the third ring we have two pattern options. So, it depends on the design.

If we don’t rewerce work, we make two knots. But after the first knot, you need to pull the needle and thread into the base of the first ring and then make the second knot. If we need to rewerce work after Clover, then we make one knot. But (attention!) Before the knot, you need to pull the needle and thread into the base of the first ring.

Ta-daaa!!! Everything is simple and clear, I hope. But just in case, I made for clarity a short video Tips for needle tatters. Part 3. https://www.youtube.com/watch?v=xn__9qv7zrU&list=UULF3dn4_9pp7tIKA2k564wLBQ

I hope you found it useful and interesting to read and watch! Subscribe to my blog. Write in the comments what questions about tatting you would like answered. I will be happy to help with tips!

Posted on 64 Comments

Tips for beginner tatters. Part 2.

12 tatted lace heart

Tips for beginner tatters, or how to distinguish the front and back sides of tatting and is it worth paying attention to this.

Hello everyone! This is the second part of my advice for beginner tatters. You can read the first part here: https://fairylace.kozinenko.com/tips-for-beginner-needle-tatters/

I admit, I’m a little discouraged. The previous article was read by 156 visitors (according to site statistics). And only ONE left a comment. Perhaps my article was not useful and interesting? Therefore, I doubt whether it is worth continuing this topic.

Or you don’t know how to leave a comment? It’s very simple! Scroll UP the screen. Click on the word “Comments” above the article title.

When you go down, you will see a window for your comment.

Believe me, your feedback is very important to me. Because it helps me make the site more interesting and useful. And also your comments will raise my site in the search rankings. This means that more beginner tatters will be able to find these articles. Sorry for going off topic and thanks in advance for your support!

Front and back sides of tatting

Have you noticed the placement of the “caps” above the double stitches? On the front and back sides their location does NOT match. Although from both sides it looks absolutely identical. I’m sure there are special terms in English for these “things”. But I don’t know them, sorry. I hope you understand what I mean.

Therefore, you can determine the side by picots. It’s very simple. Take a close look at how the two picots are located relative to the chain. The difference is very noticeable, isn’t it? On the left is the picot that is obtained on the front side. On the right is the picot, which is obtained on back side.

Tips for beginner tatters

If you turn your work over and continue to do double stitches in the usual way, you will end up with a “picot mix.” In this case, it will be completely indifferent which side is which. This is probably not critical! But only as long as you weave with single-color threads.

Tips for beginner tatters

Look what we get when working with threads of two colors. When two rows are joined on one side, small stitches of a different color are obtained. Imagine what your work will look like if small multi-colored stitches peek out from all sides. Again, this is not dogma, but creativity. And any of us can say: I am an artist, I see so! In any case, the choice is yours!

Tips for beginner tatters

I’ll tell you how easy it is to switch to the front and back method. It’s sooooo simple. When you turn the work to the opposite side (we already know how to distinguish both sides!), you weave double stitches in the reverse order. That is, first you need to do the second half of the stitch, and then the first. As always, I made a short video demonstrating this technique. This video demonstrates the method for needle tatting. But for the shuttle the reception is absolutely identical. https://www.youtube.com/watch?v=QGF8pzR3tJk&list=UULF3dn4_9pp7tIKA2k564wLBQ
Please don’t forget to come back after watching and leave a comment!

Posted on 18 Comments

Tips for beginner needle tatters. Part 1.

Pink tatting lace bracelet

Tips for beginner needle tatters. Part 1, or simple and clear rule for when and how to reverse the work.

Hello everyone! The most frequently asked questions beginners:

  • to do or not to make a knot after a ring or chain?
  • how can I know whether to reverse or not reverse the work?
  • how can I find out the front and back side of the work?
  • why do my chains get twisted?

And of course, there are many other points that I will try to talk about in my blog. To achieve this, I plan to write several posts and make additional videos specifically for needle tatters. So subscribe to my YouTube channel and my blog to stay updated.
So today we will answer the first two questions.

To do or not to make a knot

Unlike the shuttle, tatting with a needle is not as tight. Therefore, after completing each ring or chain, the needle tatters make a knot that helps “keep the shape” of this element. In the post “Magic Simple Knot” I wrote about ball and shuttle threads (in this case it is more logical to call them ball and needle threads). The names may differ in different languages, but the meaning is the same. And in this post I call a simple knot a magic one because it helps us “solve a lot of problems”! https://fairylace.kozinenko.com/magic-simple-knot/

So, we have decided. The answer to the first question is yes, you need to make a knot!

Reverse or not reverse

Typically, in the instructions for the pattern, designers write, RW or DNRW. Although I only write where I need to turn the work around. It is logical that if nothing is written, then there is no need to do anything. Do you agree? But if you only have a graphical diagram, you will have to decide for yourself where and how to flip, rotate, or expand the work. An impossible task, isn’t it? But we will return to this topic, I promise!

So, you know, the ball thread should ALWAYS be located to the left of the work. But this is only if you are right-handed. For “lefties” it’s the other way around!

If you make one simple knot, you will swap the ball and working threads. And thus the ball of thread will move to the right of the work. Therefore, the work needs to be turned over and each thread will take its place. And if you make two knots, the threads will remain in the same position and there is no need to turn the work over.

Tips for beginner needle tatters. Part 1.

So, the golden rule: one knot – turn, two knots – no turn! I find this very easy to remember.

To make it clearer, please watch my video, please. https://www.youtube.com/watch?v=iC02Y0HEnHY&list=UULF3dn4_9pp7tIKA2k564wLBQ

And if you are interested in the topic “Tips for beginner needle tatters”, write me your questions in the comments. I will try to answer them in the following articles.

Posted on 2 Comments

No shaggy tails

No shaggy tailes

No shaggy tails, or carefully hide the ends of the threads at the end of the work.

Hello everyone! I recently learned that not all beginning taters hide the tails of the threads at the end of the work. They just weren’t taught! Ah, that’s a terrible omission. Yes, usually the instructions say: tie and cut. Where is the word “hide”? Gone, LOL! Therefore, today I invite you to go back to the beginning and talk in detail about this topic.

So, why do you need to hide the ends of the threads? Firstly, shaggy thread tails will look sloppy. And they will become shaggy very quickly, believe me! Secondly, by hiding the tails, we additionally secure the final knot. It is very important. After all, if the knot comes undone, we will get a disaster!

Try to hide your tails in different directions. For example, on different sides of the ring or in two different chains. This will help you avoid unnecessary thickening of the elements. It is also easier to pull one thread through the middle of double stitches rather than two.

I made a description of seven ways to hide the ends of threads. Some differ from each other only in the tool I use. But other options are possible, of course. Therefore, try, create and choose the method that is convenient for you. In addition to the instructions, I made an illustrative video. Hope this is helpful. https://www.youtube.com/watch?v=D8kVsN70EF4&list=UULF3dn4_9pp7tIKA2k564wLBQ

Method 1

You hide the ends of the threads with a sewing needle, sewing a seam over each double stitch. This method is the simplest, but not very reliable. It can be used if you do not need to wash the product. And, in addition, strong fixation will be required so that the tails do not “crawl out of the seam”. For example, for earrings or bracelets made of thin threads.

Method 2

Here we also use a sewing needle. But we don’t sew stitches, but hide the thread with a needle in the middle of the double stitches. It is enough to insert the needle into 3-4 double stitches. This method is fast. But if your knots are too tight, you will have to use small pliers to pull the needle out of the double stitches.

Method 3

Absolutely identical to the previous one. But we pull the thread with the needle into each double stitch separately (or even half a stitch). If the weaving is very dense, then this method is ideal, although not as fast as the previous one. By the way, don’t forget to protect your fingers with a thimble when handling the needle.

Method 4

For this method, I suggest using a thin wire bent in half. I call this wire the “magic tool”. Using wire, you hide one tail of the thread into the chain. And you “sew up” the second tail using a needle using method 2 or 3. And you can read about additional tools for tatting in my article here: https://fairylace.kozinenko.com/additional-tools-for-tatting/

Method 5

You can do the same thing by using an additional piece of thread instead of wire. In the video you will see how you can quickly and easily hide additional thread inside double stitches using a shuttle.

Method 6

This method is convenient to use if the pattern ends in a ring. In this case, at the beginning of the pattern (if it starts with a chain), you can use a small piece of additional thread or a paper clip. This will make it easier to connect the last chain before starting work. In the first 4-5 double stitches of the ring, hide the first tail (if the tail is long enough, you can tie it to the shuttle, it will be more convenient). Weave wire into the last 4-5 double stitches (as in Method 4). Form a ring and secure the second tail with a knot. And pull this tail through with wire.

Method 7

You hide both tails in one chain (or ring) at the same time. I only recommend using this method if you have weak double stitches. Because it is very difficult to pull two tails through double stitches at once (after all, the tails will be folded in half). And besides, such a chain will look noticeably thicker than the other elements.

I hope my long article did not bore or frighten you. Comments, questions, advice are welcome! Careful tatting and no shaggy tails!

Posted on 6 Comments

Magic simple knot

12 blue-yellow tatting hearts

Magic simple knot, or how to make life easier for yourself.

Hello everyone! First, I want to address my subscribers – participants in the competition for the best name for a doily (posts dated September 11 and 15). The validity period of the discount coupon for the Galaxy Flower doily tatting pattern has been extended until October 30. I sent the coupon code to ALL members. Please check all your email folders.

Now let’s get back to the topic of today’s post. Have you noticed how simple actions sometimes help us make our lives easier? I won’t get too philosophical, LOL! I just suggest that you check whether the SIMPLE knot is truly magical. Yes, yes, I’m talking about the very knot with which we tie our shoelaces. You will be surprised, but it really works!

Shuttle and ball threads

I have already written in previous posts how tatting elements have different names in different languages. One such example is the name of shuttle and ball threads. You might be very surprised. But in my language there are NO such names. The shuttle thread is called the leading thread. Because she seems to direct all the nodes of the work, leading the pattern along with her. And the ball thread is called working thread. Apparently because she forms knots, that is, she works hard!

I do not at all pretend to be a “HISTORIAN OF TATTING”, but I have a theory. At the beginning of the emergence of tatting, the patterns were simple and were made with one shuttle, or a shuttle and a ball. And by the time tatting spread to Eastern Europe, the patterns became more complex. There was a need for two or even three shuttles. In order not to confuse tatters, Europe and America left the same terminology. But the Slavic countries introduced new names, which in my opinion are logical if we use two shuttles.

Just in case, I want to remind new taters, shuttle thread is always on the right (if you are right-handed, of course!).

And now we come to the most interesting part!

You can make many patterns with one shuttle and ball. The trick is this. For example, you need to make a pattern like in the picture. As you can see, this is a pattern for two shuttles. Because the Rings here are made with the second shuttle (this is the shuttle with ball thread).

Try taking one shuttle and a ball! You can swap the threads of the ball and the shuttle using “magic” simple knot! I made a short video to demonstrate this simple but absolutely magical technique! https://www.youtube.com/watch?v=q9c7uiCt3jE&list=UULF3dn4_9pp7tIKA2k564wLBQ

Multicolor patterns

This works if you are making a single color pattern. What if I want to use two colors? I’m sure you remember a simple rule: the color of ball thread determines the color of the Ring or Chain (Wow, I definitely need to write philosophical treatises!). In this case, I take two shuttles with two different colors of thread and make simple knots however I want, LOL! Yes, I received 12 heart options where the color was NOT REPEATED. But I have 12 more options in my head! I liked the result so much that I decided to use this technique to create bookmarks. Of course, you can take threads of any other colors and create as many of your own color options as you like! Experiment, creativity is welcome. The pattern is available in my store. https://fairylace.kozinenko.com/product/pattern-bookmarks-tenderness/

Thank you for reading to the end. I hope I didn’t bore you too much!

Posted on 4 Comments

Cro-tatting Lesson 7

Free tatting pattern

Cro-tatting Lesson 7 , or translation difficulties.

Hello everyone! This article is a continuation of Lesson 6. Therefore, follow the link if you have not read or watched the video of the previous lesson: https://fairylace.kozinenko.com/cro-tatting-lesson-6/

Lesson 7

At first I wanted to start this article with the story of the Tower of Babel. Well, you remember how God gave people different languages so that they would not understand each other. But then I thought that this is not entirely true. The question is philosophical. Because very often, speaking the same language, people cannot understand each other. Probably, this happens because many people have forgotten how to listen, empathize and understand others. And the notation in English for crocheting terms me to such reflections. How can I figure this out, I have no idea! LOL

But I’m pretty creative, you know. Therefore, I decided to write an abbreviation for UK and for US. Hope you don’t get confused!

So, today I invite you to make a small round motif with two rows. We will make the second row with single crochets. Yep, that’s where we got it! Don’t worry, we’ll fix it. UK terms – dc ( double crochet ), US terms – sc ( single crochet ).

Row 1

The first row consists of Rings and Chains. The chains in cro-tatting are crocheted and form an “arc” of air loops (in the abbreviation сh).

Row 2

In the second row, I used rings and single crochets ( or double crochet ) . Please note that before performing the Ring, you need to turn the work. And since you are getting the wrong side, it is better to start a double stitch from the second half. You will clearly see in the photo how the front side (pink ring) differs from the wrong side (yellow ring).

For clarity, of course, I made a detailed video. Don’t forget to subscribe, comment and share my video on social media please. https://www.youtube.com/watch?v=KpE8dFoOJtM&list=UULF3dn4_9pp7tIKA2k564wLBQ

FREE PATTERN LESSON 7

You can download the pattern Cro-tatting Lesson 7 by clicking on the link. Or just take a screenshot. https://drive.google.com/file/d/16VtiI2bIQy7RqmpuMJIhbx29agpDibpD/view?usp=sharing

If my articles are interesting and useful to you, subscribe to my blog, comment, share on social networks. Your feedbacks is very interesting and important to me. Don’t forget to check my store, welcome: https://fairylace.kozinenko.com/

Posted on Leave a comment

Cro-tatting Lesson 6

Cro-tatting light blue bracelet

Cro-tatting Lesson 6 , or the return to the beginning.

Hello everyone! This article is a continuation of Lesson 5. Therefore, follow the link if you have not read or watched the video of the previous lesson: https://fairylace.kozinenko.com/cro-tatting-lesson-5/

In the last lesson, we disposed of the remnants of the thread. Did you succeed? And I promised to tell you in detail how to connect elements of different colors correctly. Do not throw slippers at me, because I will again talk about the front and back of tatting! Of course, I do not in any way insist on my opinion. Because every artist is entitled to their own point of view. After all, every tatter is an artist! Do you agree? And who can tell the artist exactly how CORRECT? It is possible that you will like the product, which has specially made thin “stitches” of a different color on the front side of the work.

Cro-tatting Lesson 6 Front side

Front or back side?

In my classes for schoolchildren, I show the difference between the wrong side and the wrong side at the very beginning of lessons. Believe me, students perceive this very easily. By the way, it is in cro-tatting that the difference between both sides of the work is very clearly visible. Especially if you use double crochet in the pattern. How unexpectedly, I had an idea for the topic of a new lesson! If you are interested in getting a pattern using double crochet in the pattern , write me in the comments please.

Cro-tatting Lesson 6 Back side

But, it’s time to move from words to deeds, that is, to video! So video Cro-tatting Lesson 6 : https://www.youtube.com/watch?v=mGW4f-nMu1g&list=UULF3dn4_9pp7tIKA2k564wLBQ

By the way, I have a video on this subject for shuttle tatting. Maybe this will come in handy too: https://www.youtube.com/watch?v=98FYbzTfzZE&list=UULF3dn4_9pp7tIKA2k564wLBQ&index=26

I will be grateful for the support of my blog and YouTube channel. Subscribe, comment, share on social networks, please! This will help make my information more interesting and useful.

Posted on Leave a comment

Cro-tatting Lesson 5

Free tatting tutorial

Cro-tatting Lesson 5, or how to dispose of leftover threads of different colors.

Hello everyone! This article is a continuation of Lesson 4 . Therefore, follow the link if you have not read or watched the video of the previous lesson: https://fairylace.kozinenko.com/cro-tatting-lesson-4-how-to-make-a-split-chain-in-cro-tatting-technique/

I really enjoy reading your comments and questions on my posts. Because in this way you help me to make my blog useful and interesting. The idea of today’s lesson came to me after the publication of one of my old works – a coaster from the remnants of threads. You asked to make a video tutorial on how to make such a coaster. Of course I did this tutorial ! The link to the video is at the end of the post.

I’m sure many of you have stocks of thread. Well, how can I stop if I see threads of a beautiful color on sale?! And sometimes, for a specific project, I specifically buy threads of a very specific size and color. And in this case, I always buy a little more thread than required. You probably know how disappointing it is if a few meters of thread are not enough to complete the product. Therefore, I have there are ALWAYS leftovers threads! Of course, you can rewind the rest of the thread on smaller spools …

Cro-tatting lesson 5
cro-tatting Lesson 5

But it still takes up a lot of space.

So, I decided to get rid of the remnants of the thread. To do this, I needed to combine threads of two colors in small coasters.

Simple coaster from thread of two colors

Note! We add a new thread before the ring or after the ring. In this case, it is very easy to hide both tails on both sides of the ring. And the chain is neat. I did the work with thread of one color until the thread ran out. As you can see, the thread can end anywhere, haha! By the way, I was lucky twice – two coasters turned out to be the same color!

Cro-tatting, free cro-tatting pattern

How many words! Where is Cro-tatting Lesson 5, you ask? You can download the pattern by clicking on the link: https://drive.google.com/file/d/1i7TlPsECywGl5j-y81wuiV4_NvMEwmlA/view?usp=share_link Or just take a screenshot.

Free pattern cro-tatting

Watch an additional video for the lesson here: https://www.youtube.com/watch?v=3ggzsan6n3g&list=UULF3dn4_9pp7tIKA2k564wLBQ

By the way, pay attention to the connection of rings of different colors. How to make the perfect connection, I will tell in the next lesson. So do not forget to subscribe to my blog and YouTube channel, so as “not to be late” for the lesson!

Posted on Leave a comment

Cro-tatting Lesson 4

Green lace round coasters in cro-tatting technique.

Cro-tatting Lesson 4 , or how to make a split chain in cro-tatting technique.

Hello everyone! This article is a continuation of Lesson 3 . Therefore, follow the link if you have not read or watched the video of the previous lesson: https://fairylace.kozinenko.com/cro-tatting-lesson-3/

Ah, I tried my best in the previous lesson! I sought to convince all my readers of the need to master the reception of the split ring. By the way, this is necessary not only for cro-tatting, but also for the tatting shuttle and for the tatting needle. I hope many tatters will “follow me” in this matter, haha! And today I want to suggest that you use a split chain too as often as possible as well. But alas, I have no new arguments. I’m just sure that we must develop, improve and look for new ways and methods. Do you agree with me? Then you will benefit from my new video, I hope.

I use two methods to perform a split chain.

First method

So, fhe first method is good when you move from row to row through chains. You hide the tail of the thread at the beginning of work and, as the second part of the split chain, perform a double crochet. The number of yarn overs should be 1 less than the number of loops in the first half of the split chain. In my video, this is 5sc and Triple Treble Crochet ( or Double Treble Crochet ). Here again I ask for your help. How is this element correctly indicated in English. Write to me in the comments, please.

Second method

But the second method is ideal if you are going to the next row through a split chain + split ring combination. So, in the video, you will see two threads after the split chain is completed. First thread – ball, and the second – long tail of the thread, which I left at the beginning of work. Therefore we can use these two threads to make a split ring.

Wow! I can imagine how tired you are of reading this! Of course, it’s better to watch the video. Don’t forget to leave a comment and subscribe to my YouTube channel! https://www.youtube.com/watch?v=OvR8NaB1-c4&list=UULF3dn4_9pp7tIKA2k564wLBQ

Posted on 2 Comments

Cro-tatting Lesson 3

Green round lace coasters in cro-tatting technique

Cro-tatting Lesson 3 , or why master the split ring.

Hello everyone! This article is a continuation of Lesson 2 . Please check the link: https://fairylace.kozinenko.com/cro-tatting-lesson-2/

My regular readers know I’m lazy! Haha! Because I don’t like to hide the ends of the threads. Oh, it’s almost as terrible as unraveling the threads in a finished tatting. I’m sure a lot of tatters understand me. If you agree, please write in the comments. After all, each of your comments helps to make my blog more interesting and useful. In addition, in this way you will raise this article higher in the search and give more readers the opportunity to get acquainted with useful material. (Oh, I hope this is helpful!)

Why you need a split ring

Firstly, the use of a split ring helps us to move from one row to another WITHOUT cutting the thread. I like to use this trick. In this way, I get much less tails of threads, which have to be hidden with great pain. By the way, you can not hide polyester threads. You can cut them short and melt them with a lighter. But be careful, otherwise you can ruin the product!

Secondly, the split ring helps in creating very original patterns. By the way, the split rings bookmark looks pretty cute, doesn’t it!

Cro tatting lesson 3

Thirdly, the split ring can be made with a shuttle, needle or crochet. For all these three tatting tools, I have already published videos on my You Tube channel. Thank you in advance for all the likes, comments and subscriptions! Today I added a separate video for cro-tatting. I hope Cro-tatting Lesson 3 was interesting and useful for you. You can watch all the videos on Split Ring by clicking on the link: https://www.youtube.com/watch?v=ZM5ONjnKNOI&list=UULF3dn4_9pp7tIKA2k564wLBQ

The topic of my next lesson is a split chain for cro-tatting. I’m sure you’ll like it! Also you will enjoy visiting my store, please check! https://fairylace.kozinenko.com/