Hello everyone! Oh, I have not written posts on my blog for a long time. Don’t worry, I’m fine. I hope all my readers and subscribers are healthy too. Take care of yourself!
My husband and I live in a suburb where there are very few neighbors. This is convenient in this situation. Therefore, our seven-year-old granddaughter now came to us from Kiev (this is not close 🙂 ). I have no words to describe our love for grandchildren! Yes, the little angels in the house are a real miracle. Give them your love, your time and your care. Then you will receive in response the shining eyes and the sincere loving heart of the child.
A walk through the spring forest is a great pleasure.
I also want to boast of my talented and capable granddaughter. I started teaching my girl how to weave a lace with tatting needle. Look at her first job! (The yellow butterfly is my pattern).
But I must admit that I have very little time left for my tatting. I planned to create a new pattern by early May. But it is obvious that I will not have time to finish the work by the scheduled date. Although, where to rush?
My new idea is gradually being implemented, and I am pleased with the result.
I’ll tell you next time more about quarantine, tatting and my little angel.
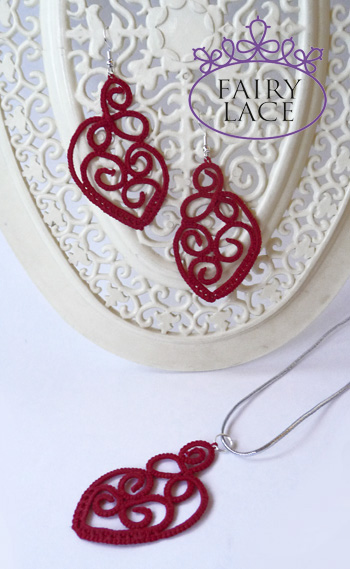
Hello everyone! I recently made a new pattern for tatting earrings ” Valentine “. By the way, now you can buy any pattern at a discount 10%. Use coupon code: OFF10HAPPYPATTERN
I used curl in these earrings. After posting to the FB, you asked me how to do this.
So I decided to tell you more about how I make curls. There are several subtleties. Take my advice. And then your curls will look perfect!
First trick
You must try to ensure that all nodes are strong enough. Do you know that you can determine the nature of a person by nodes? Yes, psychologists know many tricks to analyze us! If your nodes are very strong, you have a solid and even somewhat tough character. If you make free knots, then most likely your character is soft and calm. Please write in the comments if your nodes match your character! It is very interesting. Because my nodes even depend on my mood, yes! Oh, I’m a little distracted! So, tatting curl. What you need for a perfect curl. Firstly, try to make your nature very solid at this moment 🙂 The stronger the knots you tie, the better it a curl will hold the form.
Second trick
We start tat with a chain sometimes. Of course, it depends on the pattern. In this case, it is convenient to use a paper clip. But for curl, this does not work absolutely. Because you get a weak knot at the beginning of the curl after disconnecting the paper clip. What to do? I take a small piece of thread. How it works, check out my video. This my video shows three methods of tatting, as usual: tatting with a shuttle, tatting with a needle and cro-tatting. You can easily and simply make a curl at the beginning of weaving. https://www.youtube.com/watch?v=P0zrZP-a6dQ
Who did win? Have you been looking forward to this day, just like me?
Today I announce the results of the “Gift for Valentine’s Day” contest.
Thanks so much to all the subscribers to my blog. I am grateful to everyone for the attention to my blog and kind words. But, unfortunately, too few subscribers took part in the competition. However, I hope next time the activity will be higher!
Now I will tell you how I determined the winner. That was not easy. Because every commentator deserves a victory, in my opinion. Here are the names of candidates: Natalie, Наталья Заславская , Maureen, Jeretta, Anke, Linda B, Suelyn Pemberton , Polina , Emilia , NANCY .
I wrote the names of these participants on small sheets of paper .
Then I rolled up the sheets and put them in a transparent container.
I made a short video of the most important moment. What sheet will I get? Who did win?
Other participants: Natalie, Natalya Zyaslavskaya, Jeretta, Anke, Linda B, Suelyn Pemberton, Polina, Emilia, NANCY receive a coupon code for a 20% discount. You can use this coupon for any item in the “Tating in Resin” category: https://fairylace.kozinenko.com/product-category/tatting-in-resin/
Dear winner and participants! Check your email. I will send a letter how you can get your prize.
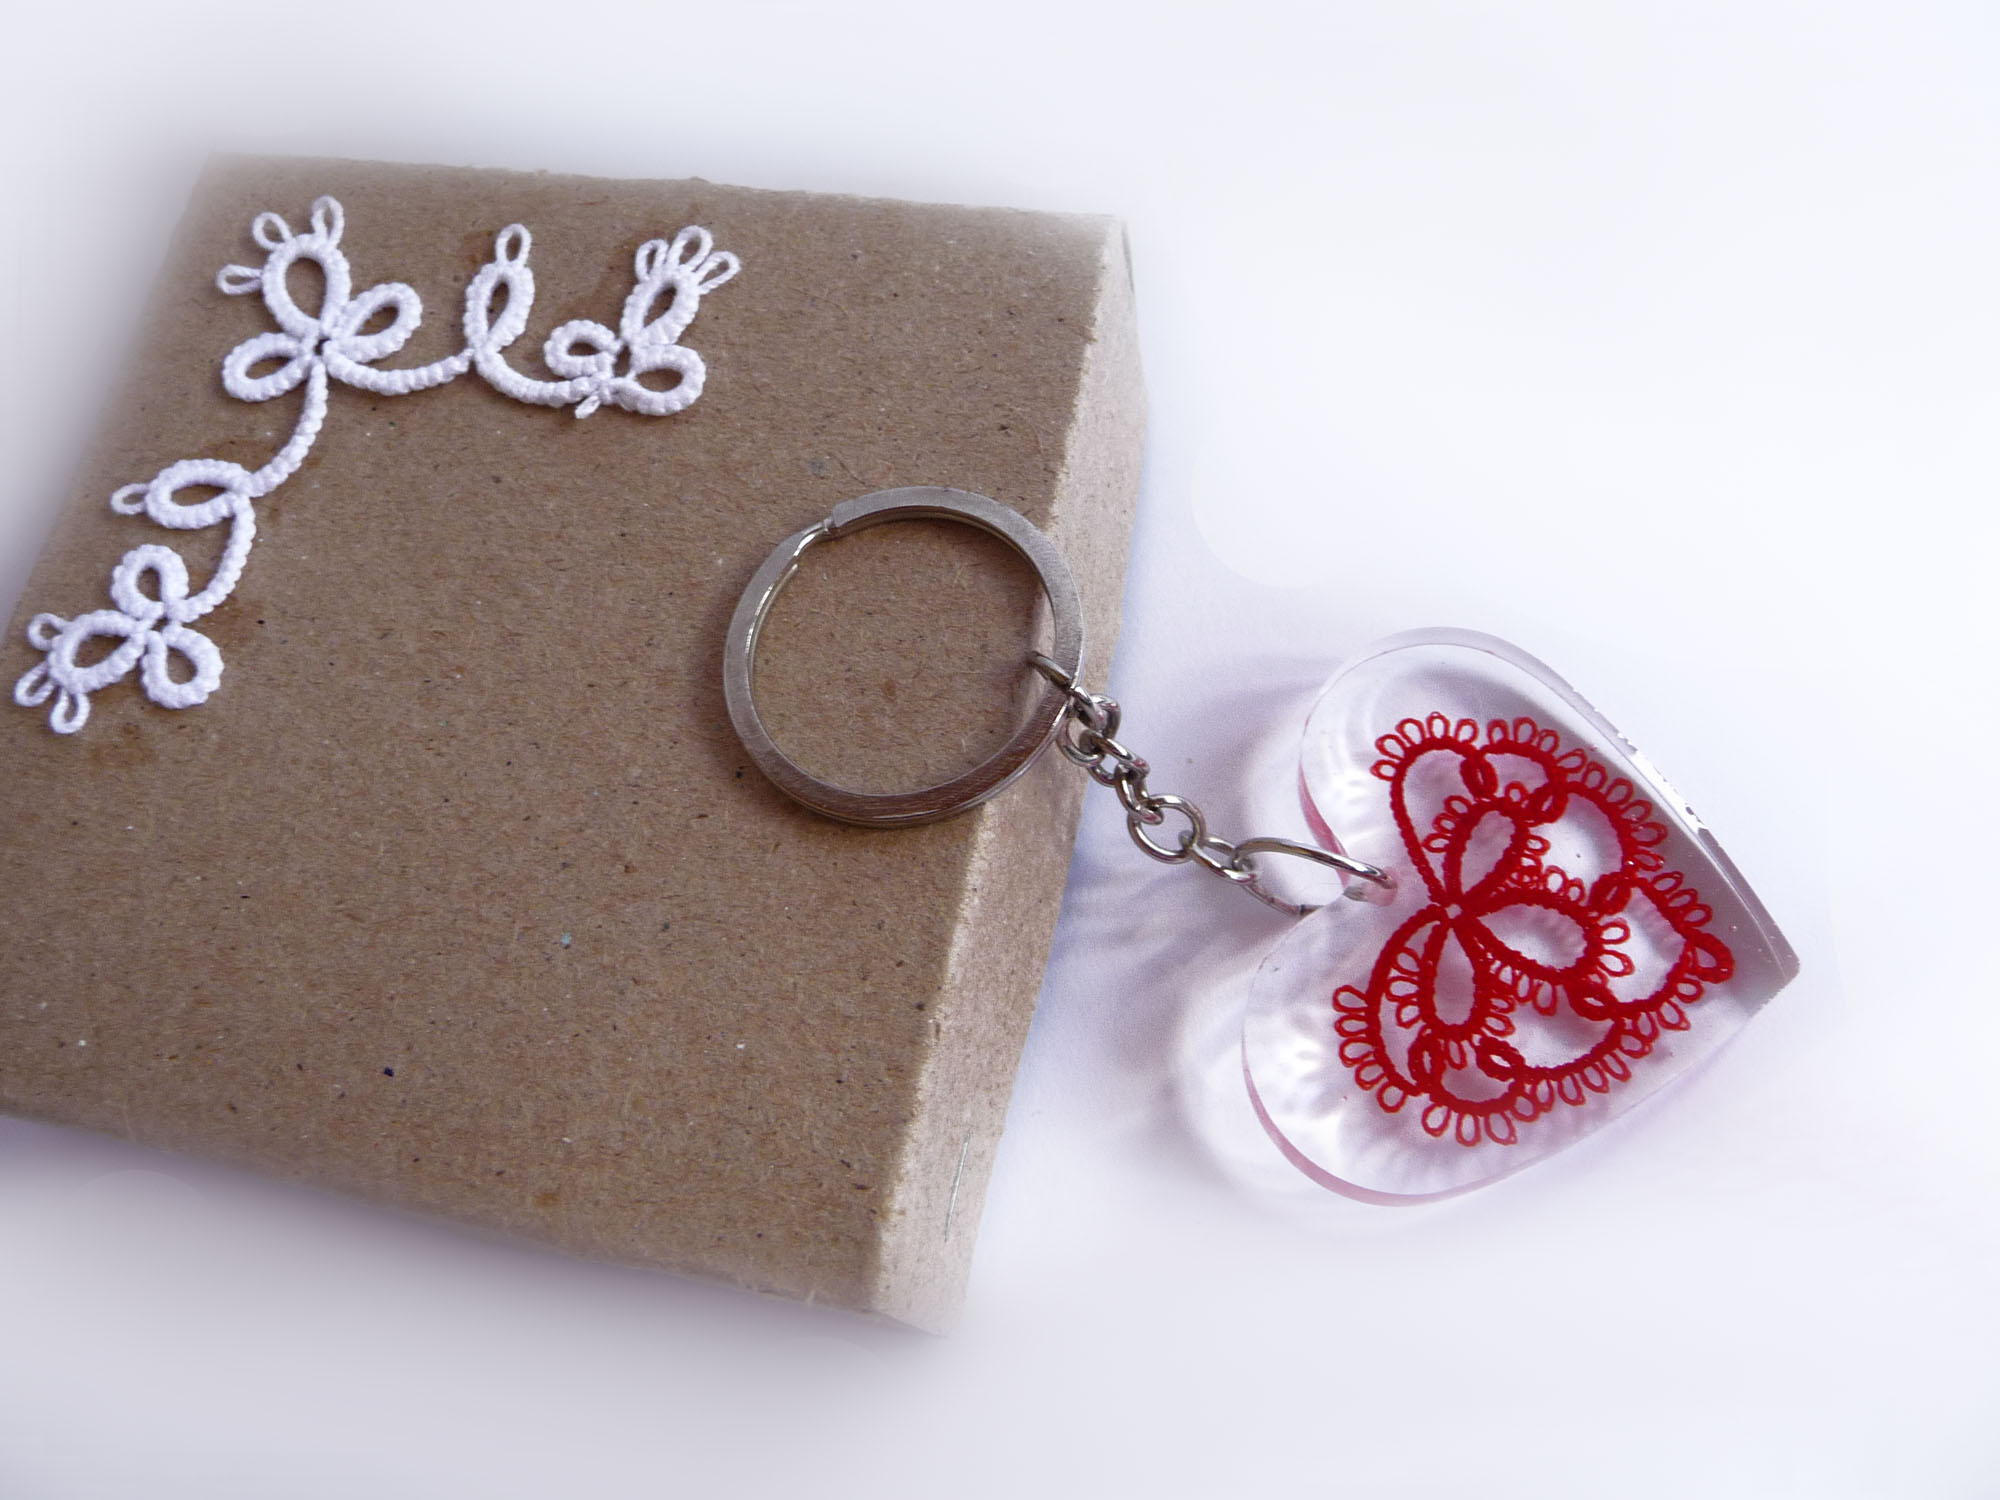
Gift for Valentine’s Day! Do you like to receive gifts? I am sure that you like it very much, as I do! However, I love giving gifts too. Like I’m a real fairy. Soon Valentine’s Day. This is such a sweet holiday. Of course, this is a day dedicated to love. And the traditional symbol of love is the heart. So, this little heart I will send to the winner of today’s contest. This very cute gift .
Conditions of the competition “Gift for Valentine’s Day”
1. Subscribe to my blog.
2. Leave a comment on this post.
3. The winner will be determined by drawing lots. First place – tatting heart in resin.
The draw will be held ONLY among blog subscribers. You can subscribe in the window on the right of this post page. Announcement of the competition results on January 31th. So, if you want to receive cute keychain, hurry up!
Gift for Valentine’s Day
Support this contest in social networks. Links are welcome!
Molds and epoxy resin. Where to buy and how to choose supplies for your creativity.
Hello everyone! Happy Holidays are over. I hope you had fun like me! But it’s time to get back to work. You asked me a lot of questions after a series of my posts about tatting in resin. The most common question: where to buy molds and resin? Therefore, I am returning to this topic today.
However, it is difficult for me to indicate the store where I bought these supplies. Because it is impossible, alas! Of course, I buy all these materials in online stores. After all, it is convenient and fast. But you have to choose yourself where to make a purchase. I hope my reasoning helps you.
Molds and epoxy resin
So, I do as follows. First, I select the appropriate molds for my project in internet, then I look for a store on Ali Express (this is not an advertisement !!!). I try to buy everything I need from one seller. In this case, good discounts are obtained. I also choose free shipping. Many sellers have this option. But there is one drawback. The package shipping on for a long time, almost a whole month. However, I am very patient! Haha It is more difficult to choose suitable molds in Ukrainian online stores (I live in Ukraine, do you know?). Because the assortment here is not so diverse. And the prices are undeniably higher. But the plus is that for a minuscule fee I get the package in 2-3 days! This method I choose when I do not have time and patience to wait 🙂
Resin
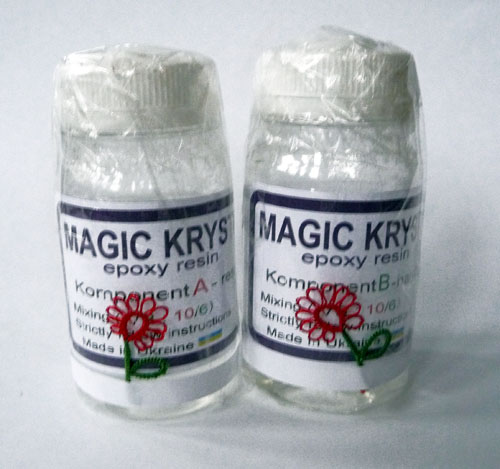
I can talk for a long time and in detail about the resin that I use! Imagine, I tried several types of resin from different manufacturers. Also, I ruined a whole liter of resin before I got a good result. In the end, I found the best combination of quality, price and delivery speed. For me at least. 🙂 This is Magic Crystal resin. This modified resin is made in Ukraine. Employees of the “Institute of Binders and Adhesives” are talented and experienced specialists. I am proud of my compatriots! This is a link to the official website of the company. I am sure you will like it. https://silicone.prom.ua/
In conclusion, I want to report on the next post. Attention! I am planning a prize draw for Valentine’s Day. You have a chance to get this sweet heart from FairyLace. To do this, be sure to subscribe to my blog and stay tuned. Soon, soon, soon!
Happy New Year, my dear friends! I congratulate you on the beginning of the new year. Best wishes from all my heart!
Happy New Year – I wish you well, What things may come no-one can tell. Yet blessings surely can be found, I hope that plenty come around!
I really like to celebrate the new year. This is a fabulous day. All of us at heart always remain children. Is not it? Therefore, each of us loves fairy tales, gifts, magic.
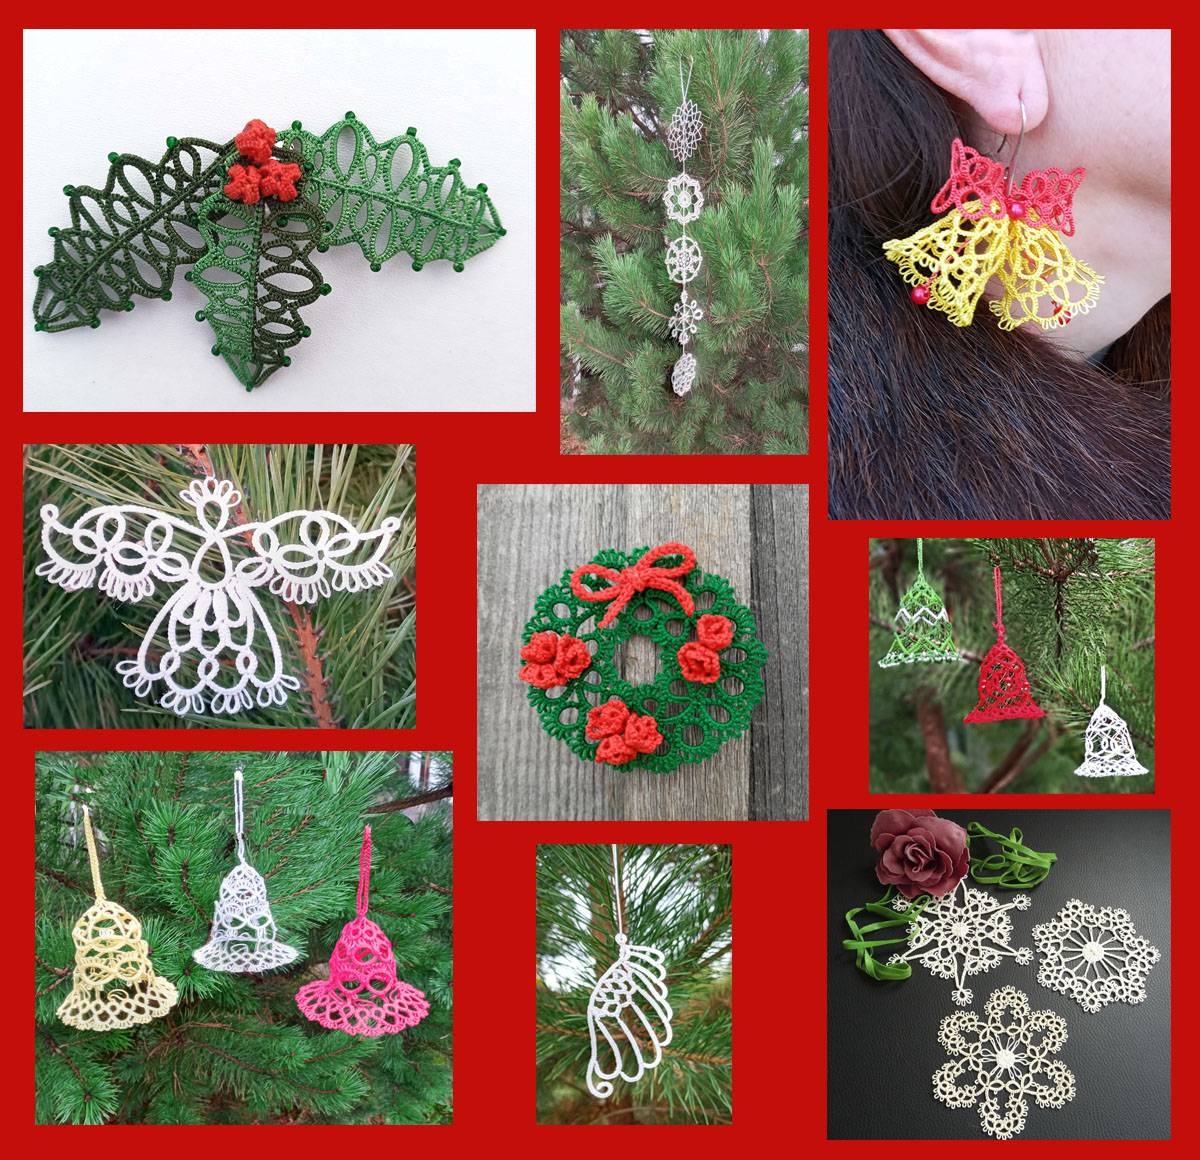
I really like decorating the house in Christmas and New Year traditions. Decor begins at the door, of course. This year I made such a wreath.
But the most interesting is gifts. My granddaughter cannot wait to open gifts! My little angel is asking me. What will be in the boxes, what will be in the boxes? I was silent, did not give out secrets! But I felt sorry for my granddaughter. I said that I prepared the same gifts for everyone, but different at the same time. With this phrase I confused my baby completely. Can you guess what it was? This year I prepared unusual gifts for my family. These are coasters using technique tatting in resin, of course! 10 different coasters – it was not easy.
Coasters
And for my friends I made snowflakes in resin. These are little cute souvenirs. These snowflakes look great on a Christmas tree.
Snowflakes in resin
The most important thing in these gifts is my love and a piece of my heart, which I put in each knot.
Merry Christmas to all my readers! I wish you all happiness, peace, love and prosperity!
I really appreciate your friendship! Thanks so much for support of my blog. Therefore I give a small Christmas gift for all tatting fans. 15% discount on all patterns. The discount is valid from December 24 to January 1. Coupon Code: christmasgiftforall https://fairylace.kozinenko.com/product-category/patterns-tutorials/
Carol of the Bells is an adaptation of an ancient Ukrainian folk song called a “shchedrivka”. An arrangement by Mykola Leontovych (1877-1921) was popularized in the 1930’s by Oleksander Koshyts (1875-1944), a Ukrainian choir director who worked in the US and Canada. It has since become an American Christmas classic.
I hope you know and love this song.
Hark how the bells,
sweet silver bells,
all seem to say,
throw cares away
Christmas is here,
bringing good cheer,
to young and old,
meek and the bold,
ding dong ding
that is their song
with joyful ring
all caroling
one seems to hear
words of good cheer
from everywhere
filling the air
Oh how they pound,
raising the sound,
o’er hill and dale,
telling their tale,
Gaily they ring
while people sing
songs of good cheer,
Christmas is here,
Merry, merry, merry, merry Christmas,
On on they send ,
on without end,
their joyful tone to every home
Dong Ding dong ding, dong Bong
Tatting in resin, final. Hello everyone! I hope you weren’t scared by my long, long, long story of how I do tatting in resin. Because in fact, this process is not so complicated and long. You will need only attention and accuracy for successful execution. And of course, I would really like to see more of your feedback and comments, please.
So, the last time we stopped at the second fill. I usually leave molds with resin for 2 days. Because during this time, the resin completely hardens.
I release frozen products from molds. Unfortunately, not all molds have openings. Therefore, I have to do it myself.
I use a small hand drill and drills with a diameter of 2 mm.
When drilling holes, you must place the product on a flat surface. But be sure to lay a cloth so that your resin does not get scratched. You do not want to spoil this beauty! Yes?
Now that all the products have holes,
I insert paper clips into these holes.
After all, now the time has come to varnish finished products. And it’s very convenient for me to hold the products by a paper clip. I rotate the frozen resin in different directions and apply the protective varnish evenly. Very easy!
Then I hang up the varnished items to dry. By the way, I use my cake molds and long knitting needles. And I MANDATORY hide my products from the sun (I cover it with a cloth again).
I strictly adhere to the instructions of the varnish manufacturer. Therefore, I repeat the process in 2-3 hours. That is, I varnish the product twice!
Look what happens to the resin, which I did not hide from the sun during the work and did not varnish.
Finally, the finishing touch remained! I attach the necessary metal fittings.
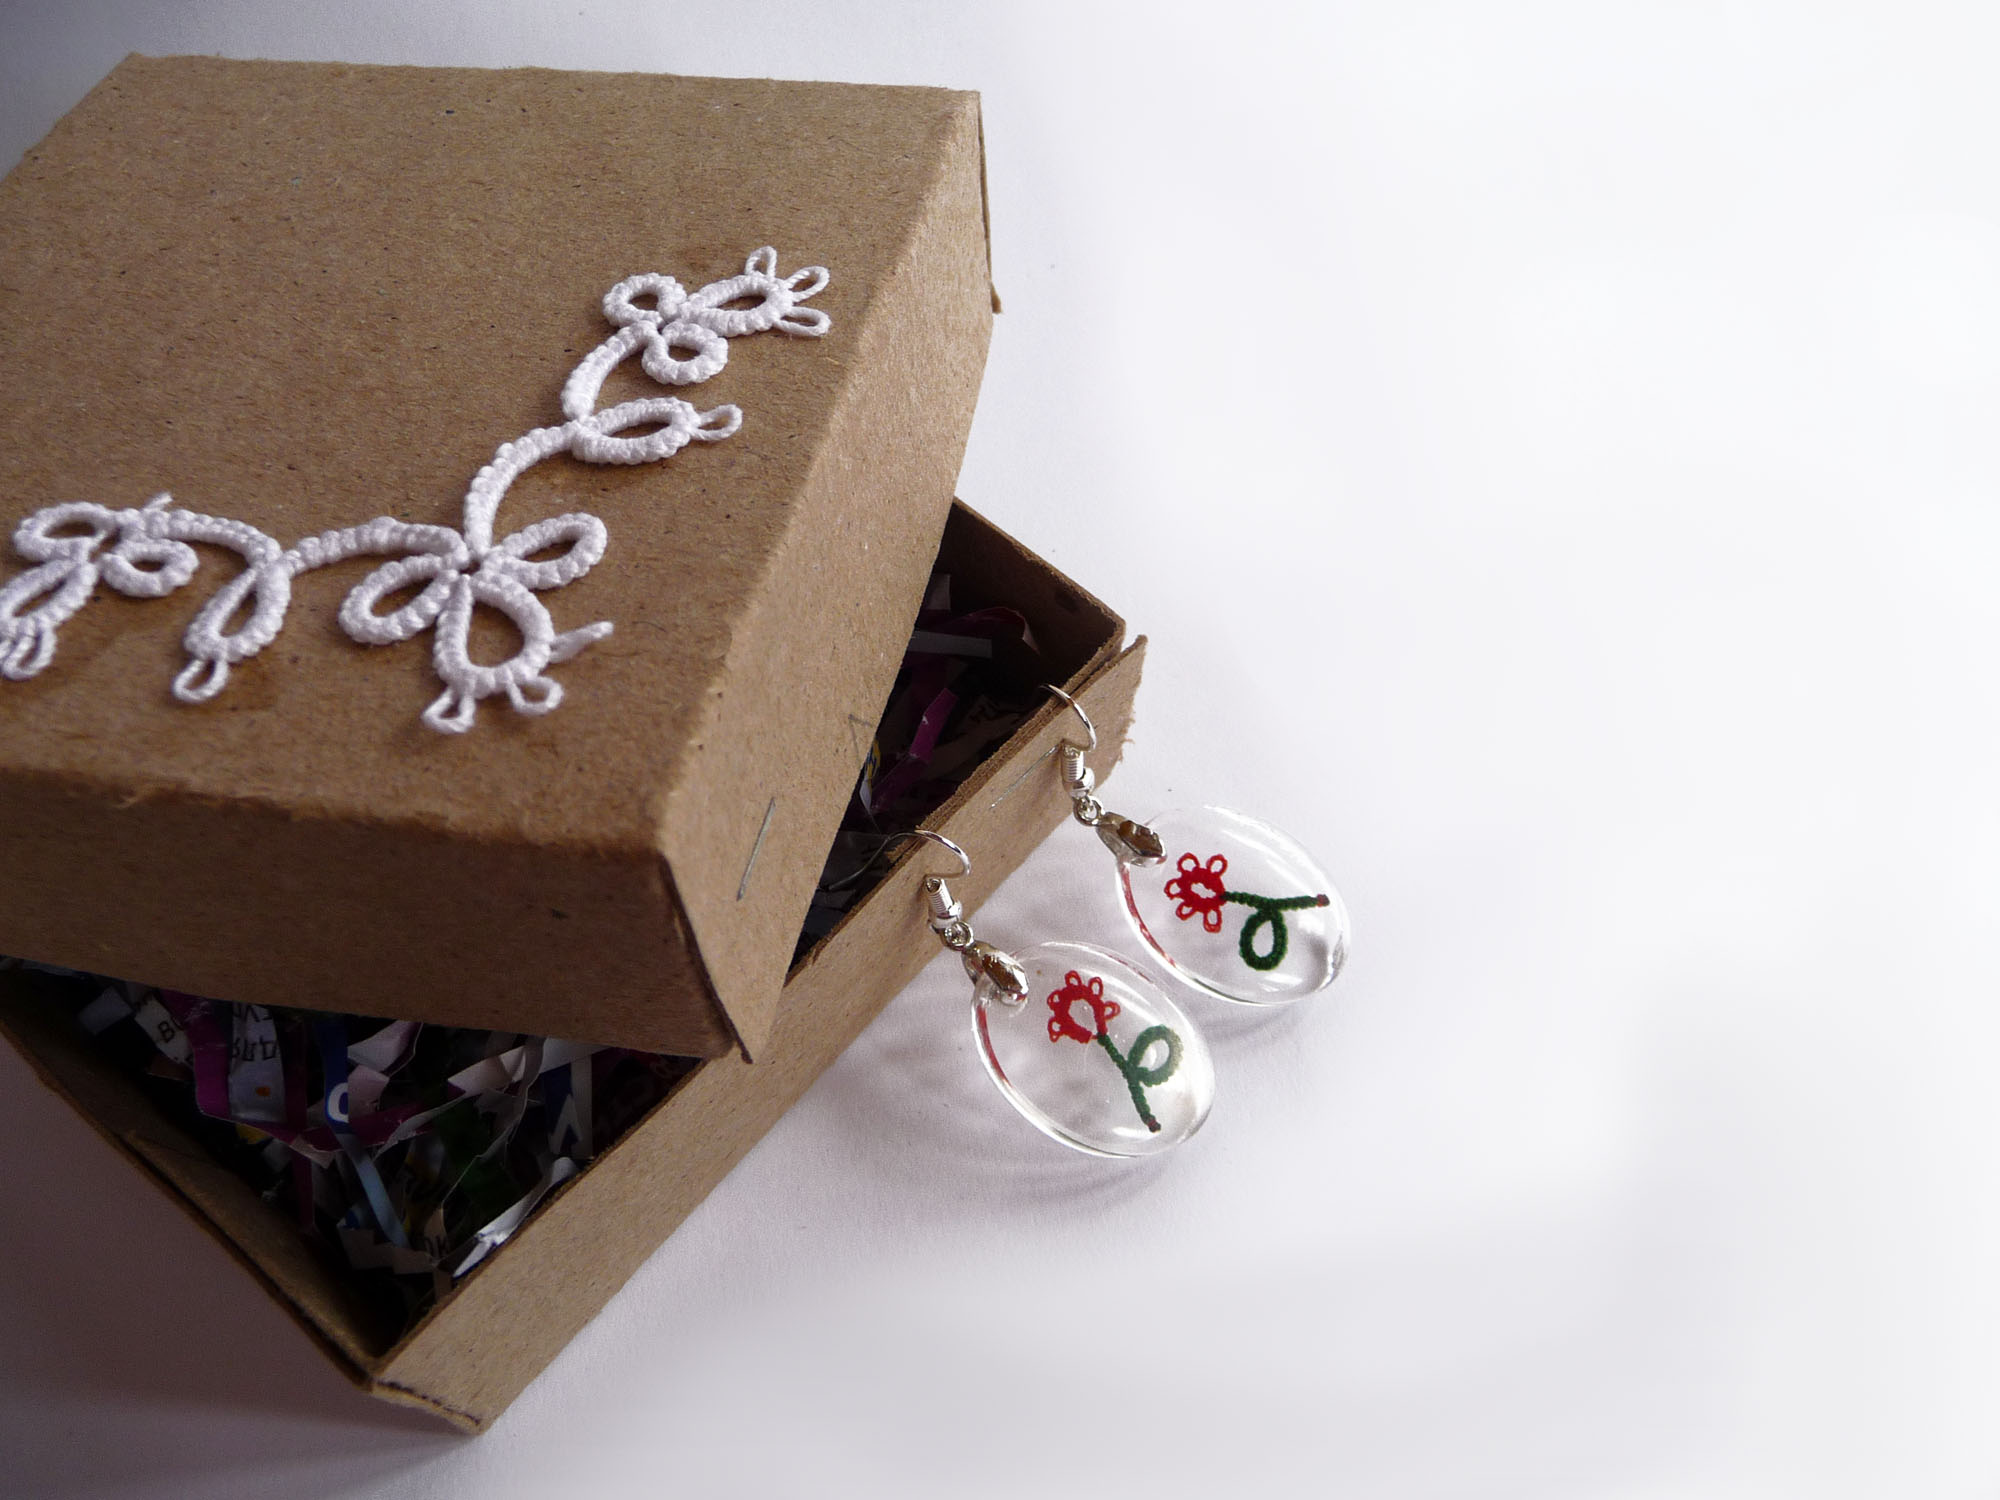
And finally, “cherry on the cake”! This is my branded packaging. Next time I will talk about this in detail.
Hooray! I did it! My long story “Tatting in the resin” is over. Ask questions in the comments, subscribe to my blog to be in the know!
Tatting in resin part 5. Hello everyone! Without a long introduction, I continue the story of how I do tatting in resin.
So, our mixture of resin and hardener is ready. We made a transparent, homogeneous substance.
Now I fill the molds with resin using a syringe.
At the very beginning of the work, I calculated the required volume of resin and divided it by 2. Do you remember? Because I fill the molds only to half. I tried to fill completely, but got a sad result. In this case, the lace is deformed and bent in resin.
Then I cover the filled forms with a plastic container. I use forms after cakes, but you may find something else.
And I cover a plastic container with a piece of cloth. I hide tar from the sun, so as not to get terrible yellowed products.
Now I will leave the resin for about 2 hours. I observe the degree of cure of the resin, because this is a very important point. You should get a soft, sticky surface. But the resin does not have to be very liquid. Because then the pieces of lace are deformed. And we will get a sad result. By the way, I tat in advance pieces of tatting .
Then I put pieces of lace and beads in the molds. I do this with tweezers. After all, it turns out neater and more convenient.
After that, I cover the molds with a container and a cloth. I can do other things now! Typically, the resin solidifies completely after 20-24 hours. After that I continue the tatting process in resin.
Tatting in resin part 5. Second fill
So, the next day I repeat the pouring process. That is, I mix the resin and fill the second half of the molds.
I get 2-3 air bubbles in the fill sometimes. And then I easily remove the bubbles with a wooden stick.
And then I put the molds under the container and the fabric again for 20-24 hours.
I hope you are not very tired of reading such a long text. “Tatting in resin part 5” turned out to be the penultimate post about my experience. But now I suggest you have fun and relax. Have a nice weekend! I will finish the topic “tatting in resin” next time necessarily. Thanks for the support and attention to my blog. Subscribe, ask questions, comment. Your words are very important to me.
Hello everyone! First, I want to thank everyone for the great reviews and comments about my blog. Your kind words are very important to me. I am inspired! But soon my topic of tatting in resin will end. What will I write? Again I ask you, dear readers. What do you want to know about? Are there topics that are interesting and important to you? Maybe browsing my store will tell you ideas for my new posts? https://fairylace.kozinenko.com/
Tatting in resin part 4
So, today is the article “Tatting in resin, part 4”. You read carefully my previous posts on this subject, I hope. 🙂 I talked about tools, molds, threads. Thus, gradually we came to the most important moment ( ta-daaaa!). I am sure my advice will help you make the perfect transparent tatting in resin! After all, now I will show how I work with resin.
I start work with mathematical calculations. (Ha ha! That sounds very clever, right?)
Do you remember my table for determining the volume of molds? I talked about this before. Thus, I calculate how much resin and hardener I need. Then I divide the result by 2. This is an important point! Because I do the fill in two steps. It took me a few experiments to come to this conclusion.
Then I pour the resin into a transparent plastic cup. I carefully monitor the volume (everything is exactly according to the calculations!).
Oh God, what terrible hands I have! No, these are just medical gloves! 🙂
Do you see what a cloudy resin from many-many-many bubbles?
Resin manufacturer’s instructions
I do not know which resin you are using. Therefore, I ask you to pay attention to the manufacturer’s instructions. The instructions for my epoxy indicate: put the container with the resin in hot water to completely dissolve the air bubbles. You may not see such an item in your instructions, but try it! This will be your personal experiment.
I take a cup and a kettle of hot water.
And voila, I got the perfect result in 10 minutes!
In the meantime, I prepared the molds for pouring. I already told you the best way to store forms. Therefore, I do not need to wash molds every time. If I notice a speck of dust or a small speck, I wipe the mold with a cotton swab. Because everything must be perfectly clean!
The next step, I pour the hardener into the resin (do not forget about the accuracy)! After that I have to mix the composition thoroughly.
Rules when mixing the resin.
I came up with these rules for myself, but you can use them, of course.
First, I mix the resin and the hardener is NOT FAST. Because with a high mixing speed, I get sooooo many bubbles (alas). Secondly, I DO NOT REMOVE the stick from the solution until mixing is complete. Because it leads to the formation of large air bubbles every time you raise and lower the stick.
Thirdly, I use TRANSPARENT cup to see the state of mixed. Fourth, I leave the solution alone after stirring for 3-5 minutes, so that the small bubbles disappear.
Fifth, I pour the settled mixture into a clean plastic cup MANDATORY!
Oh, how many words I wrote today! I will not abuse your patience, so I will end my story about the filling process in the next post. Please, make comments, ask questions, drop by my store, join my YouTube channel and, of course, subscribe to my blog to be in the know! https://www.youtube.com/watch?v=K_fWxN3THBc&list=UU3dn4_9pp7tIKA2k564wLBQ