Name like song or Interesting facts about the song “Mr. Sun , Mr. Moon”.
Hello everyone!
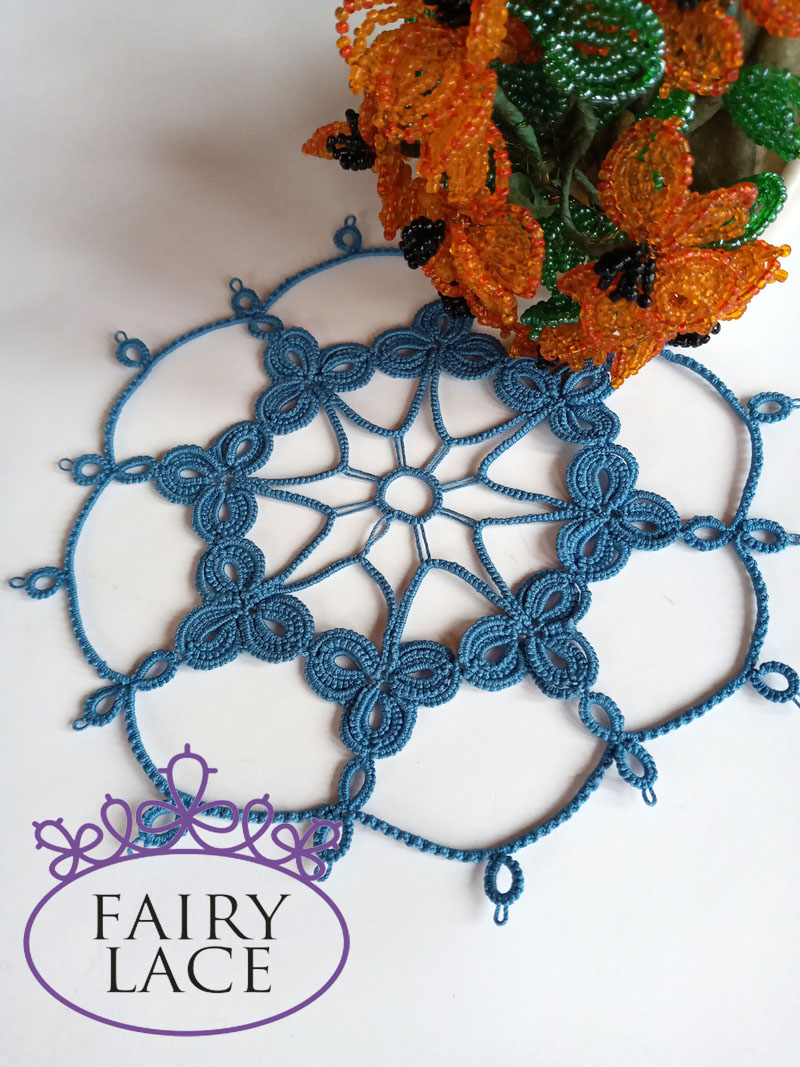
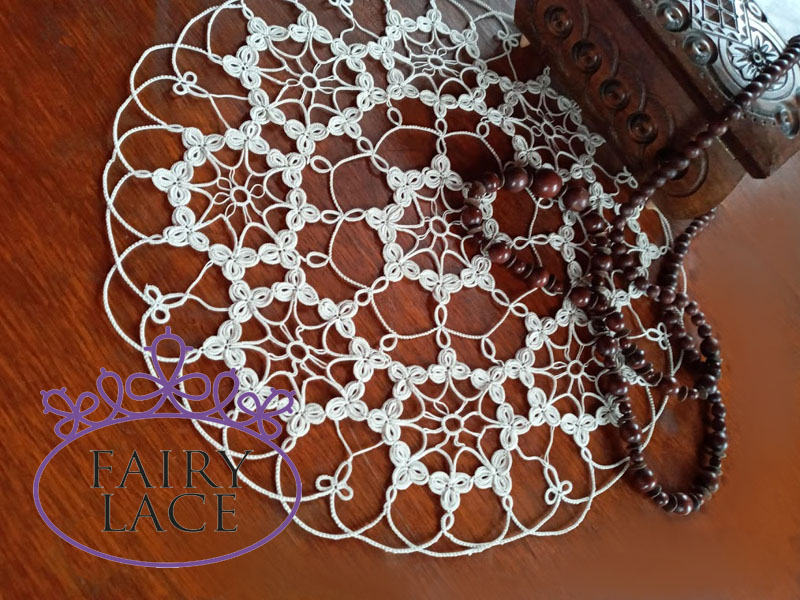
My work on the Summer Mood collection continues. I finished third doily. You can buy PDF instruction and video tutorial here: https://fairylace.kozinenko.com/product/mr-sun-mr-moon-pattern/
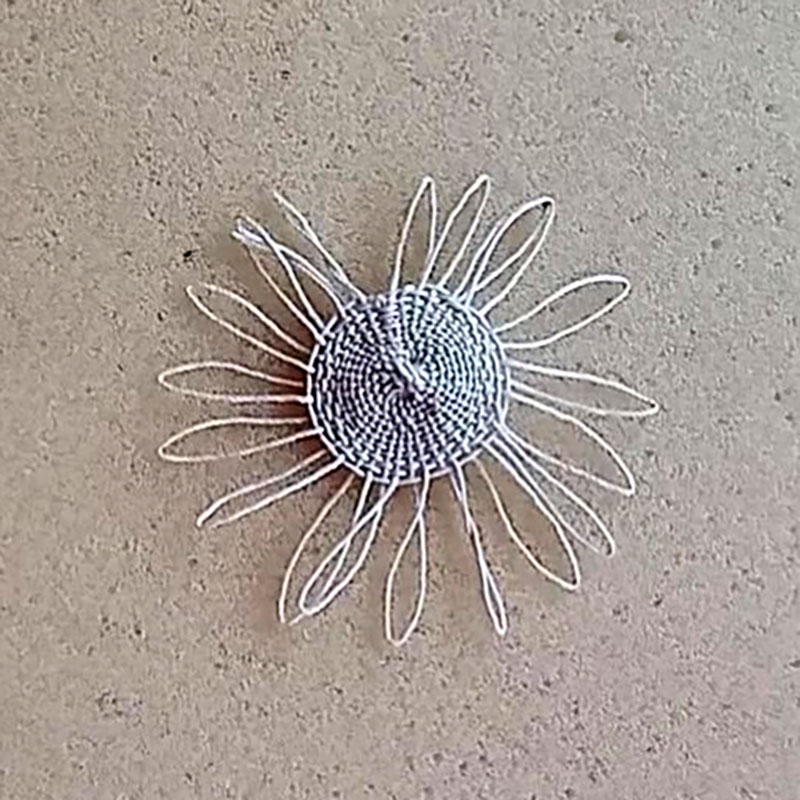
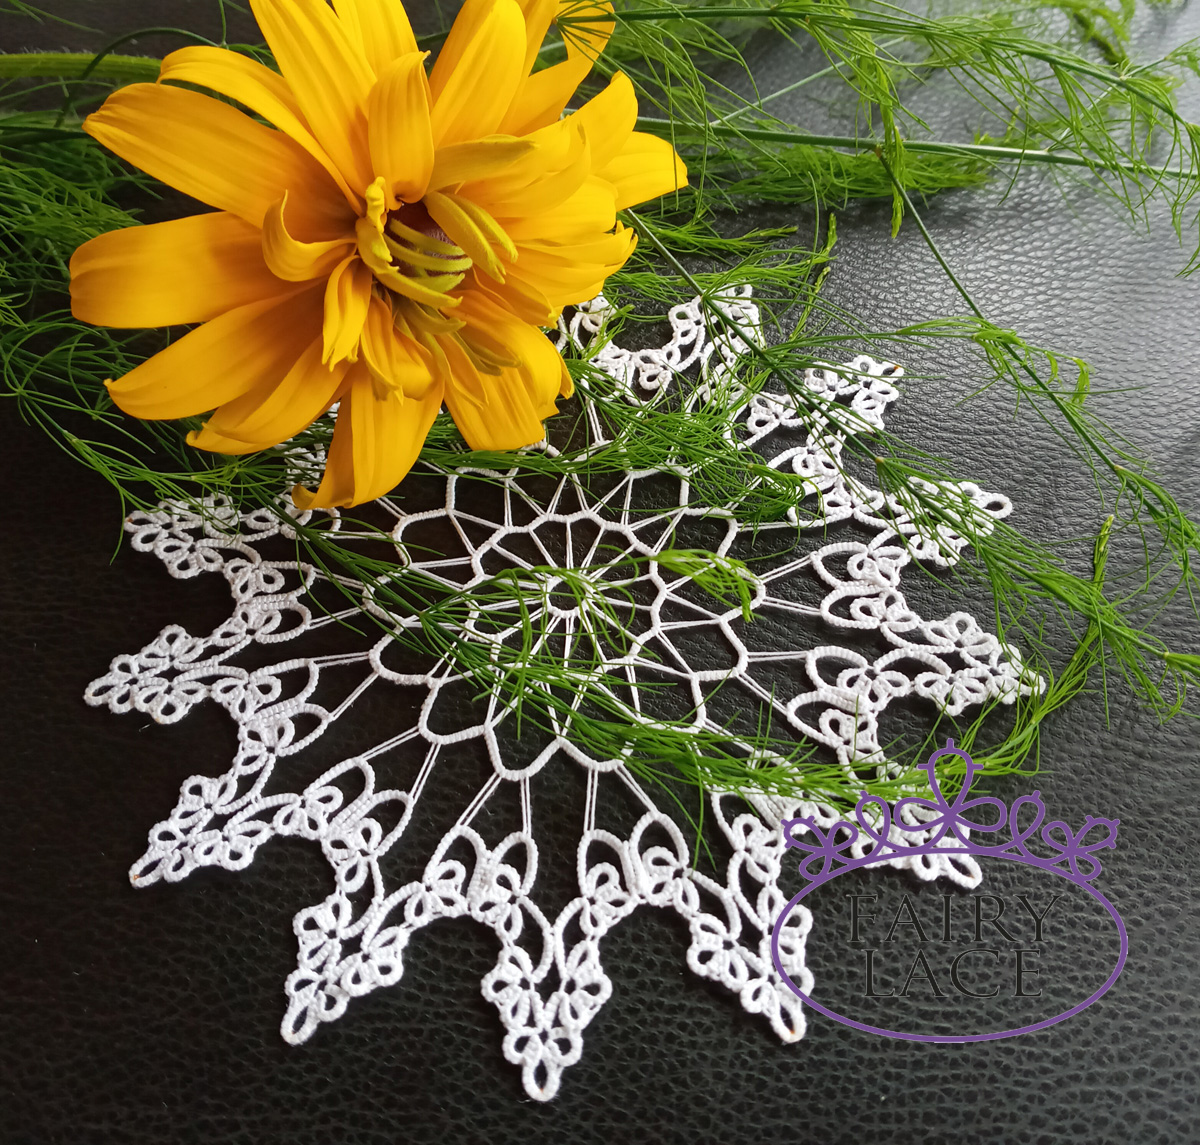
Oh, where can I get a name for my creation? I like the rays radiating from the center of the doily. It looks very much like a warm summer sun. But in the center is the real moon. The middle is perfectly round. How to combine the sun and the moon in one name? And then I found a very interesting article on the Internet.
“Mr. Sun, Mr. Moon” is a song by the American rock band Paul Revere & the Raiders written by Mark Lindsay. This song originally released as a single in 1969. Then on the album Hard ‘N’ Heavy (with Marshmallow) later that year. The song peaked at number 18 on the Billboard Hot 100, number 15 on the Cash Box Top 100 Singles chart, and at number 8 on the RPM Top Singles chart.
The song was ranked by both Billboard and RPM as the number 95 song of 1969 on their year-end charts. Also the song was featured on the soundtrack album to Once Upon a Time in Hollywood. By the way, my husband and I recently watched this film by Quentin Tarantino. The ingenious play of actors Brad Pitt and Leonardo DiCaprio!

But listen to the words of the song:
Life is bringing you so down
You don’t think you can make it
Every night is a show down
Every day is just fake it
Let me show you a new place
If you follow directions
You’ll be wearing a new face
Add it to your collection.
How this is in tune with our environment. The unreality of life due to quarantine. Everything has changed and will not be the same, it seems. But don’t be discouraged! I invite everyone to immerse themselves in creativity. And yes, with my new pattern You’ll be wearing a new face (sorry, new doily) add it to your collection!
By the way, let me remind you that you can watch a video on how to connect a chain to a long picot on my YouTube channel. Welcome! https://www.youtube.com/watch?v=qWPPlAbps5I
So, the name like song for my new doily is fine. Do you agree? Write in the comments, ask questions. Subscribe to my blog. And don’t forget to visit my store: https://fairylace.kozinenko.com/