Ring on chain, or don’t be afraid to experiment!
Hello, everyone! My regular readers know how much I love experiments. I love using new tools or materials. I also really like finding new tatting weaving techniques. When I create my patterns, I always try to make them original, understandable and usable. But I love it when my customers make their own changes and additions to my work. Ah, I keep repeating: creativity is welcome!

My model of earrings is called Snow. These are the white earrings in the photo. And the second photo was kindly provided by Christy. I am delighted with her version! The beads and the color of the threads are reminiscent of the glittering drops of melting snow on the first spring flowers, isn’t it?

And in these photos my 3D Bow pattern and a completely unexpected version of Christy . She combined two bows into an original brooch, bravo!

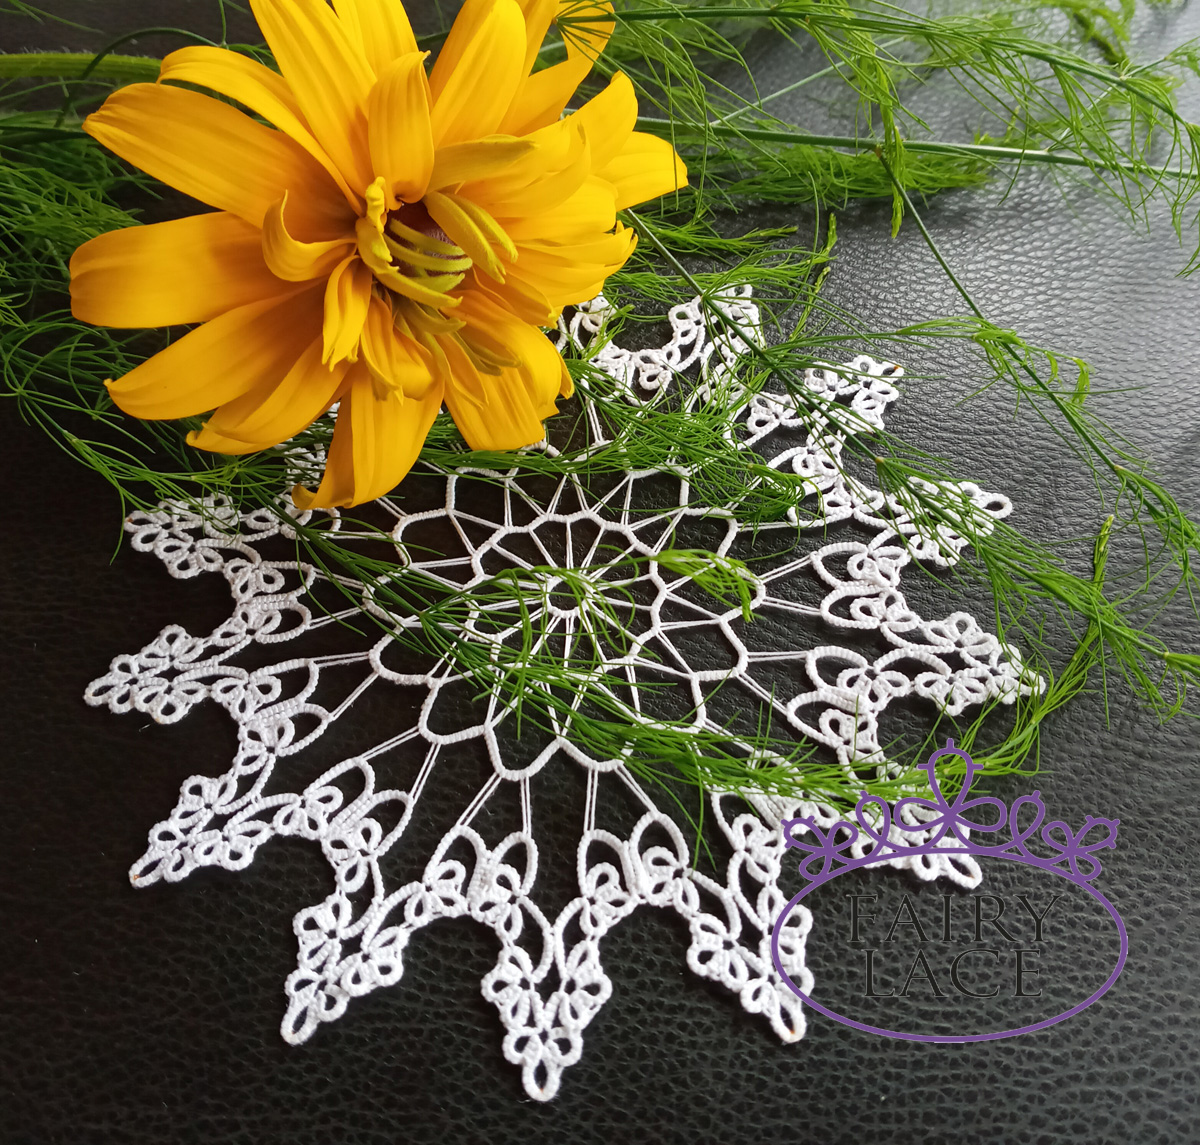
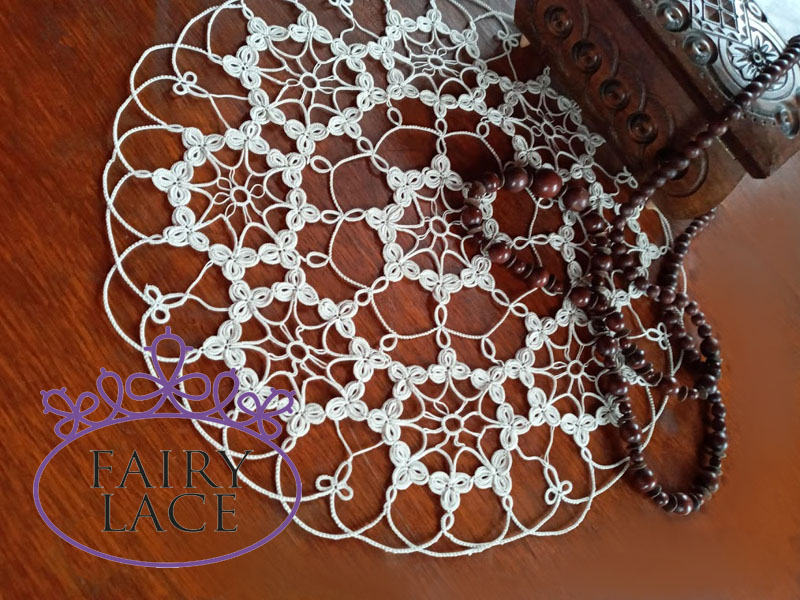
When I was creating the Mandala doily pattern, I could not even imagine that it could be a wonderful dream catcher! Look at the beauty of Dawn!

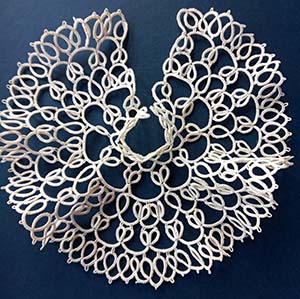
Finally, my favorite collar is Sea Glass. Elena made her own version, complementing the collar with large beads and small details along the edge of the collar. It is amazing!
These and other patterns are in my store, welcome: https://fairylace.kozinenko.com/product-category/patterns-tutorials/
Of course, I can talk about my customers endlessly! These are extraordinarily lovely ladies and very talented tatting masters. But I hasten to tell you about my new video. The topic of the video tutorial is how to make a ring on a chain. And, naturally, I tried to show my creativity and shot 5 ways.

Method 1.
This is the traditional way for two shuttles. In my opinion, in this case, the ring on the chain look perfect.

Method 2.
You can try this motif with one shuttle and one ball. Of course it will look like a chain-ring-chain. But why not?

Method 3.
And this method is for tatting with a needle. I think you will like it. So, if you do not knot after half of the chain and after the ring, it almost looks like a classic ring on a chain. Do you agree?

Method 4.
In this method I used knots and it is very similar to method 2 for the shuttle. But you do not have to cut the thread and change the needle. Of course, this method has its pros and cons!

Method 5.
And this method looks perfect, in my opinion. You can use two needles. By the way, do not forget that both needles must be the same thickness. But you can do this with just one needle. Of course, in this case, after the first half of the chain, pull the thread out of the needle, then weave a ring on this needle. Then pull the thread out of the needle again and weave the other half of the chain. Sounds complicated? It’s actually very simple, you should try it! I say: don’t be afraid to experiment!
Please, after watching the video, do not forget to subscribe to my YouTube channel. And I am always glad for your comments and questions on my blog. It helps me to make my blog interesting and useful for you! https://www.youtube.com/watch?v=xL5lhlGs6ek&list=UU3dn4_9pp7tIKA2k564wLBQ