Posted on 2 Comments

What am I doing in quarantine

What am I doing in quarantine

What am I doing in quarantine.

Hello everyone! I hope all my readers and subscribers are healthy too. Take care of yourself! Stay at home!

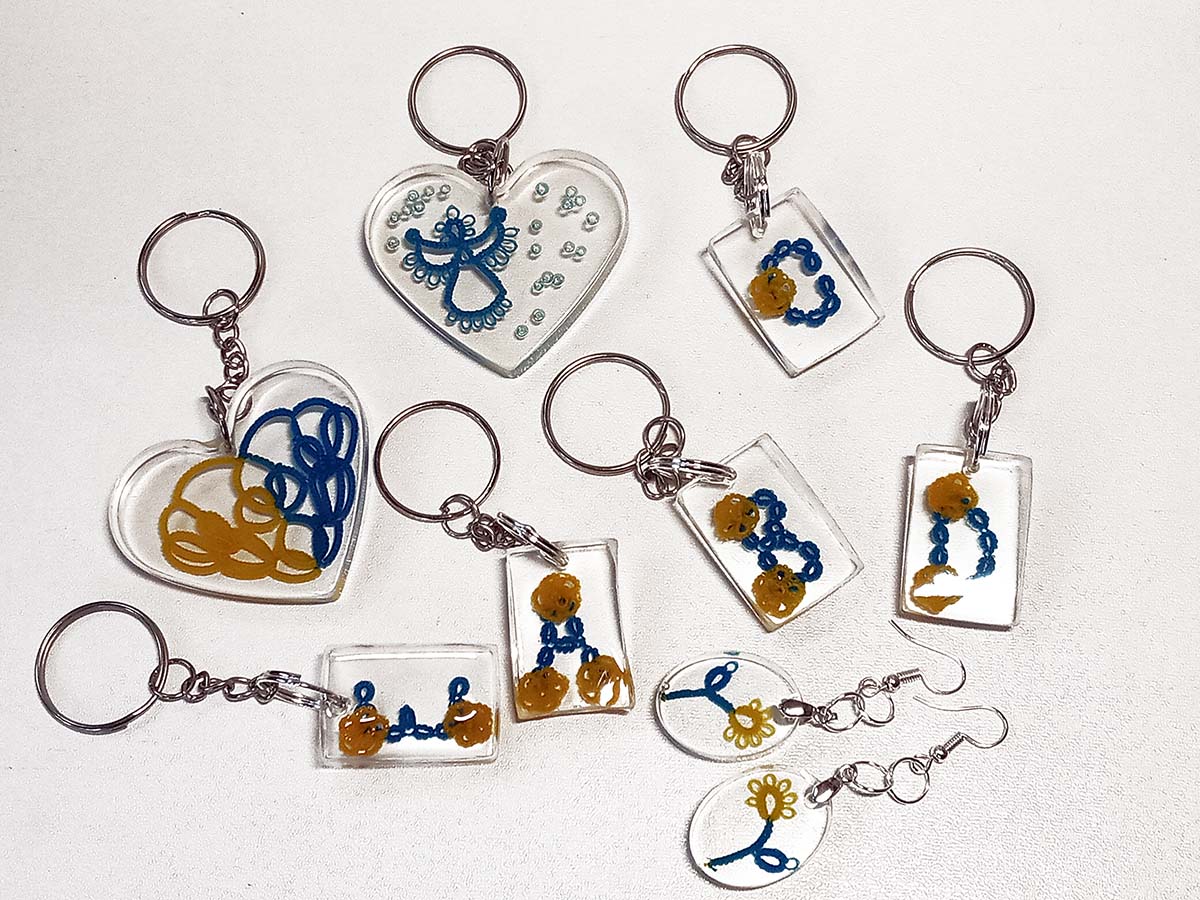
So, we cannot make a difference. But we must change our attitude towards this situation. Let’s look at our “house arrest” in a positive way. Look, how many positive points I have identified for myself! Firstly, I chatting with my family every minute of every day. This is real happiness! Secondly, I teach my angel, my granddaughter to weave lace. Thirdly, we follow fashion. Fourth, I can not rush anywhere. So, first things first. 🙂

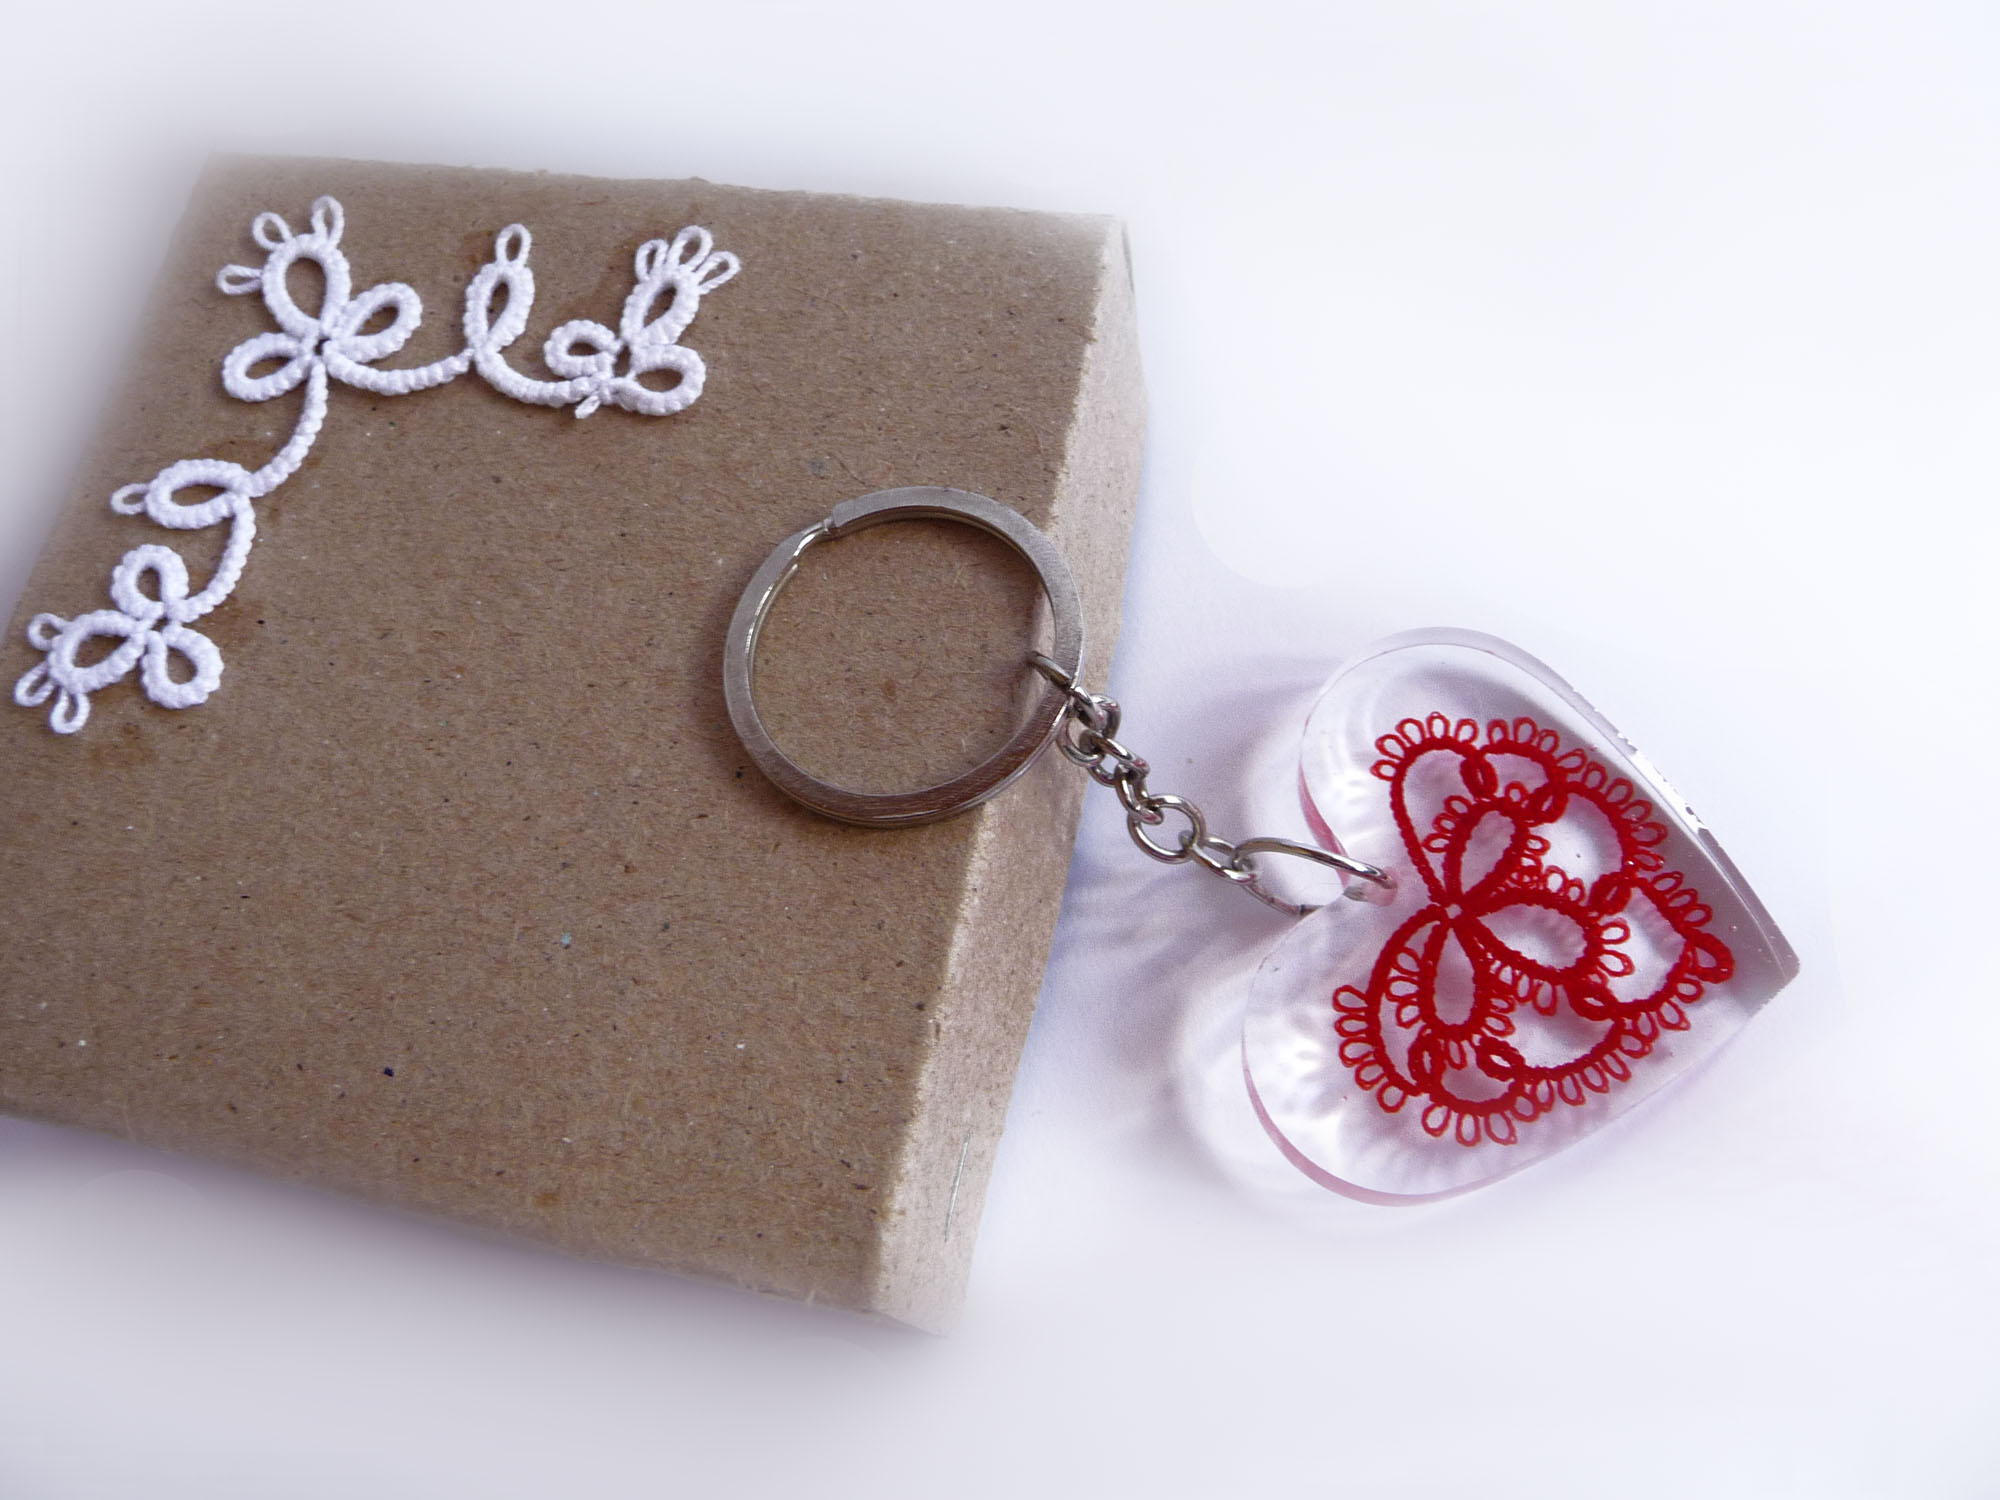
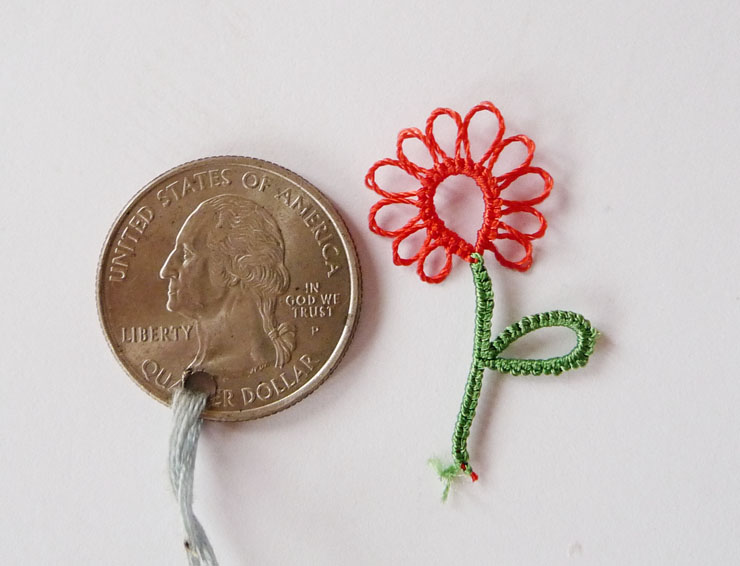
I am proud of my granddaughter. She is very talented. Maria made this bookmark for her math textbook in 4 days. Do you remember that my granddaughter is only 7 years old? And I just recently showed her how to make a tatting needle. This is phenomenal, isn’t it?

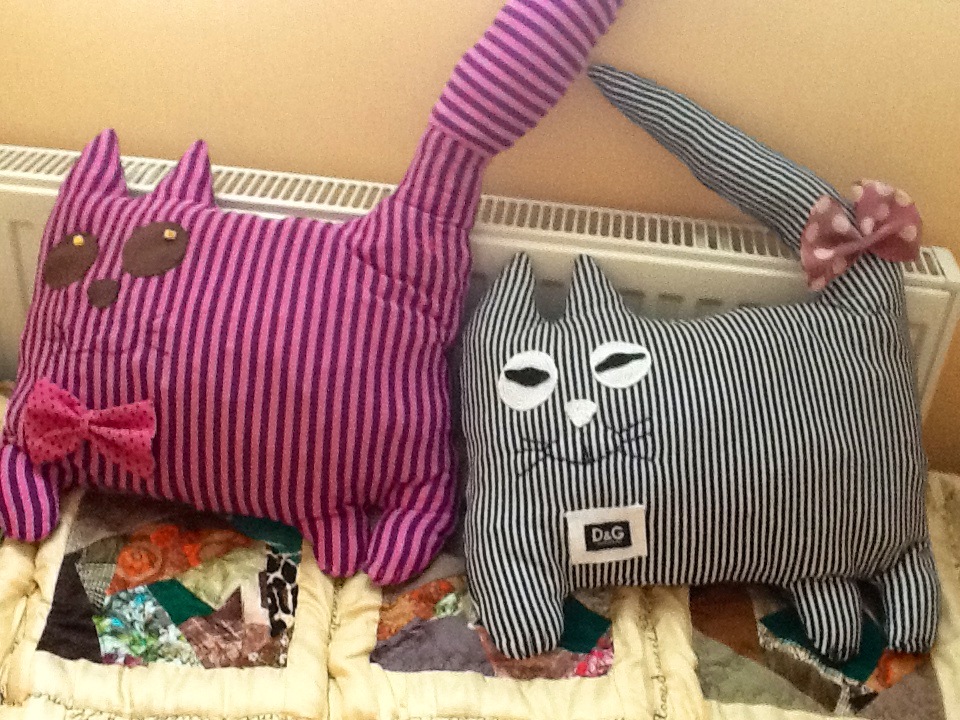
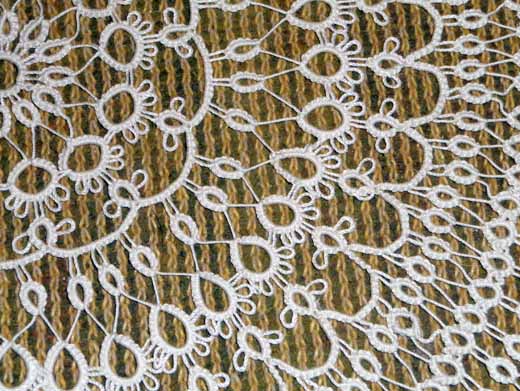
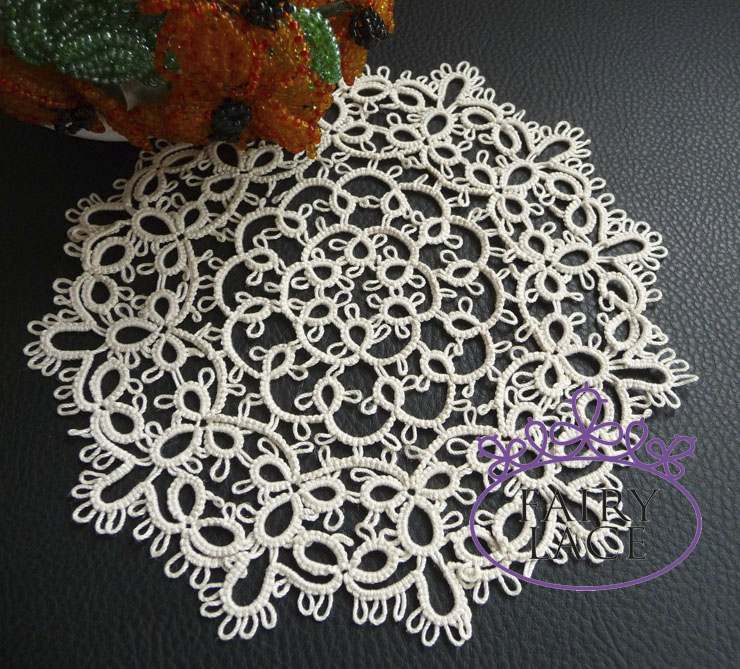
And I am gradually coming to the end of my new project. Because tatting is my passion. And my motto: not a day without lace! Of course, Mary does not leave our quiet corner. But I sewing a mask for her too. This is very relevant now. So that’s fashionable. (Do you remember that we are only looking for positive points?)

I told what am I doing in quarantine. What are you doing? Write in the comments how quarantine affects your life, please. Can you find a positive?

Do you like this hair clip? You can easily and quickly make this beautiful 3D bow. Welcome!https://fairylace.kozinenko.com/product/tatting-pattern-3d-bow/

Subscribe to my YouTube channel, I hope you enjoy it! https://www.youtube.com/watch?v=P0zrZP-a6dQ&list=UU3dn4_9pp7tIKA2k564wLBQ

Posted on 2 Comments

About quarantine, tatting and my little angel!

Two striped fabric cat pillows, handmade for my granddaughter’s room during quarantine, when I was teaching her tatting — by FairyLacefromElena.

About quarantine, tatting and my little angel!

Hello everyone! Oh, I have not written posts on my blog for a long time. Don’t worry, I’m fine. I hope all my readers and subscribers are healthy too. Take care of yourself!

My husband and I live in a suburb where there are very few neighbors. This is convenient in this situation. Therefore, our seven-year-old granddaughter now came to us from Kiev (this is not close 🙂 ). I have no words to describe our love for grandchildren! Yes, the little angels in the house are a real miracle. Give them your love, your time and your care. Then you will receive in response the shining eyes and the sincere loving heart of the child.

A walk through the spring forest is a great pleasure.

I also want to boast of my talented and capable granddaughter. I started teaching my girl how to weave a lace with tatting needle. Look at her first job! (The yellow butterfly is my pattern).

But I must admit that I have very little time left for my tatting. I planned to create a new pattern by early May. But it is obvious that I will not have time to finish the work by the scheduled date. Although, where to rush?

My new idea is gradually being implemented, and I am pleased with the result.

I’ll tell you next time more about quarantine, tatting and my little angel.

And now I invite you to check out my store https://fairylace.kozinenko.com/shop/

Subscribe to my YouTube channel, I hope you enjoy it! https://www.youtube.com/watch?v=P0zrZP-a6dQ&list=UU3dn4_9pp7tIKA2k564wLBQ

How do you spend quarantine time? Write in the comments. Do not forget to subscribe to my blog to keep abreast of updates.

Posted on 22 Comments

Gift for Valentine’s Day

Red tatting lace heart keychain inside a transparent resin heart, placed in a gift box with white lace logo, handmade by FairyLacefromElena.

Gift for Valentine’s Day! Do you like to receive gifts? I am sure that you like it very much, as I do! However, I love giving gifts too. Like I’m a real fairy. Soon Valentine’s Day. This is such a sweet holiday. Of course, this is a day dedicated to love. And the traditional symbol of love is the heart. So, this little heart I will send to the winner of today’s contest. This very cute gift .

Conditions of the competition “Gift for Valentine’s Day”

1. Subscribe to my blog.

2. Leave a comment on this post.

3. The winner will be determined by drawing lots. First place – tatting heart in resin.

4.Also, subscribers who write the first ten comments will receive a personal 20% discount on the purchase of any item from the section “Tatting in resin”.
https://fairylace.kozinenko.com/product-category/tatting-in-resin/

 The draw will be held ONLY among blog subscribers. You can subscribe in the window on the right of this post page. Announcement of the competition results on January 31th. So, if you want to receive cute keychain, hurry up!

Gift for Valentine's Day
Gift for Valentine’s Day

Support this contest in social networks. Links are welcome!

https://www.facebook.com/kozinenkoelena

https://twitter.com/ElenaKozinenko1

https://www.instagram.com/elenakozinenko/

https://www.pinterest.com/elenakozinenko/

Posted on 4 Comments

Tatting in resin part 5

Red tatting lace flower with green stem and leaf shown next to a quarter dollar coin for size comparison, part of the Tatting in resin tutorial series by FairyLacefromElena.

Tatting in resin part 5. Hello everyone! Without a long introduction, I continue the story of how I do tatting in resin.

So, our mixture of resin and hardener is ready. We made a transparent, homogeneous substance.

Now I fill the molds with resin using a syringe.

At the very beginning of the work, I calculated the required volume of resin and divided it by 2. Do you remember? Because I fill the molds only to half. I tried to fill completely, but got a sad result. In this case, the lace is deformed and bent in resin.

Then I cover the filled forms with a plastic container. I use forms after cakes, but you may find something else.

And I cover a plastic container with a piece of cloth. I hide tar from the sun, so as not to get terrible yellowed products.

Now I will leave the resin for about 2 hours. I observe the degree of cure of the resin, because this is a very important point. You should get a soft, sticky surface. But the resin does not have to be very liquid. Because then the pieces of lace are deformed. And we will get a sad result. By the way, I tat in advance pieces of tatting .

Then I put pieces of lace and beads in the molds. I do this with tweezers. After all, it turns out neater and more convenient.

After that, I cover the molds with a container and a cloth. I can do other things now! Typically, the resin solidifies completely after 20-24 hours. After that I continue the tatting process in resin.

Tatting in resin part 5. Second fill

So, the next day I repeat the pouring process. That is, I mix the resin and fill the second half of the molds.

I get 2-3 air bubbles in the fill sometimes. And then I easily remove the bubbles with a wooden stick.

And then I put the molds under the container and the fabric again for 20-24 hours.

I hope you are not very tired of reading such a long text. “Tatting in resin part 5” turned out to be the penultimate post about my experience. But now I suggest you have fun and relax. Have a nice weekend! I will finish the topic “tatting in resin” next time necessarily. Thanks for the support and attention to my blog.
Subscribe, ask questions, comment. Your words are very important to me.

Remember to check out new products in my store: https://fairylace.kozinenko.com/

Also follow me on FB: https://www.facebook.com/kozinenkoelena

Posted on Leave a comment

Tatting in resin, part 1

Transparent resin keychains with yellow and blue tatting motifs (letters, hearts, flowers), handmade by FairyLacefromElena

Tatting in resin, part 1.

Hello everyone! According to your many requests, I begin to tell how I do tatting in resin. The previous post on tatting in resin you will see here: https://fairylace.kozinenko.com/tatting-in-resin/

I will try to make my story very detailed. So please be patient. 🙂 Because I can not do one post only. In this case, my post will be too long. Subscribe to my blog to keep abreast of the continuation of this topic. And you can ask any questions in the comments. I will always answer with pleasure. I also ask you to pay attention: this is my personal experience. And you can have your own opinion that does not coincide with mine.

Tatting in resin, keychains

Here are a few rules that I have defined for myself. I’m sure some of the rules will appeal to you too. 🙂

1. You must be in a great mood to create beautiful products!

2. You should be careful and not be distracted during the filling process. Otherwise, your “milk will run away”! 🙂

3. Strictly adhere to the resin manufacturer’s instructions. Because epoxy from different manufacturers have differences, but the main points are similar.

4. The temperature in your workshop should be + 25˚ C (in any case, approach this indicator). This is a very important point, because at a lower temperature in the room the resin will not be sufficiently fluid. In addition, it will be very difficult for you to get rid of air bubbles in the solution, alas.

5. Use TRANSPARENT plastic containers to mix resin and hardener. Transparent plastic cups are the most comfortable. Because you can clearly see in such containers the homogeneity of the solution and the presence of air bubbles.

6. Always wear protective gloves. No matter how I try to be careful, when working with resin, my hands get dirty anyway. Maybe you will be more accurate! 🙂

7. I also recommend that you prepare a table mat. For example, an old cutting mat will help you protect workplace from stains. And supply of paper napkins or rags will not hurt you! In any case, for me it is not superfluous.

8. I measure the weight of the components very accurately when mixing the solution. You can use a scale or syringe for this. I will talk about the intricacies of measuring components in the following posts.

I use silicone molds of different shapes and sizes.
Also I want to say that I do not use ultraviolet lamps or other heating devices. Because not all types of resin can be exposed to ultraviolet radiation. And special devices (such as a pressure tank or a vacuum chamber) are best used in large volumes. Anyway, I do without it!

So, my standard set for pouring consists of the following things: old cutting mat, resin, hardener, two plastic cups, disposable gloves, wooden sticks for stirring, scales, two syringes without needles, napkins, molds.

I hope you enjoyed my rules and you will enjoy using some of them. For example, the first rule (about a good mood) is useful to you for all occasions! 🙂 Do you agree? If you were interested, subscribe to my blog, ask questions in the comments. In the meantime, watch my video for a good mood! https://www.youtube.com/watch?v=fHCUs5n3Gw8&t=1s

Do not forget to check my store, welcome! https://fairylace.kozinenko.com/

Posted on Leave a comment

Hiding end threads in tatting

Fragment of lace tatting round doily

Hiding end threads in tatting.

Oh, I already wrote before that I don’t like to hide the ends of threads. Does any of you love this? How terrible it is: to remove a lot of cut ends, worrying so that they do not come apart. Many tatters come up with how to make this process easier. Beginner tatters master the classical methods. In any case, it was so with me. Here you can watch my video, which shows in detail how I did it before. https://www.youtube.com/watch?v=HKBg6xUGZL8&t=939s

I have studied many textbooks and videos on the Internet over ten years of my practice of tatting. Of course, there are many interesting and useful master classes for hiding end threads in tatting. But I did not find any material that combines the three methods of tatting: shuttle, needle and hook. My goal is to promote all kinds of tatting. Therefore I hope you will be interested in my experience!

So, a short review of today’s video. I like make large laced items, such as doily, tablecloths, collars, etc. In this case, I will have to “lengthen” the thread several times. And should try to make the snapping of the thread invisible and durable. After all, it is very important from an aesthetic and practical point of view! If I hide both cut ends in one ring or one chain, I get a thickening. (I don’t even consider the option with four threads at once!) Therefore, it is better to tie a new thread at the junction of two or more elements. Example in the photo.

Hiding end threads in tatting

You can modify and improve my experience, of course. I will be glad if you share in the comments your ways of hiding end threads in tatting. Welcome! https://youtu.be/K_fWxN3THBc

By the way, in conclusion, I want to say sorry-sorry-sorry-sorry! I forgot to activate the payment button for all countries. now this mistake is fixed. So I am extending the term of the action with a 10% discount on all my patterns. Now the PATTERNXMASDECOR coupon is valid until December 15th! Take advantage! https://fairylace.kozinenko.com/product-category/patterns-tutorials/

Subscribe to my blog. Comment and ask questions. I will be happy to help with tips!

Posted on Leave a comment

Tatting split chain

Round nude tatting doily with split chain pattern, styled with red rose by FairyLacefromElena

Tatting, split chain, new video tutorial.
I already wrote that I really don’t like to hide threads in tat (and nobody likes, right? 🙂 Therefore, I try to do tatting without cutting the thread between the rows. In one of my past posts, I showed you how to go from row to row using an split ring. https://fairylace.kozinenko.com/2019/10/15/video-lesson-for-three-types-of-tatting/
Today’s post is very short. I don’t want to take your time to read, because you can better watch a video with wonderful music like Mozart! So today, my new video. This a tatting lesson on how to make a split chain. As usual, I show all three types of tatting: shuttle tatting , needle tatting and cro-tatting. Perhaps for needle tatters this video will be especially interesting. Because for a tatting needle, there are two methods to make a split chain. So, welcome to my YouTube channel: https://youtu.be/qkj3_N7LBaE

Tatting. Split chain_Moment

Subscribe to my blog , who is interested in tatting in resin! Because several articles on this topic are waiting for readers of my blog very soon. I will share ALL the secrets that I know myself 🙂 And of course, I’m sure these articles will help you make transparent tatting in resin absolutely perfect!

Welcome to my store:

https://fairylace.kozinenko.com/product-category/patterns-tutorials/
 I like reading your comments, thanks! Comment and ask questions. I will be happy to help with tips!

Posted on 10 Comments

Front and back side tatting

Bicolored square tatting doily with orange star and green center on white background by FairyLacefromElena

Does front and back side tatting? Oh yes of course! Are you surprised? Often novice tatters do not pay attention to this nuance. However, following this rule will help you make your lace more neat and presentable. Want to test yourself? Look carefully at these photos. Which of these earrings do you think is right? You can write your option in the comments, please!

The correct earrings in photo 1 and 4. Let’s see what is wrong with earrings 2 and 3? All rings in earrings 2 and 3 are made wrong, unfortunately. Therefore, picots at the rings in these cases look messy. Compare lilac earrings with red earrings. The difference is obvious! Do you agree?

I do not get tired of repeating this rule to my students, and I always write this reminder in the instructions for my patterns:

When making the double stitches on the back side, make the second half of the second stitch fixture and the first half of the double stitch next

So, if you are not yet using this rule in your tatting, try it! I am sure you will like the new look of your lace. Such work requires more focus and attention, of course. But it’s worth it. Because the front and back side of your tatting will turn out perfect! But again, each tatter chooses a method that he likes best.

I want to draw your attention to the following fact. I did not come up with this method, of course. This method has existed for a long time. Not everyone pays attention to the differences as a result of the first and second method.
This is an excerpt from Book 6 “Tatting Talk: A Self-Improvement Guide for Tatters” Needle Tatting Basics Part 2 by Georgia Seitz revised 6-21-98:
Remember, if you prefer the all right side up look, just do the half stitches in reverse order.
And, of course, I suggest visiting the blog from Frivole: http://leblogdefrivole.blogspot.com/2016/02/reverse-stitches.html The article is very interesting and reveals deeper terminology (I did not try to make my post so professional).

Subscribe to my blog. Comment and ask questions. I will be happy to help with tips! And of course, do not forget to visit my store, welcome! https://fairylace.kozinenko.com/

And welcome to my YouTube channel: https://www.youtube.com/watch?v=wETpH0sP56o&list=UU3dn4_9pp7tIKA2k564wLBQ&index=1

Posted on 8 Comments

Additional tools for tatting

Pink tatted lace doily fragment with beads instead of picots, handmade lace, inspired by Yusai Shokoin, by FairyLacefromElena

In a previous post, I told you about how to choose tools for tatting. I hope you made a choice, and my experience has helped you! https://fairylace.kozinenko.com/2019/10/18/how-to-choose-tools-for-tatting/ Today we will continue this topic. So I promised to talk about additional tools that I use for tatting.

Scissors

First, you will need scissors, be sure! Oh, how hard it is to control yourself! There are an infinite number of different scissors, and almost all of them are really beautiful. But believe me, it’s enough for you to buy one or two scissors, this is quite enough (you can three … ha ha!). And it is better to choose small scissors with short blades.

Knitting markers

Secondly, knitting markers. You can use paper clips. I often take paper clips, they are thin and do not make large “holes” at lace.

Sewing needle

Thirdly, a sewing needle is useful. It is better to choose a thin needle with a wide eye. Nobody likes to hide the ends of threads after weaving, but … we have to, right? I’m sure, if you have a “strong character” and you tightly tighten the double stitch , so you will need pliers ( very small !)! Check out my video on how to use pliers, welcome. https://www.youtube.com/watch?v=HKBg6xUGZL8&t=939s

Hooks

Fourth, do not forget about the hooks! You may have chosen shuttle with hooks, or tatting needles. It is wonderful! But three or four crochet hooks are very useful. Take different sizes of hooks for different thicknesses of threads. Hooks will help when connecting weaving elements. Very good hook for working with beads. I bought the most thin that I found.

Needle threaders

Fifth, stock up on needle threaders. You can take the simplest. With my poor eyesight, the needle threader is an indispensable helper.

Picot gauge

Sixth, for beginner tatters (and for experienced ones too), a templates for picots is very necessary. You can take a “tatting needle and picot gauge”. But I do not like bulky tools. I use homemade cardboard templates. You can make them as many as you like, any width and length!

Thin wire

Seventh, I have another “magic” instrument – an ordinary very thin wire. With its help, the variant of leaves (cluny) is woven. And the wire can be used as a hairpin when stringing beads and beads on a thread.

I am sure that each craftswoman has her favorite additional tools for tatting. Tell us about it in the comments, please. Subscribe to my blog. Comment and ask questions. I will be happy to help with tips! And of course, do not forget to visit my store, welcome! https://fairylace.kozinenko.com/

Posted on 4 Comments

How to choose tools for tatting

Red, black and blue tatting shuttles decorated with miniature lace flowers under resin, handmade by FairyLacefromElena

How to choose tools for tatting? An important question, isn’t it? But first ask yourself what type of tatting you want to do. Choose shuttle tatting , needle tatting or cro-tatting. I wrote here details about the three types of tatting : https://fairylace.kozinenko.com/2019/09/20/three-types-of-tatting/ Now let’s talk in detail about each instrument.

If you chose to shuttle, buy 2 pieces to get you started. At first this will be enough for you. Which shuttle is better to choose? I do not know! Each tatters decides for herself what she likes best. But I will share my experience of weaving with different shuttles.

1.Tatting Shuttle

Tatting Shuttle with hook and bobbin is very attractive. They combine a hook and a shuttle. It’s comfortable. Because it takes less time to connect the elements. And you can easily thread wound on the bobbin. But the plastic bobbin break very soon and stop being fixed in the shuttle. The thread unwound and you need to fix the thread with your fingers when tying knots. And hook can break off, alas.

The most popular are plastic shuttles “with spout”. These are my favorite shuttles. They come in different sizes, different colors, different quality of plastic … The choice is diverse! But you must use a crochet hook if you want to achieve a very close connection between the elements. Because the “spout” can stretch a small picot.

Also it is good to use classic shuttles, but with the crochet hook too.

Wooden tatting shuttles. I have cherry wood and golden oak. Very beautiful, light, comfortable. You can buy shuttles from any tree, even exotic ones. Wooden shuttles are more expensive than plastic shuttles, of course. But they are worth it, believe me!

I do not recommend using metal shuttles. They are heavy, the hook is uncomfortable. Very quickly, the latch on the case broke. Not subject to repair. I had to throw it away. Maybe I’m just out of luck?

2. Tatting needle.

If you have chosen the type of tatting with a needle, pay attention to two attributes. First, the needle should not thicken at the end. This will help to make the weave more dense, not stretch the knots. Secondly, the needle should not be sharp so as not to puncture or scratch your fingers.

And in some cases you will have to use a crochet hook to make the perfect connection of the elements. I have never tried wooden needles. But I’ll think about buying them, maybe. And then I will share with you my experience.

3. Cro-tatting.

Tatting hooks are special. Do not try to use ordinary hooks for crocheting. Take a closer look, see the difference?

In my opinion, the most convenient hooks for tatting are Takashimabari hooks.

I hope this post will make it easier for you to choose tools for tatting! Next time I will talk about additional tools that I use when weaving.
Subscribe to my blog to stay updated. https://fairylace.kozinenko.com/blog/
Share your experience in choosing tatting tools in the comments, please. It will be interesting. See what you can do with the right tatting tools: https://fairylace.kozinenko.com/

Join me on FB:https://www.facebook.com/kozinenkoelena